Hello, today I am posting for CutCardStock! I love making my own creative backgrounds. Let me walk you through the steps to creating this spooky Halloween card.
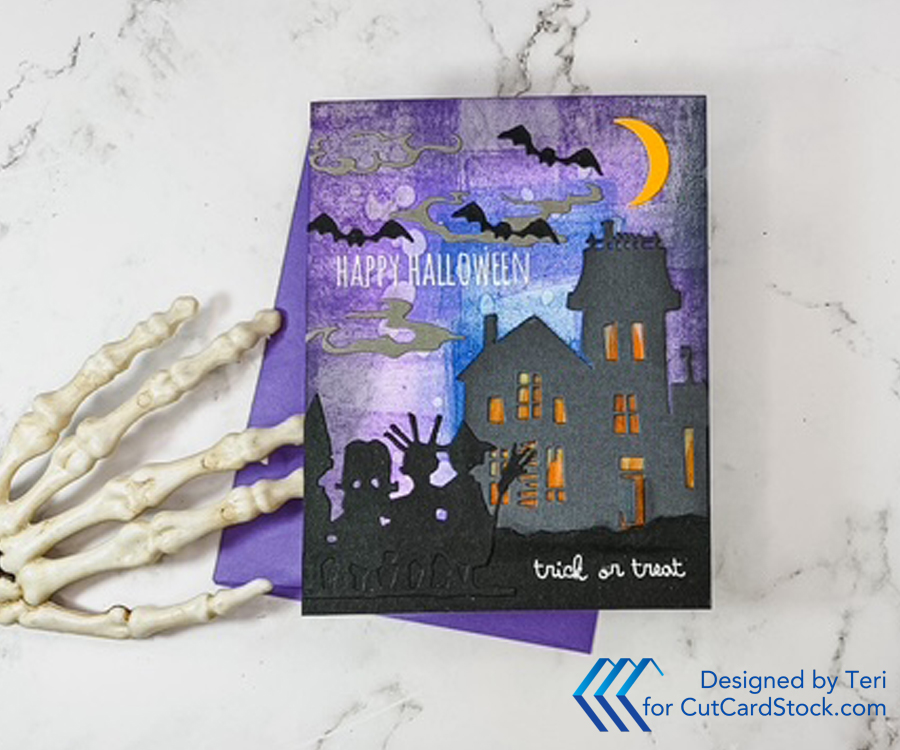

Hello, today I am posting for CutCardStock! I love making my own creative backgrounds. Let me walk you through the steps to creating this spooky Halloween card.
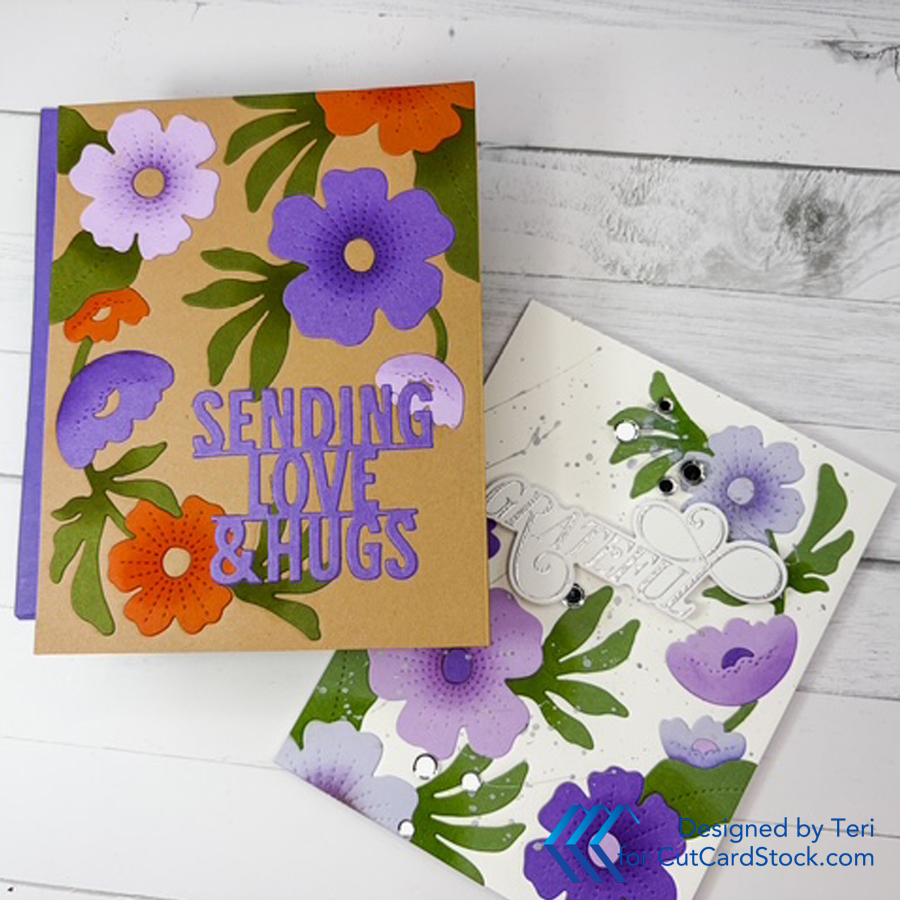
Today I am sharing spring and fall cards created with the same die set and different tones of Cardstock from CutCardStock. Change up the look of your cards using a simple swap of colors for two seasons!
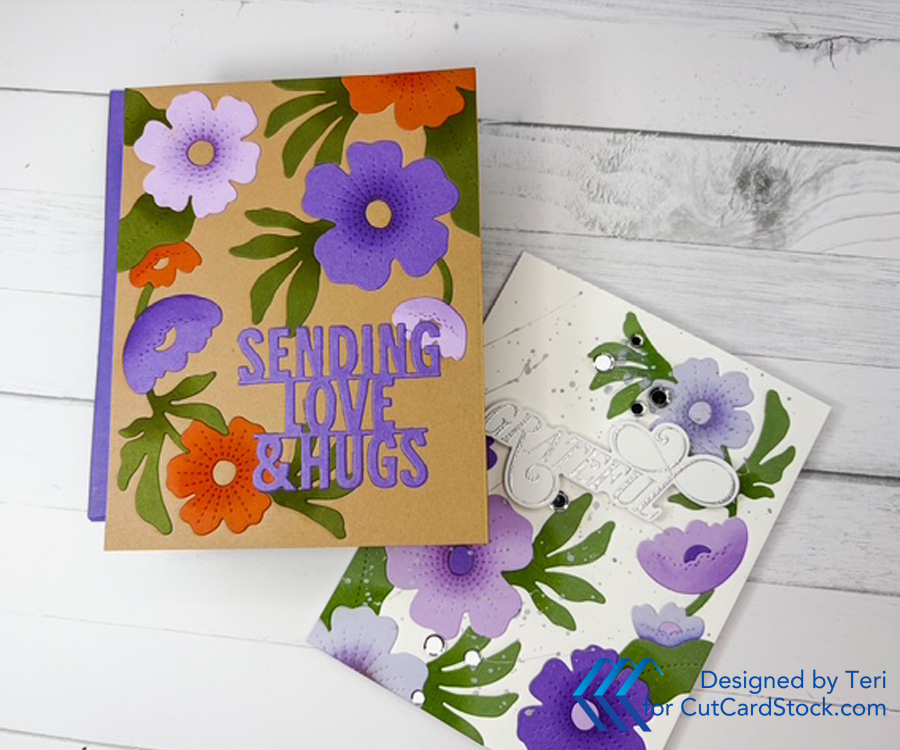

We are in a Fall mode right now, so I had to start with Royal Sundance Kraft Cardstock. After trimming the cardstock to 4.25 x 5.5 inches, emboss the piece with the Concord and Ninth Bright Blossoms Die. Note: emboss the die using the rubber mat plus the suggested sandwich for your die cut machine. We will also be die cutting the individual flowers and leaves as well. Attach the panel to a card base made with Desert Storm 100 lb. Cardstock.
Using the same Concord and Ninth Die, cut the blooms and flowers using Pop Tone Grape Jelly, Lessebo Lilac, DCS Flame Tree Orange and Galax Olive Green cardstocks or other fall colors of your choice. You will have multiple blooms to work with.
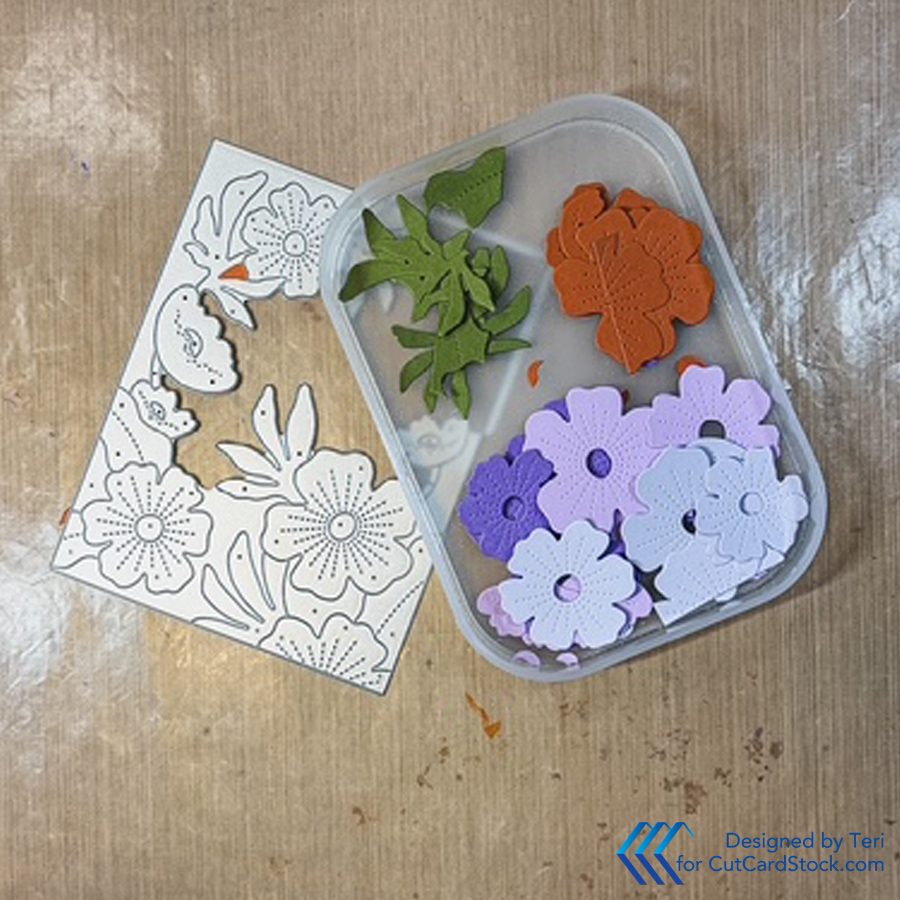
Use a sticky mat to hold the pieces in place to allow for additional shading with inks. Select darker shades for the color pieces and add shading by ink blending the colors in small circular motions. Start light, you can always add more color and depth.
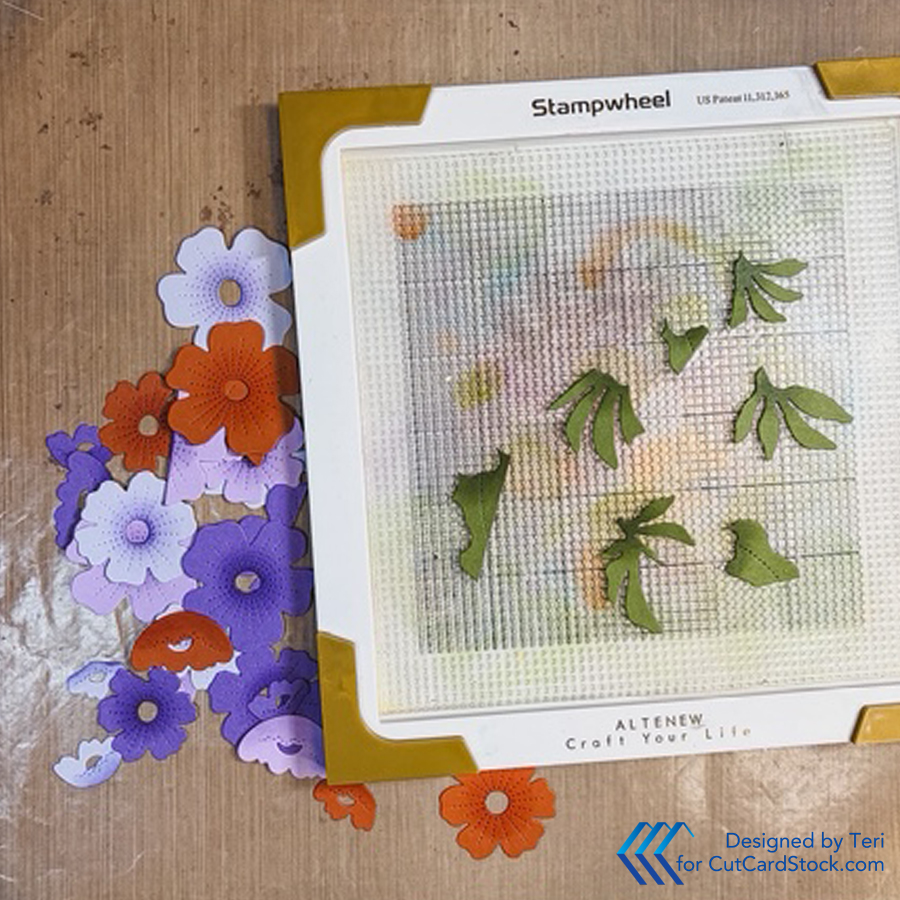
Use the embossed lines to identify the placement for the blooms and leaves. Use white glue to attach the pieces to form a floral swag.

Using the die cut sentiment of choice, die cut using the Grape Jelly Cardstock. Glue to the lower left of the card and you have completed the first card.
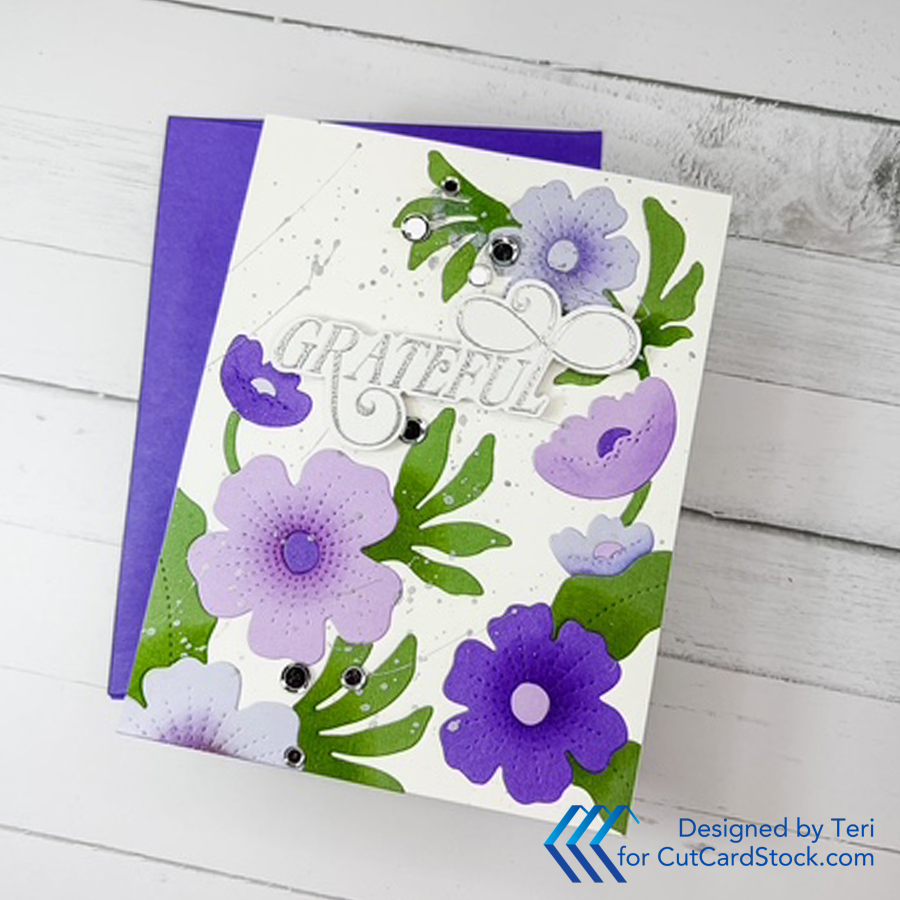
After completing the Fall card, you should have additional purple blooms left. Cut additional leaves from the Galax cardstock plus one cut with Pop Tone Grapesicle to provide an additional shade of purple.
Follow the steps listed above starting with an A2 Panel of Cougar 80 lb. White Cardstock. Use 110 lb Cougar White for the card base. Ink blend with coordinating colors of ink for dimension.
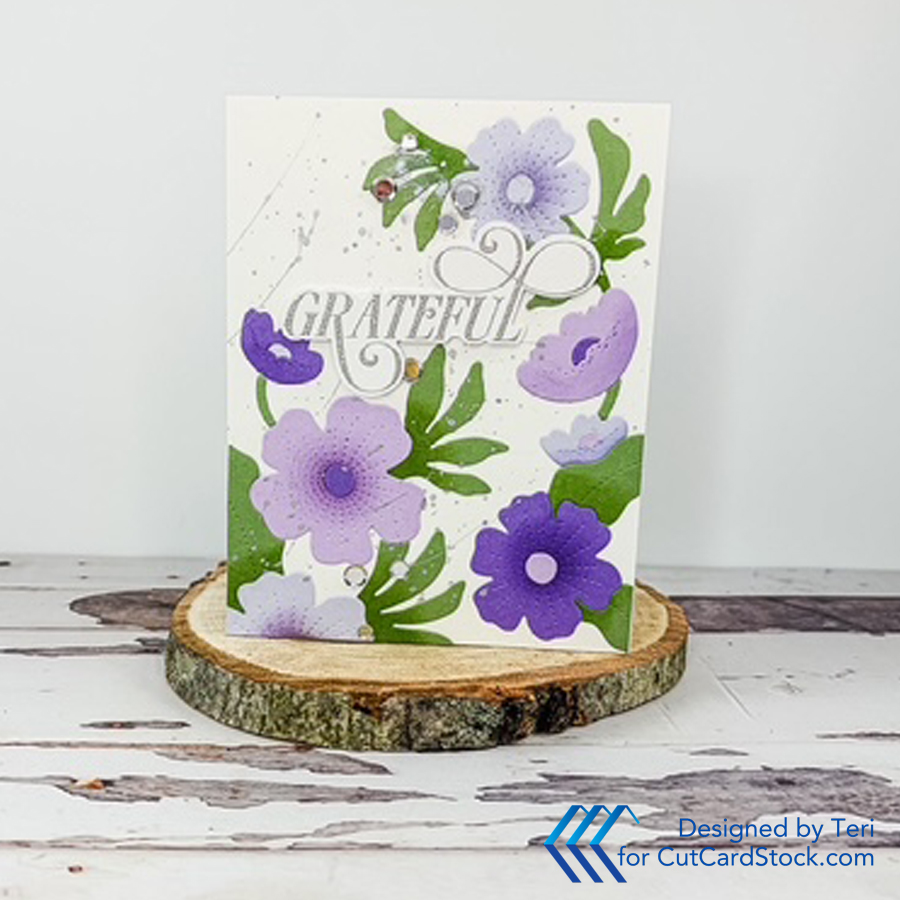
Once you have added the blooms and leaves, embellish the card with silver splatters and silver sequins. Use a sentiment created by embossing a sentiment with Silver Embossing Powder. I like to pop up sentiments with foam strips.
I hope you have enjoyed my projects today! Please take a moment to visit CutCardStock. They have a great variety of products.
Thanks for stopping by.
Hello friends. We all need a stash of Birthday Cards. Today I am posting for CutCardStock. They have an amazing assortment of bright cardstock, perfect for cheerful birthday cards!
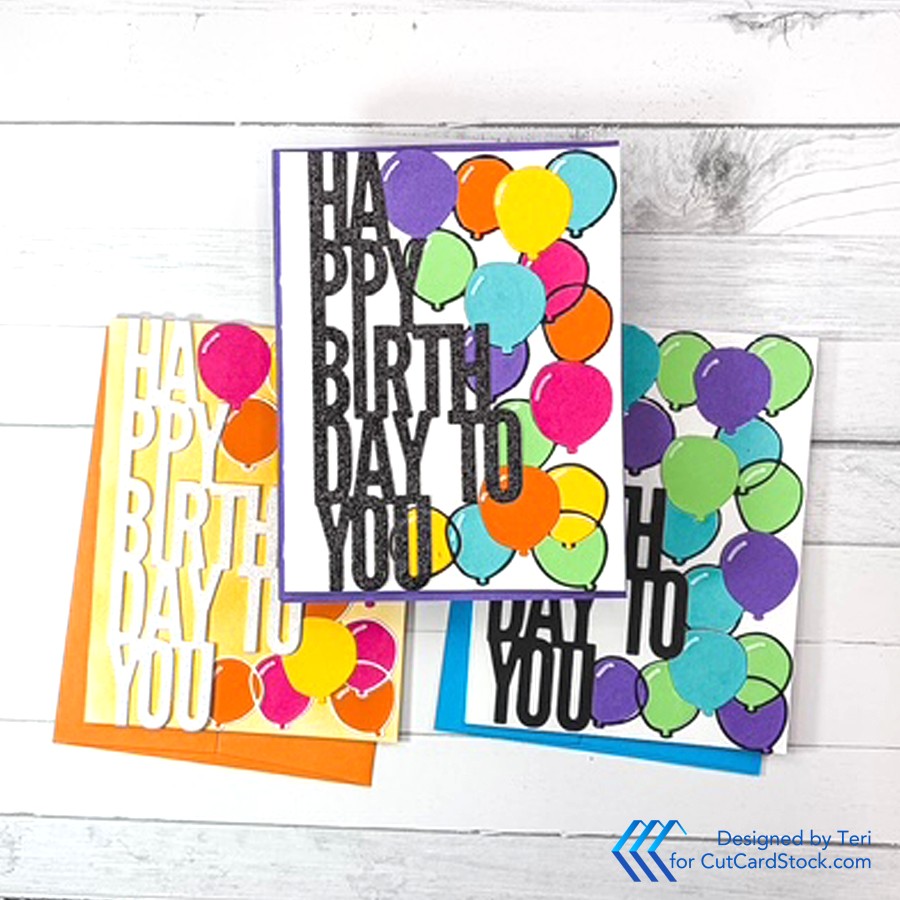
Hi friends! Today I am posting for CutCardStock. Today I am sharing a new to me Letterpress, stencil and die set on Cougar 110 lb. White Cardstock.

Have you tried water coloring with Savoy 100% Cotton Cardstock and then stenciling over the background? Today I am posting for CutCardStock. A recent post by Mindy Eggen showing this technique caught my eye. I absolutely had to try it!

I love the depth of color created!
Start with a piece of Savoy 100% Cotton Cardstock. Tape the panel to a base using very thin margins. This will allow you to move the panel around allowing the watercolors to move.

Wet the panel first and then apply watercolors randomly, allowing the colors to blend. Dry with a heat tool. Make sure the panel is completely dry before adding the stenciled blooms. The general rule is if the panel is cool, it still has moisture.

I know it looks a little messy, but the stenciled blooms change the entire appearance!
Select a large bloom stencil that will cover a good portion of the panel. I used Altenew’s Peony Lilac Swag Stencil. As you are stenciling over the watercolor panel, be mindful of the colors below. In other words use warm colors over the warm portion of the base and cool colors over the cool areas.

Feel free to ink blend additional color over the non-stenciled areas to brighten the base.
Trim the Savoy panel to 3.75 x 5.0 inches. Choose two colors of cardstock to make a double panel. In my case, I used Pop Tone Black Licorice and Pop Tone Razzleberry Cardstocks. You need to trim the panels to 4.0 x 5.25 and 4.25 x 5.5 inches. Use the darker color for the larger base panel.

Create a sentiment for the card. I selected a lowercase sentiment with a shadow die. I used the Pop tone Razzleberry for the shadow and black for the letters. Cut these type of elements from the panels to save cardstock.
Glue the sentiment and attach to the stenciled panel. Layer the panels in size order and attach to a card base made with Cougar White 110 lb. Cardstock (my favorite for card bases).

Thanks so much for stopping by. Be sure to check out all the great products available at CutCardStock. Their customer service is exceptional! Be well. Be creative!
Have you tried the Better Press system yet? I tried using Savoy 100% Cotton Cardstock and it worked perfectly for letter pressing! Today I am posting for CutCardstock.

The matt finish on this card is stunning!
I love making framed items for my cards! Hello, it is Teri posting for CutCardStock. Their metallic cardstock is perfect for creating embossed mini frames! So many possibilities!
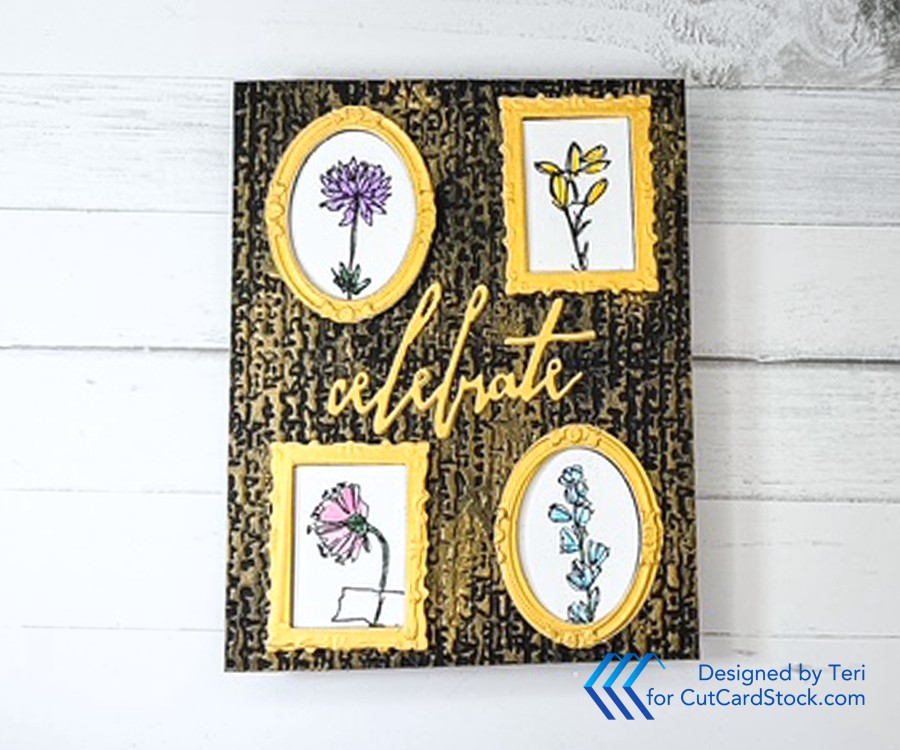
Check out all the texture!
Have you played with Kromekote Cardstock from CutCardStock? Hello, I am sharing this cool technique with inked Kromekote Cardstock. I have previously shared alcohol ink on Kromekote. Check out how easy this technique for colorful glossy backgrounds is.

There is such a great glossy surface when using this cardstock!
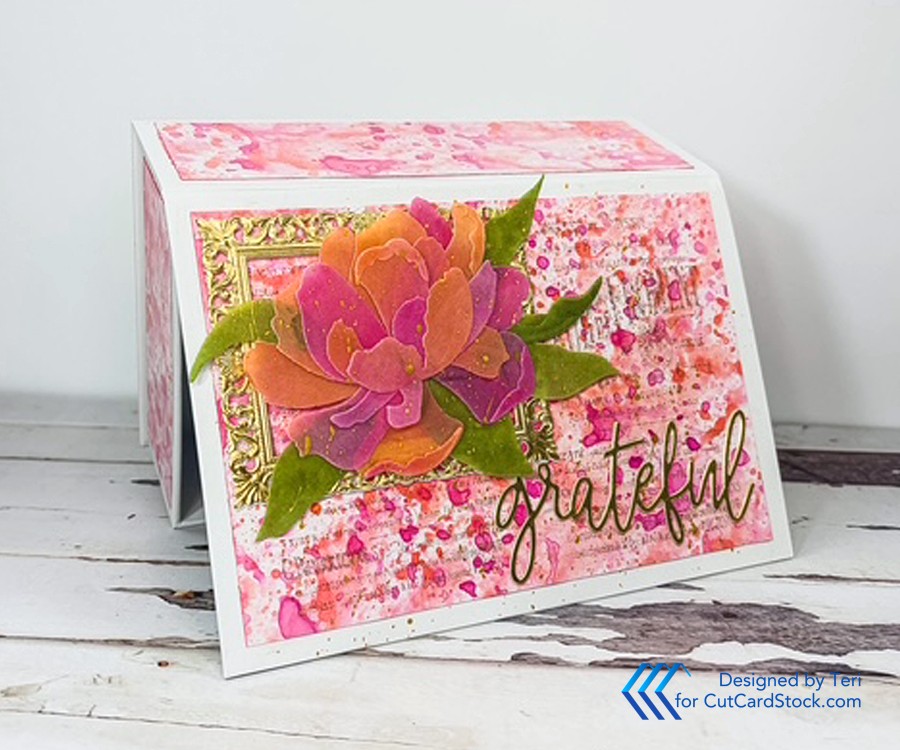
Hello friends. Today I am posting for CutCardStock. I have been experimenting with card folds and created this fun moving panel card.

It looks complicated, but really is not!
Do you have trouble making cards for the guys? Check out this textured masculine card that started with Kromekote Cardstock! Hi, it is Teri with TerisMailbox posting for CutCardStock!
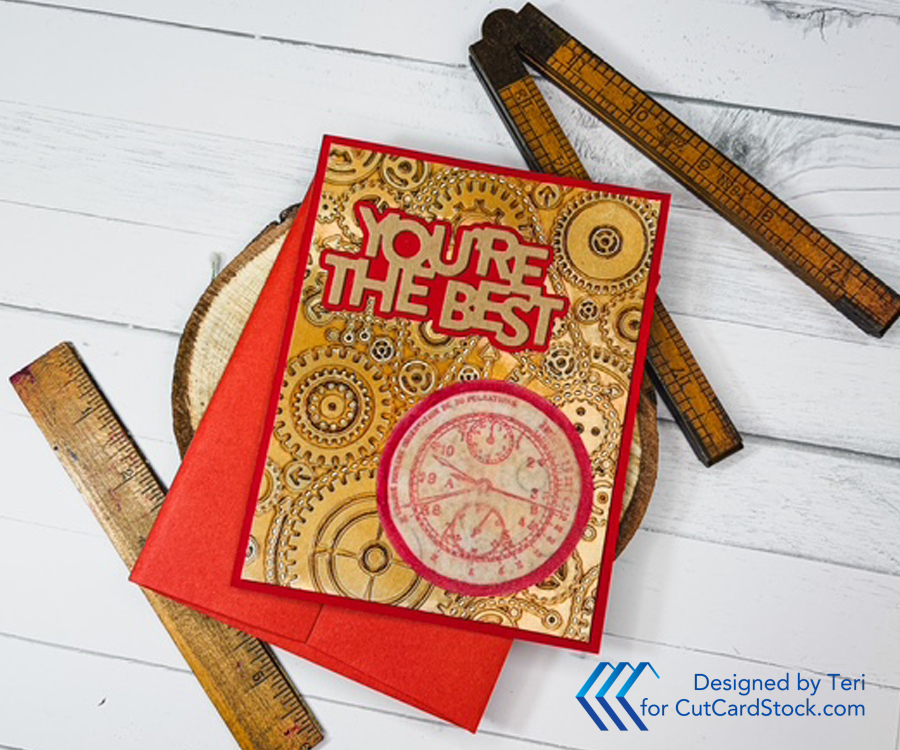
I love to make cards with lots of layers and textures! Let me walk you through how I created this one!
Hello friends. It is Teri with TerisMailbox posting for CutCardStock. Check out this colorful card that started with a colored cardstock. It is amazing the depth of colors you can achieve when you begin with a light-colored cardstock base!
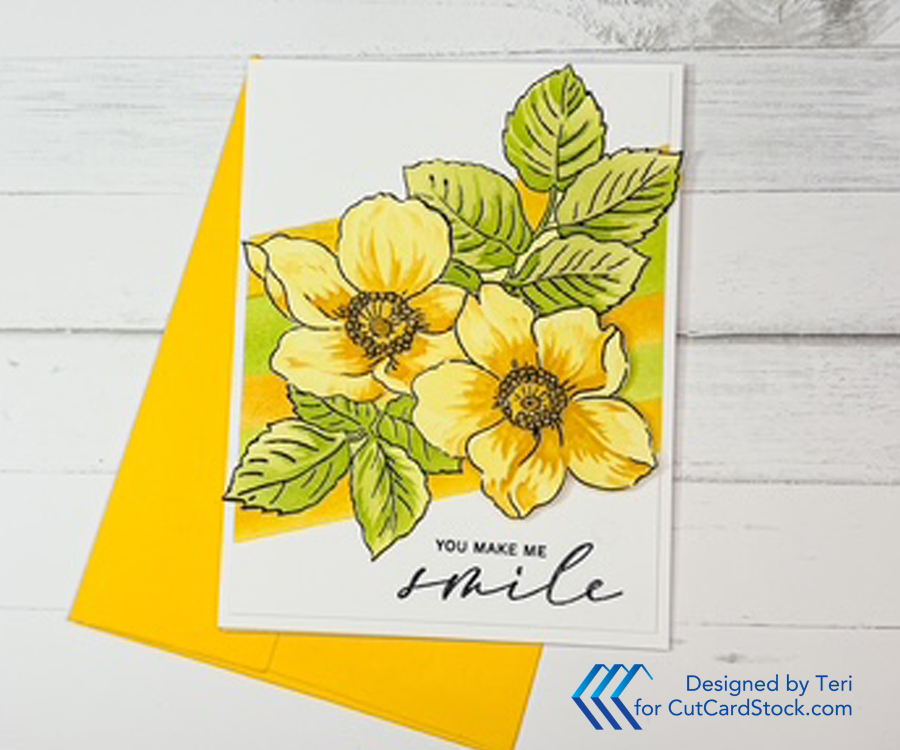
As Spring approaches, I lean towards bright blooms. With Mother's Day around the corner, I created this bright vellum floral box perfect for keepsakes! Hello, it is Teri with TerisMailbox posting for CutCardStock.
This project started with a sturdy white box with a magnetic catch. I couldn't let it go to waste!
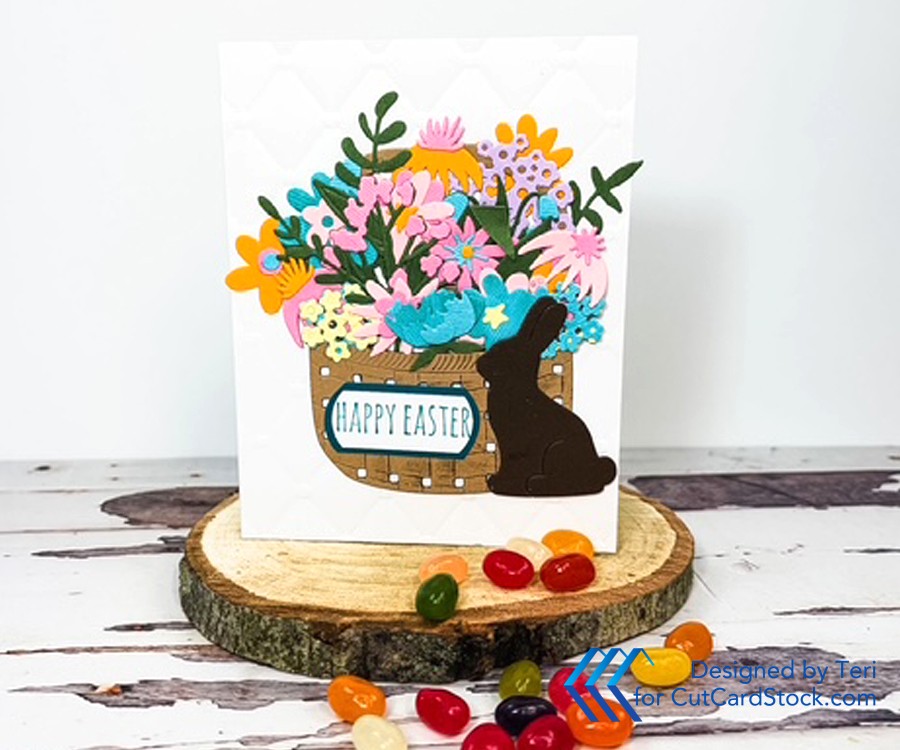
Easter is fast approaching. Have you finished your cards? Hello, it is Teri with TerisMailbox posting for CutCardStock. Today I have this very cute bunny and a floral basket to share.
I love shamrocks! How about you? Our older son can walk in a field of grass and find four leaf clovers! I have never found one! Today I am sharing a colorful St. Patrick's Day card full of embossed shamrocks. Hi, it is Teri with TerisMailbox posting for CutCardStock.
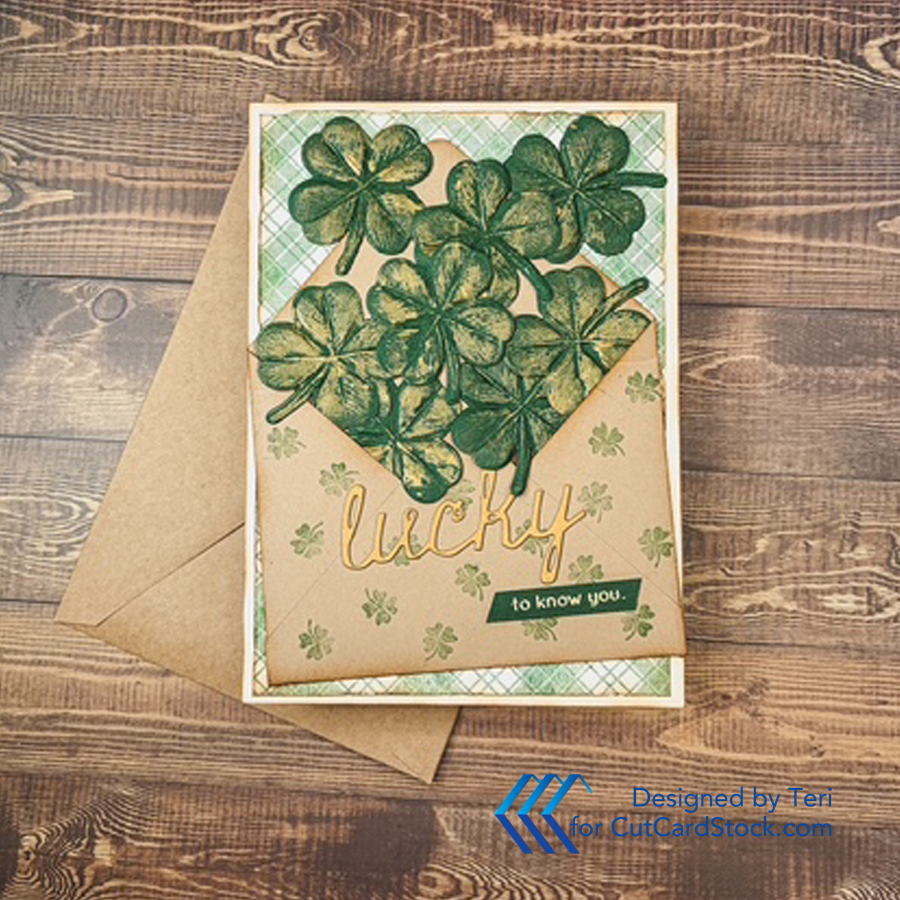
This fun card is all about the layers!
Use Lessebo Hunter Green Cardstock to die cut multiple shamrocks. I used the Tim Holtz embossing die. Add Gold Lunar paste to enhance the shamrocks. Set aside to dry.
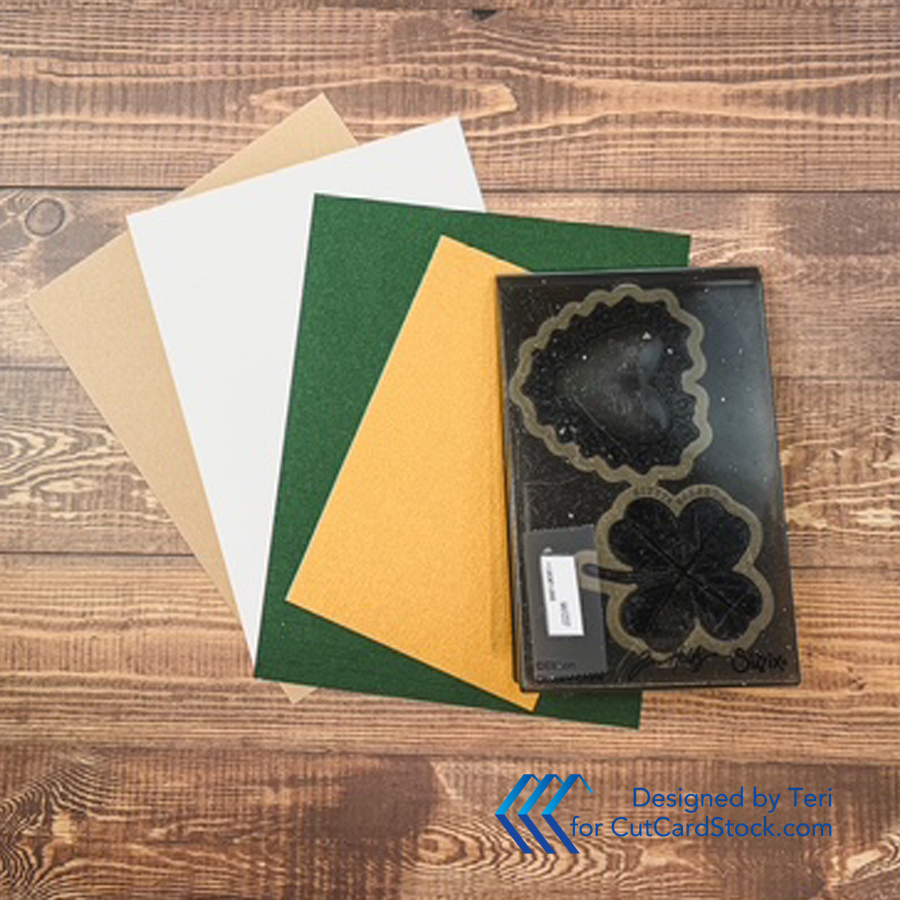
My card base measures 5 x 7 inches. The envelope holding all the shamrocks needs to fit on that card base. The Envelope Punch Board has many options for sizing the envelopes. I chose a size that easily would hold the shamrocks while allowing some of the background to show. Use the board to create your envelope. Be sure to round the corners before assembling.
Use Kraft Royal Sundance Fiber Cardstock for the envelope. Ink the edges with Vintage Photo Distress Ink. Stamp random shamrocks over the base of the envelope.
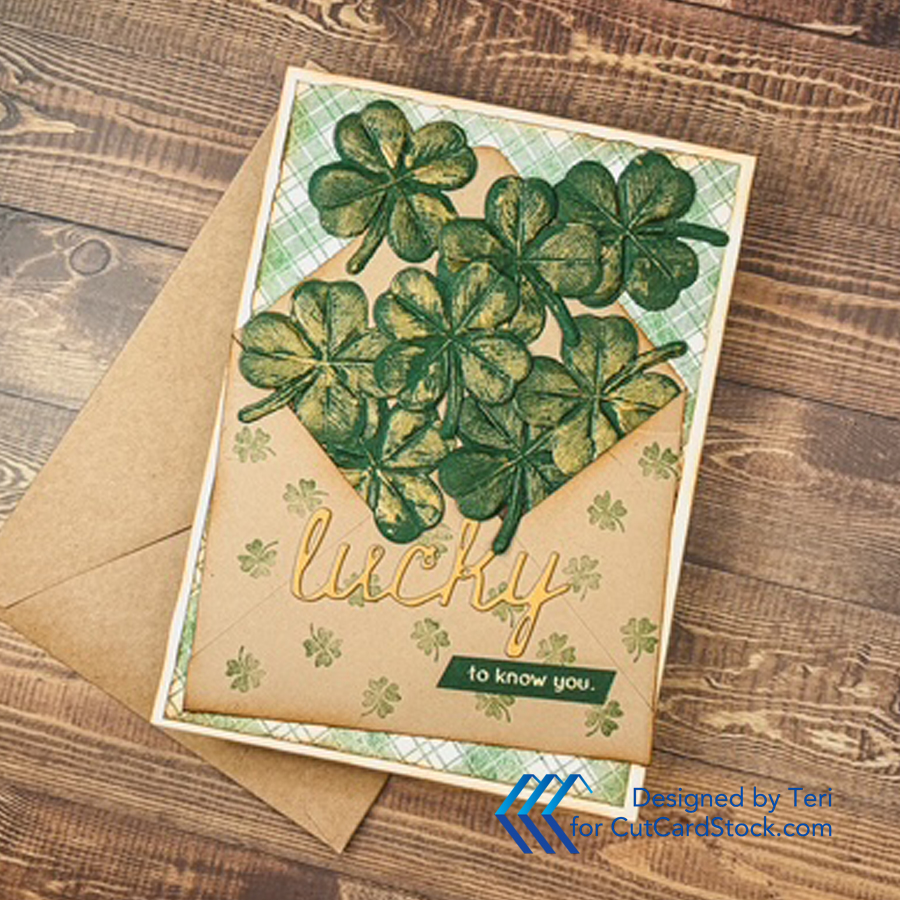
Use Cougar Natural 100 lb. Cardstock to create both the card base and the stamped panel. The card base measures 10 x 7 inches. Score in the center to create a 5 x 7 inch card base. Cut the panel 4.75 x 6.75 inches.
Use a larger background pattern stamp to mat to cover the panel. Run the edges against your glass to rough up the edges. Ink both the card base and the panel edges with Vintage Photo Distress Ink.
Die cut a sentiment to add to the card front. I chose Lucky to die cut using Stardream Metallic Gold Cardstock. Cut two and stack for dimension. I also stamped a short sentiment in gold on the Hunter Green Cardstock.
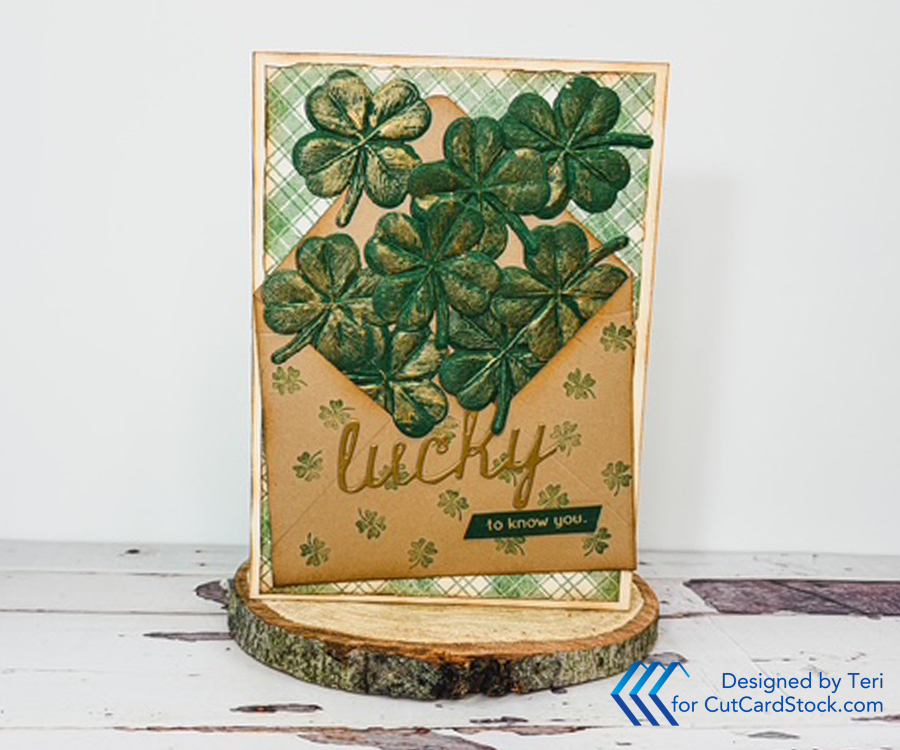
Attach the stamped panel to the front of the card base. Attach the Kraft envelope to the panel leaving the top flap open. Arrange multiple shamrocks randomly so they appear to be flying out of the envelope. Add the sentiments to complete the card!
Happy St. Patrick's Day my friends. Thanks for stopping. Be sure to check out the huge variety of cardstock available at CutCardStock!
Have you played with alcohol inks on different papers? I have and my favorites are Kromecote Cardstock and Heavy Vellum. Hi, today I am posting this bright Valentine for CutCardStock.
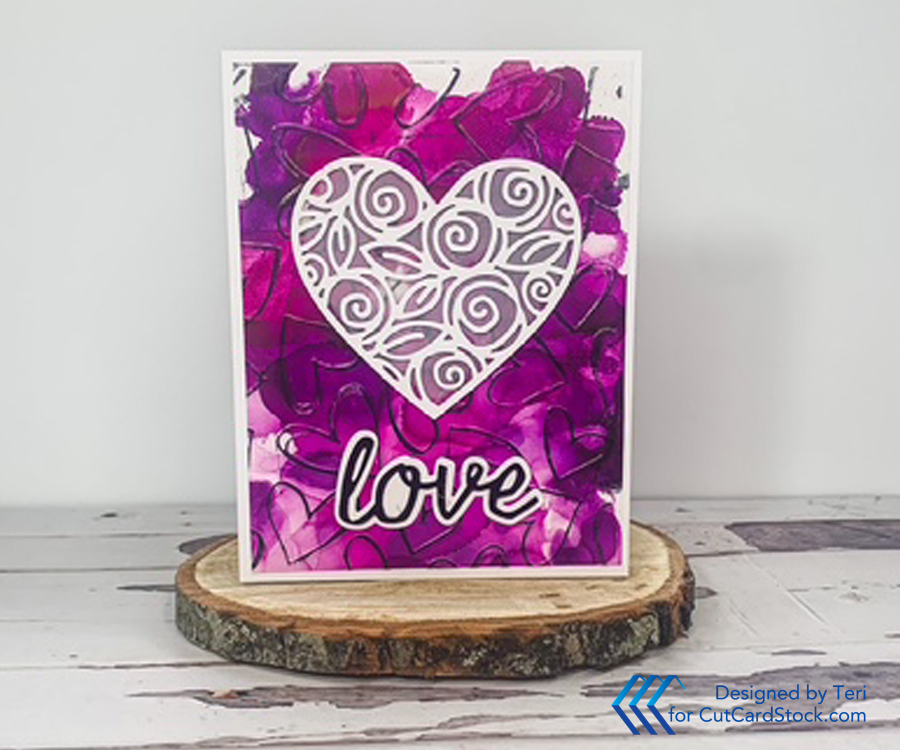
I love the glossy finish with the bright colored base.
Hello friends. Today I am posting for CutCardStock. Today I am sharing three cards, same image, same inks but different cardstocks. It is so interesting the way the cards took on different colors despite using the same inks.

Start by cutting A2 panels using Cougar 80 lb. White Cardstock, Royal Sundance Kraft, and Metallic Gold Stardream Cardstock.

This card uses Cougar 80 lb. White Cardstock.
Use another piece of A2 size Cougar cardstock and cut a rounded corner frame in the center to be your template for the ink blended base. Line the template up with the bases and ink blend with the color of your choice. I used Distress Peeled Paint ink. This inked area provides a great focal point for the cards.
Emboss all three panels using the Lush Berry Branch Embossing folder from Altenew. Use the Coordinating Stencil and add the color using Festive Berry and Peeled Paint Distress Inks. If you have multiple layers such as the leaves on this set, use the lighter color first and then proceed to the darker color for contrast. The newer stencil sets such as this one are so easy to line up and create a colorful card.

This is the Stardream Metallic Gold Cardstock. Look at that fabulous glow.
Choose a sentiment, stamp it using the Festive Berries Ink using a stamp platform to allow restaming. Once dry, add a second stamping using Versamark, add clear embossing powder and heat set.

This is the Royal Sundance Kraft Cardstock. It has a natural look.

Thanks for stopping by. Have you tried using the same image and colors on different cardstocks? Which is you favorite? I am leaning towards the card using the Kraft Cardstock.
Be sure to take a moment to visit the website. The customer service at CutCardStock is amazing.
Be well. Be creative. Happy crafting my friends!
Hello! Today I am posting for CutCardStock. Let’s compare the different affects you can achieve when using the positive and negative sides of embossing folders on Vellum. I have been experimenting with alcohol inks on vellum and am loving the results.

Hello friends. Today I am posting for CutCardStock! I have been experimenting with alcohol inks on different substances. Today I am sharing a spooky card with an alcohol ink and stamped background.

Start with the alcohol ink color of your choice. I started with an orange as I wanted a spooky background. Trim a piece of 65 lb. Translucent Vellum to 4.0 x 5.25 inches. Using a glass mat, add a few drops of the alcohol ink to the mat and swipe the vellum panel through the inks at random angles to create a varied base color. Once you are happy with the coverage, set aside to dry. Note the inks will dry very quickly.

Using a permanent ink such as Archival, stamp three ghosts on another piece of the 65lb. Vellum. Allow to dry and then fussy cut so you have three individual ghosts.

Use Archival Ink or another permanent black in to stamp the background images. For the ghosts and the background images, I used Stampers Anonymous CMS 495 Boo Crazy Stamps.
I love layering images and the Vellum makes it so very easy!
Use a double-sided adhesive sheet to attach the Vellum base to another panel of Lessebo Flame Cardstock. Use a bone folder to smooth out the Vellum. Attach the Vellum to an A2 size piece of Pop Tone Black Licorice Cardstock. Use Cougar 110 lb. White Cardstock for the card base. I cut and score my own card bases.
Add the ghosts randomly on the front of the card. Vellum is a little tricky to adhere. You can use double-sided adhesive sheets. I have also had success with white glue, but you need to spread it out in a very thin layer on the back of the vellum pieces.

Thanks for stopping by. I encourage you to take a moment to visit CutCardStock’s website. They have a huge variety of products and their customer service is the best! Be well. Be creative.
Hello friends. Today I am posting for CutCardStock. Today I am sharing a fall floral card using Translucent Vellum and Copic Markers. I love how the vellum gives the flowers a soft appearance.