Oct 27, 2023

Change the Card base, Change the Look

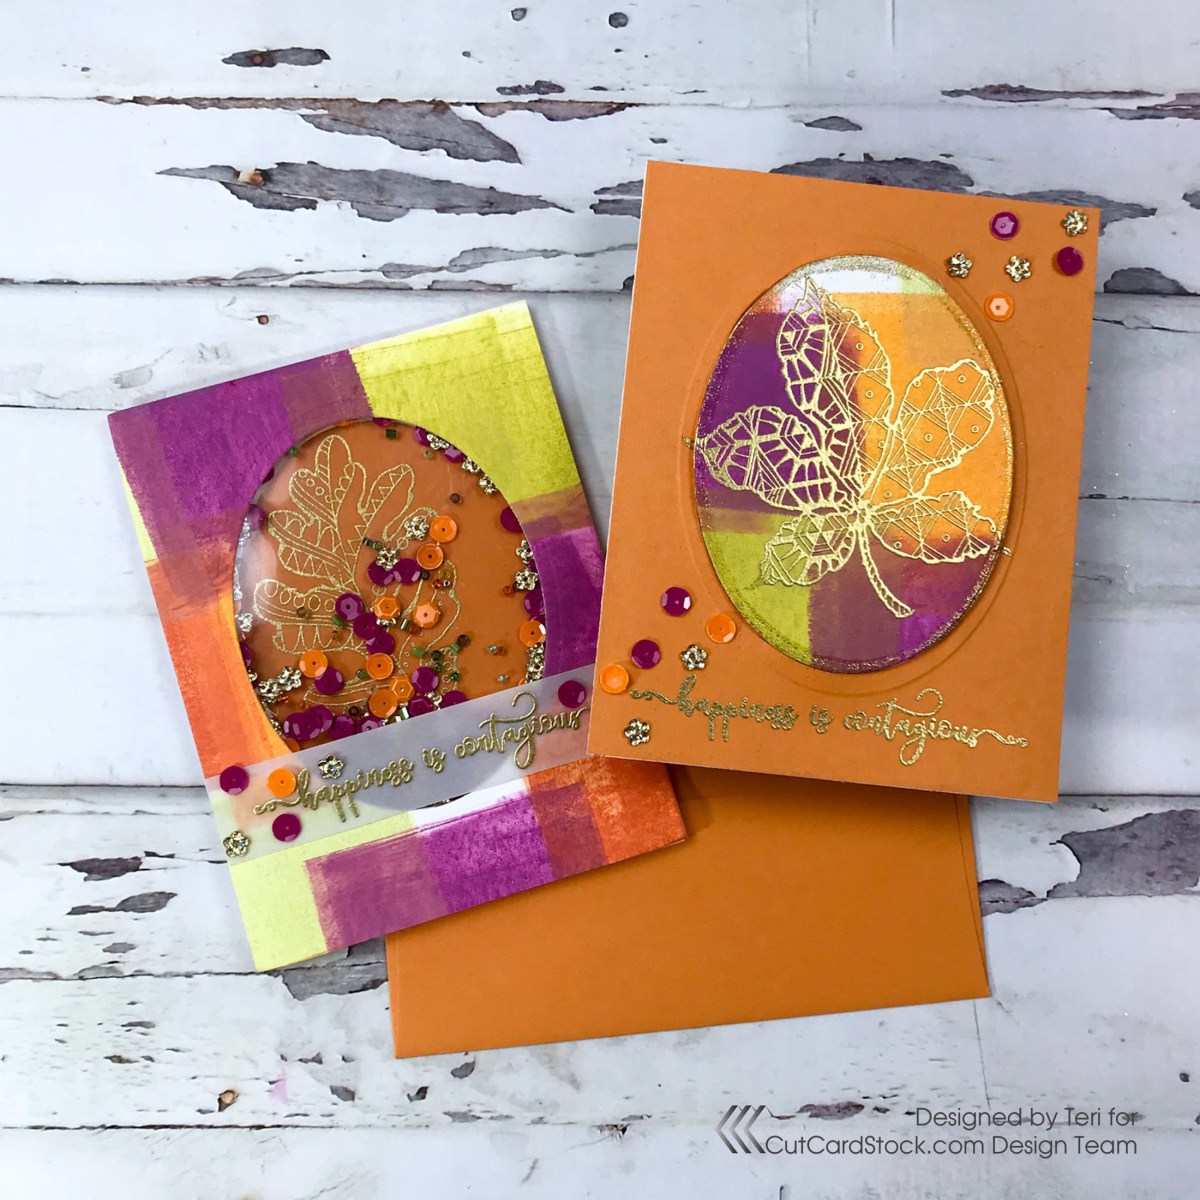
 Hello friends. I had too much fun playing with different card stocks and the new Hero Arts monthly kit. Today I am posting for Cutcardstock. See what a different Cardstock bases makes when using the same die and inks.


Change the Base, Create the Base

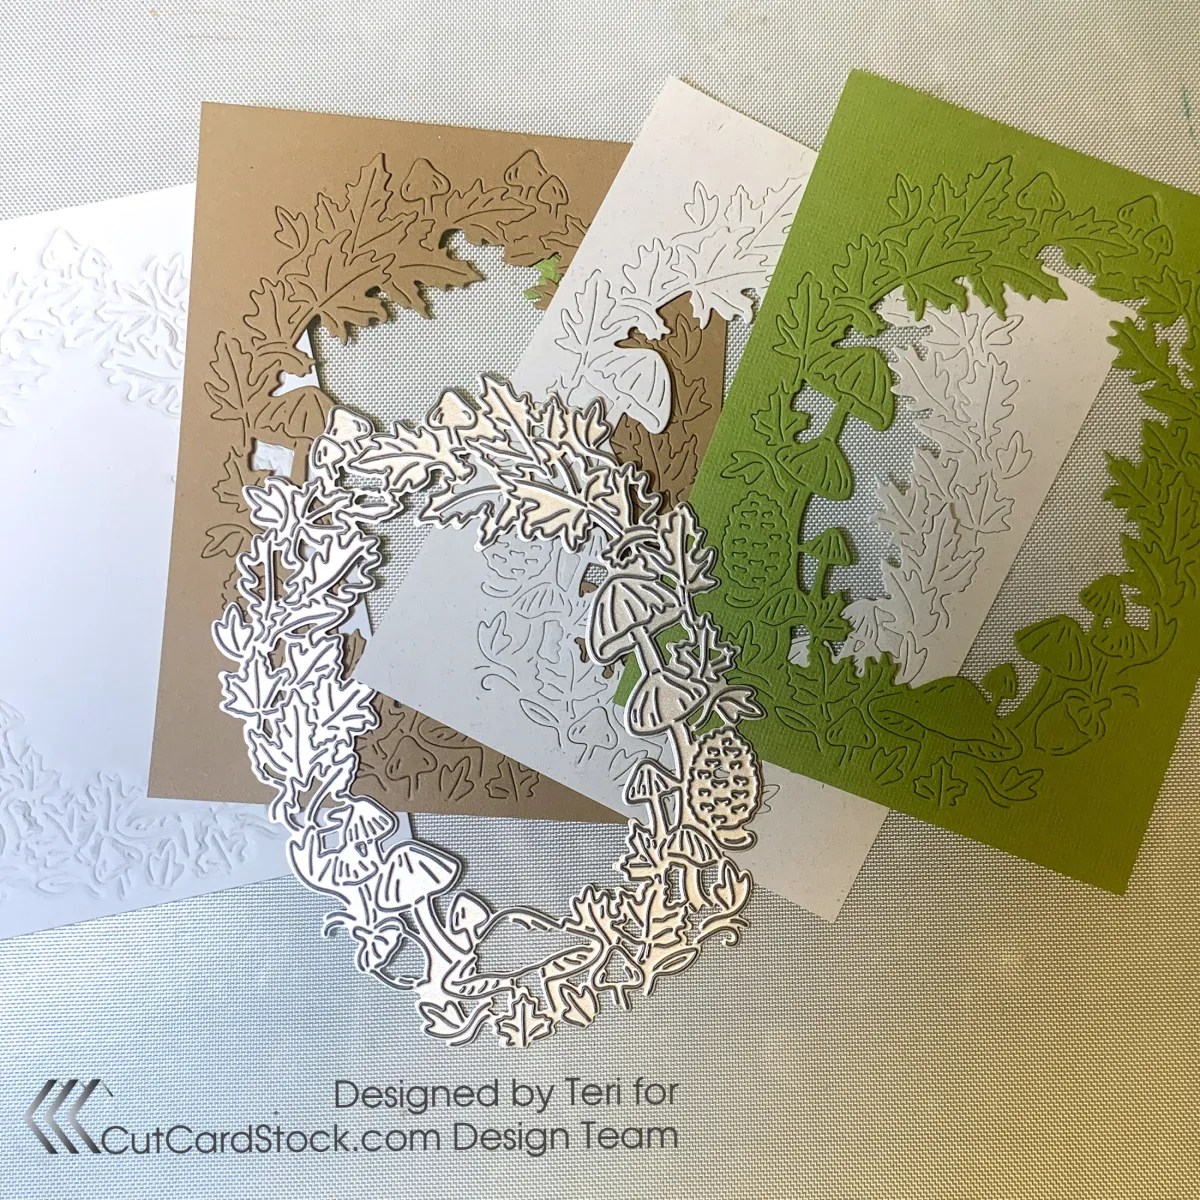
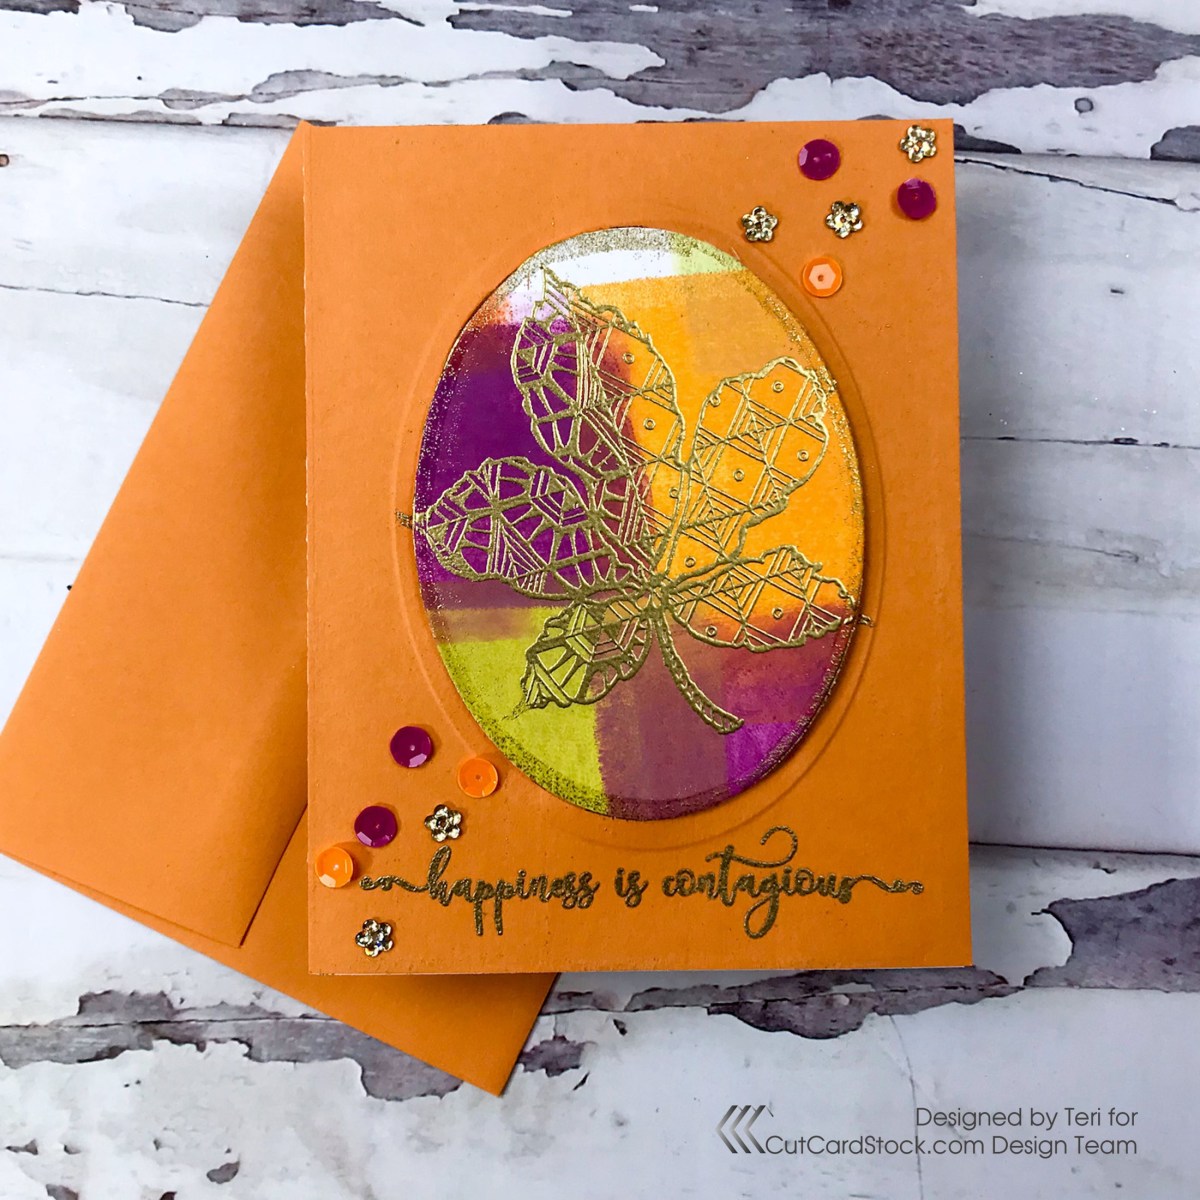
Select four different card stock bases for this project. I used DCS Galax Olive Green, Moonrock, Savoy 100% Cotton and Royal Sundance Kraft to achieve the different looks. Die cut the frame in the center of an A2 size base (Kraft, Galax and Moonrock. Use the rubber pad to dry emboss the frame into the Savoy A2 base.
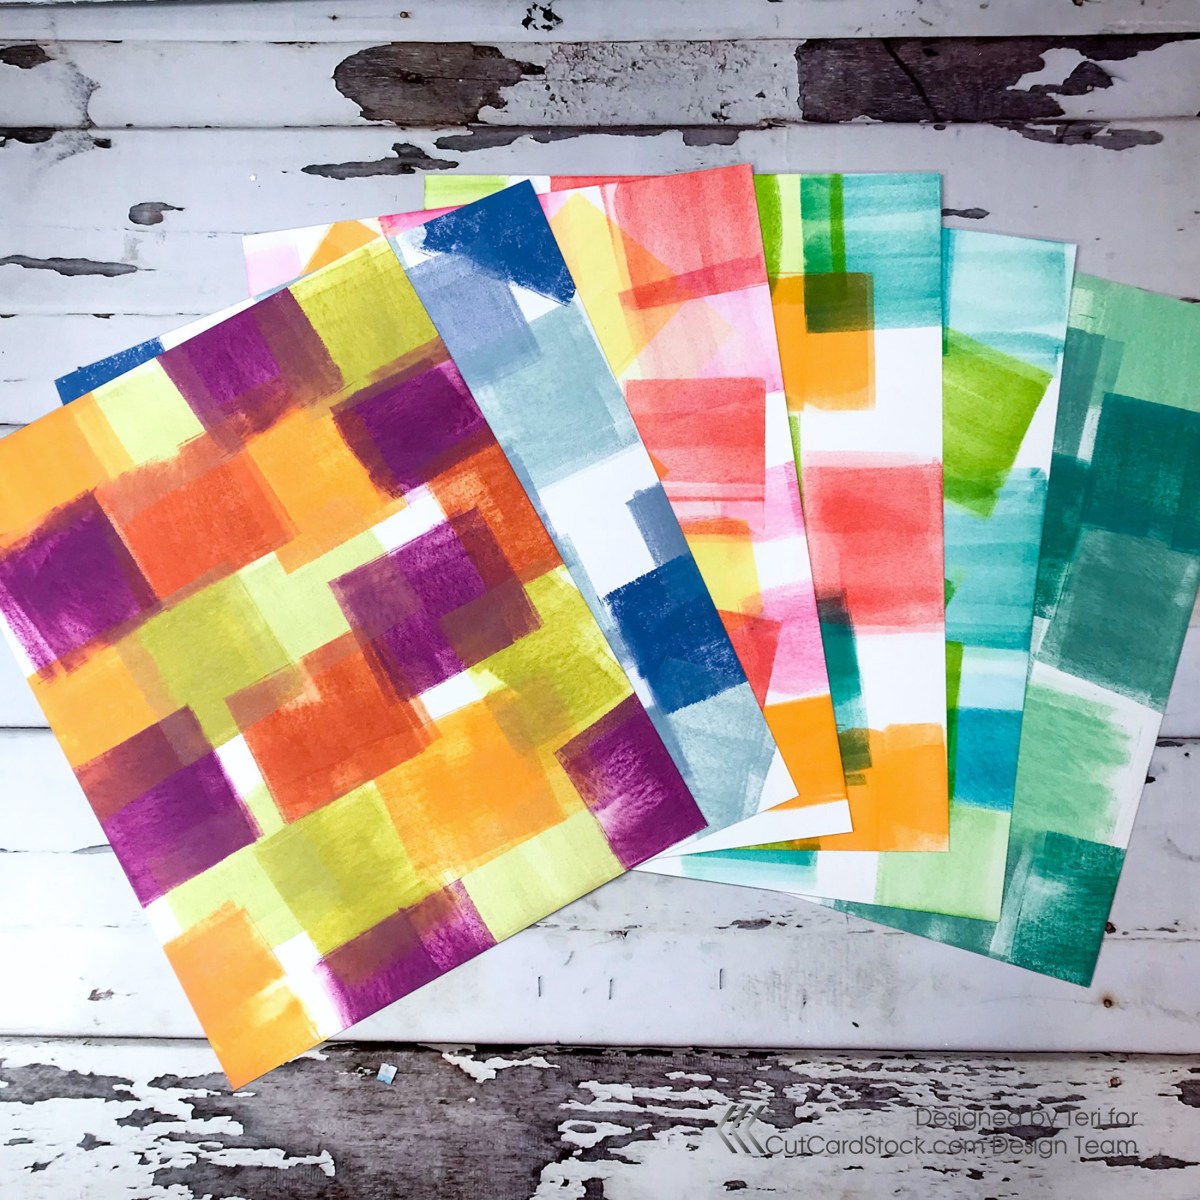
Stencil the Bases

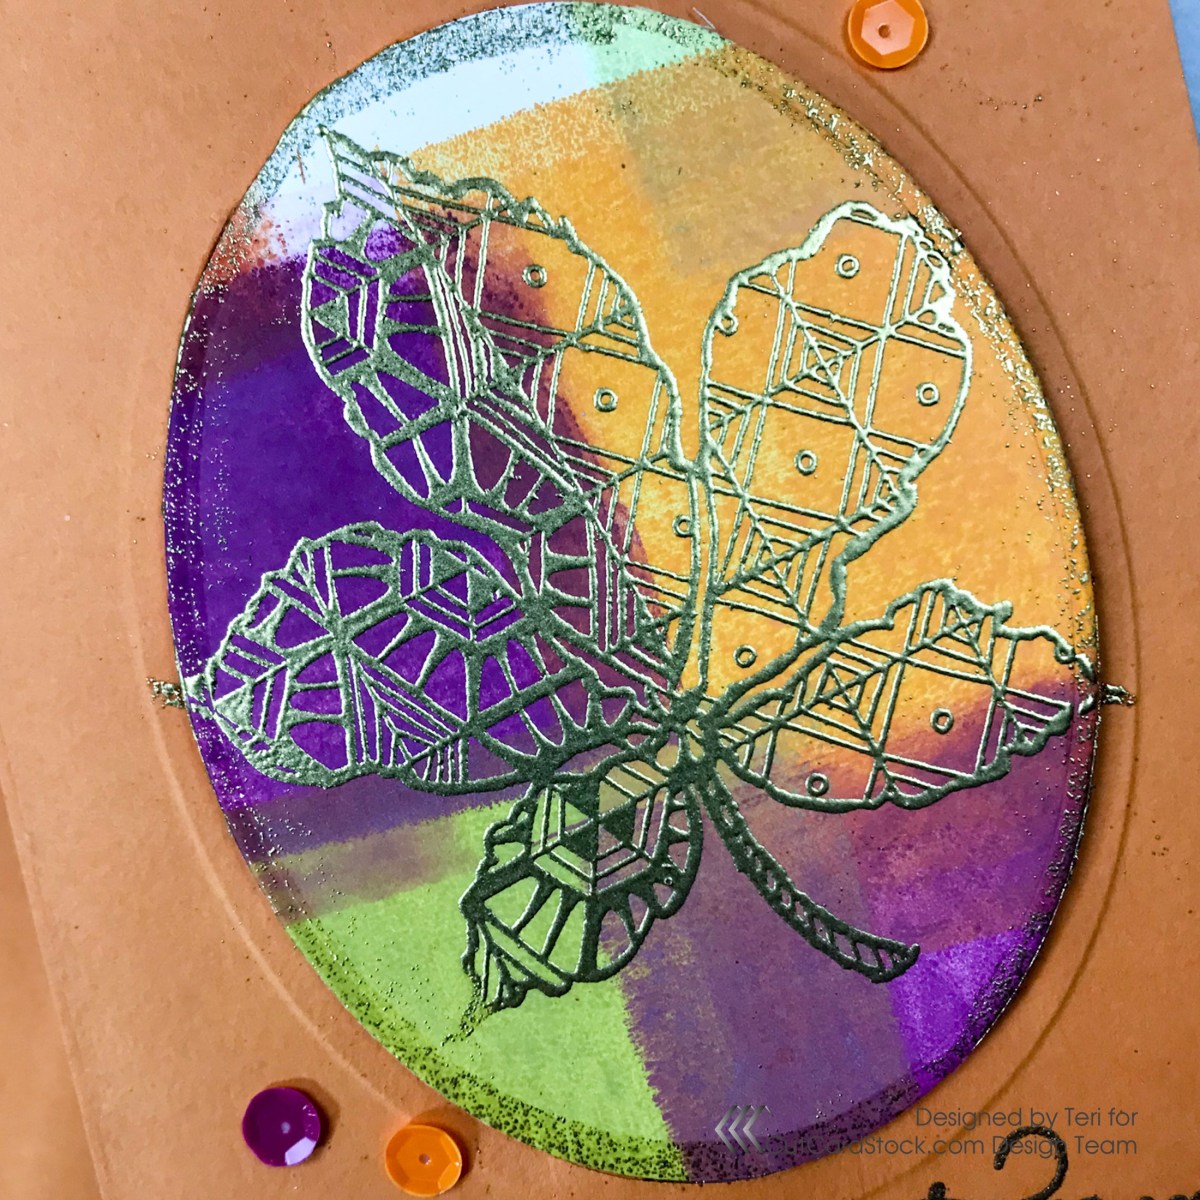
Use the coordinating stencils from the set to ink the images. I used Mustard Seed, Barn Door, Expresso and Brushed Corduroy Distress Oxide Inks. There are multiple stencils in this set. You can use more than one color on each stencil if you wish. I love working with layering Stencils.


See what a difference just changing the base color makes on the final panel. The ink colors change based on the different color bases!

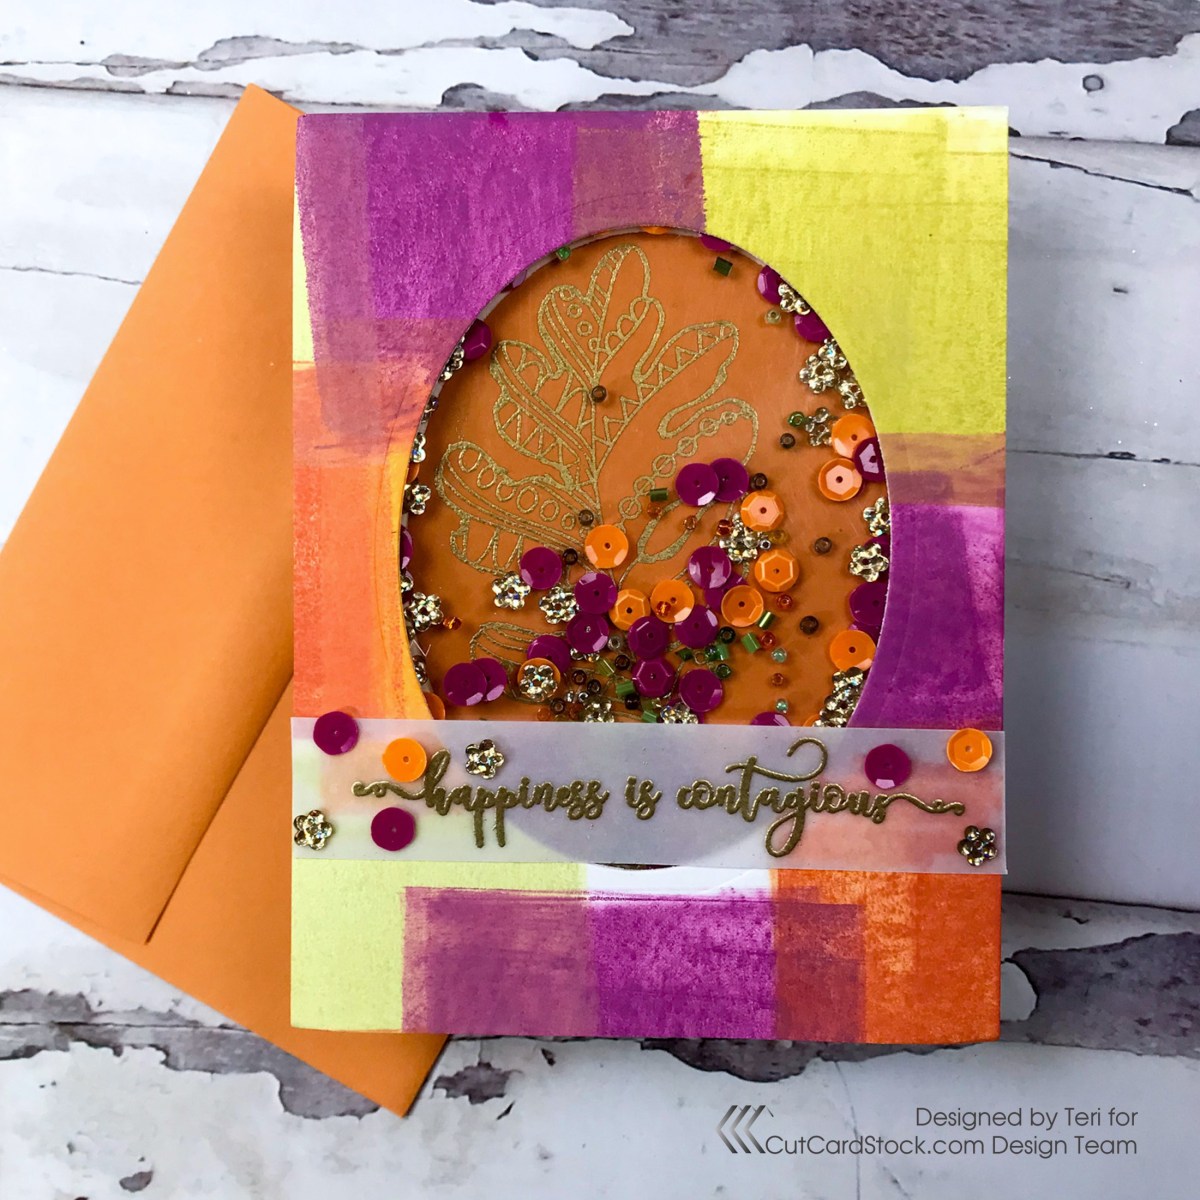
Stamp the Sentiments

Stamp the sentiment in the center of an A2 panel for the die cut panels and directly on the Savoy Cotton dry embossed panel. Use Fired Brick Distress Ink using a stamp positioner for the first stamping. Do not move the stamp, and ink with Versamark ink. Add clear embossing powder and restamp.

Assemble the Cards

Use Cougar 100 lb. White or 80 lb. Natural card stock to create your bases. Simply cut the panels into 5.5 x 11 inches and score in the center to create your A2 panels. Soooo easy. Attach the die cut panels to a base of your choice as well as the embossed panel.


Be sure to stop by CutCardStock’s site. They carry a great selection of cardstock and paper! Thanks so much for stopping by today! I’d love to have you follow/subscribe on my social media sites InstagramFacebookBlogger and YouTube all named TerisMailbox. Be well. Be creative!


Oct 23, 2023

Start Mixed Media Projects with a Brayer Base Panel

 Too much fun with multiple layers! Today I am posting for the Funkie Junkie Boutique. Check out how I started with a blank Distress Heavyweight Cardstock and added multi-media layers of color and spooky fun!

Oct 3, 2023

Brayer Background: Two-fer Cards

Have you tried using a brayer to add color to backgrounds? I had a blast recently using a variety of Distress Oxide Inks. The Oxide Inks work really well for this technique! Today I am sharing a two-fer card set for CutCardStock!

Create the Brayer Background

As you can see, I had too much fun doing the backgrounds with a brayer and Distress Oxide Inks using Cougar 80 lb White Cardstock. The technique is simple, just ink your brayer and roll onto the cardstock in a random pattern. Use Seedless Preserves, Cracklin Campfire, Carded Pumpkin and Olive inks to create the top panel. (I will be posting cards with the other panels on my Instagram Account in the future.)

Trim into 4 panels 4.25 x 5.5 inches.

Create the Shaker

Start with the card base, by cutting a full sheet of Cougar 100 lb Cardstock in half and score in the middle. Line one of the brayer panels up with the front of the card. Choose an oval die to cut the opening through both the brayer piece, the card base front as well as a piece of Pop Tone Orange Fizz Cardstock. The orange oval goes inside the card.

You will need to pop up the brayer piece. I used a piece of orange fun foam, lined up with the brayer panel. Cut using your die cut machine. You could use foam strips as well.

Assemble the shaker in the following order: the brayer panel, a piece of clear acetate, followed by the foam piece.

Lay the brayer panel face down and add a variety of sequins and beads over the acetate window. add adhesive and carefully line up the brayer panel with the card base.

Finish the Card

Heat emboss a large leaf image onto Orange Fizz cardstock oval using gold embossing powder. I used a very old Stampendous Stamp from my stash.

Heat emboss a sentiment onto Glama Translucent 105 lb Cardstock. I used Fancy Daily Sentiments from Picket Fence. Trim to 3/4 inches.

Attach the orange oval inside the card. The easiest way to line it up is to add adhesive to the back of the oval. Live the oval face down over the window and close the card!

Add glue to the front in position for the vellum strip. Use your finger to smooth out so the glue doesn't show. Add some additional bling and you are good to go.

Extra Pieces? Make a Two-fer Card

I had the brayer oval and the fun foam oval laying on my desk so I decided to make a second card!

Gold heat emboss the same leaf stamp on the oval. Use an embossing pen to run a line around the edge and add gold embossing powder. Heat to melt the powder.

Use an A2 card base and attach an A2 size panel of Pop Tone Orange Fizz to the front. Heat emboss the same sentiment and attach the oval to the card front. Add some additional sequins for interest.


Thanks so much for stopping by today! Be sure to check out CutCardStock as a great source of all things paper! I'd love to have you follow/subscribe on my social media sites Instagram, Facebook, Blogger and YouTube all named TerisMailbox. Be well. Be creative!

Oct 2, 2023

Create a Scene: Spooky Mixed Media Halloween Tag

 Hello and Happy fall! Today I am posting for The Funkie Junkie Boutique. Check out this very spooky scene created with an etcetera tag and layers of spooky goodness!

Recent Posts