Hello friends. Today I am posting for CutCardStock. As the holidays wind down, sometimes we need some peace and quiet in our lives. I am sharing this pastel post-holiday card.


Hello friends. Today I am posting for CutCardStock. As the holidays wind down, sometimes we need some peace and quiet in our lives. I am sharing this pastel post-holiday card.
Today I am posting for The Funkie Junkie Inspiration Blog. The theme is Holiday Homecoming: Celebrate with Family and Food. Today I present my candy shop home decor piece. My favorite food is candy!

Wow! I had too much fun with the Spark Joy Ornamental Bouquet Set from Altenew! Check out the three ways I used the products to create three different cards! Hot Foiling is amazing!


I am using compensated affiliate links meaning I earn a small commission at no cost to you. I appreciate your support so I can bring you new content.
Thanks so much for stopping by today! I'd
love to have you follow/subscribe on my social media sites Instagram, Facebook, Blogger and YouTube all
named TerisMailbox. Be well. Be creative!
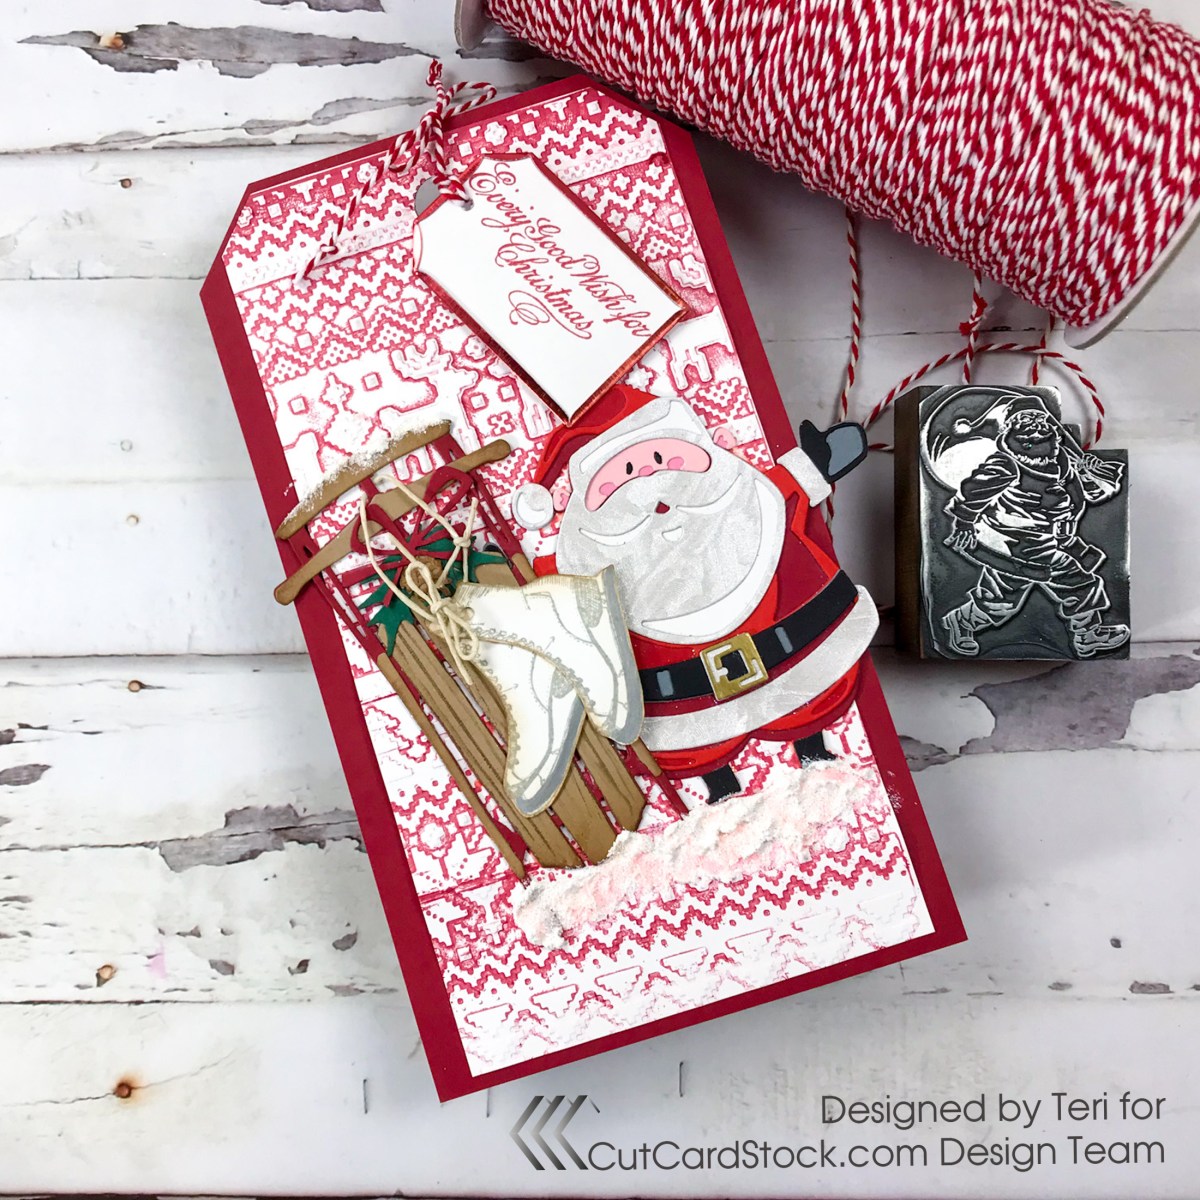
Happy Holidays Friends! It's Teri with TerisMailbox posting this fun holiday tag for CutCardStock. Check out the new Lessebo Line of Cardstock - so rich and colorful and the perfect weight for die cutting.
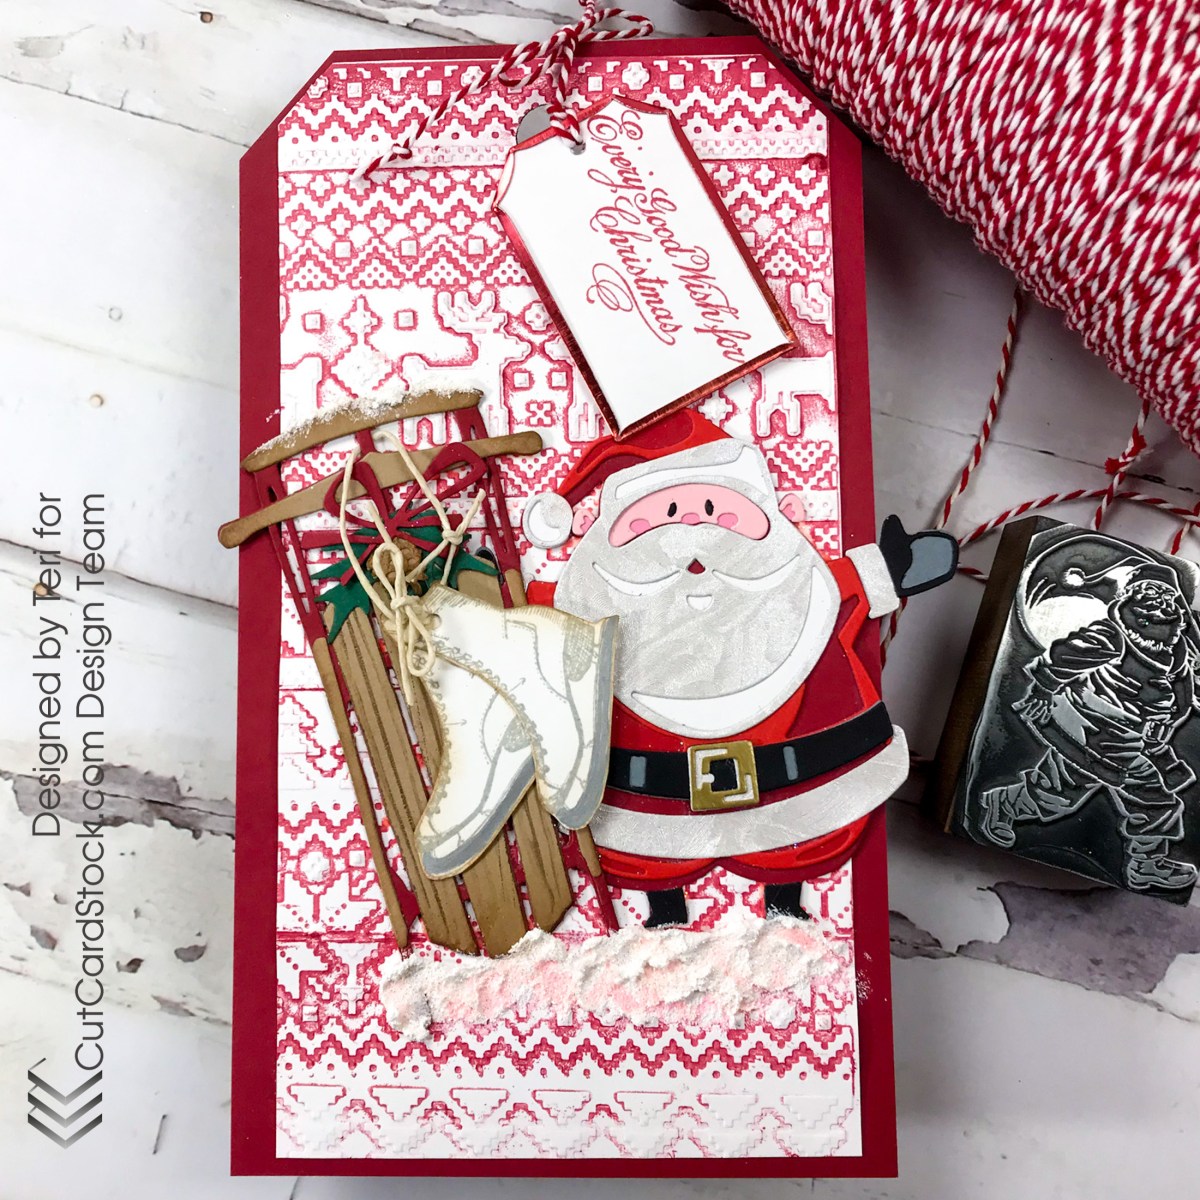
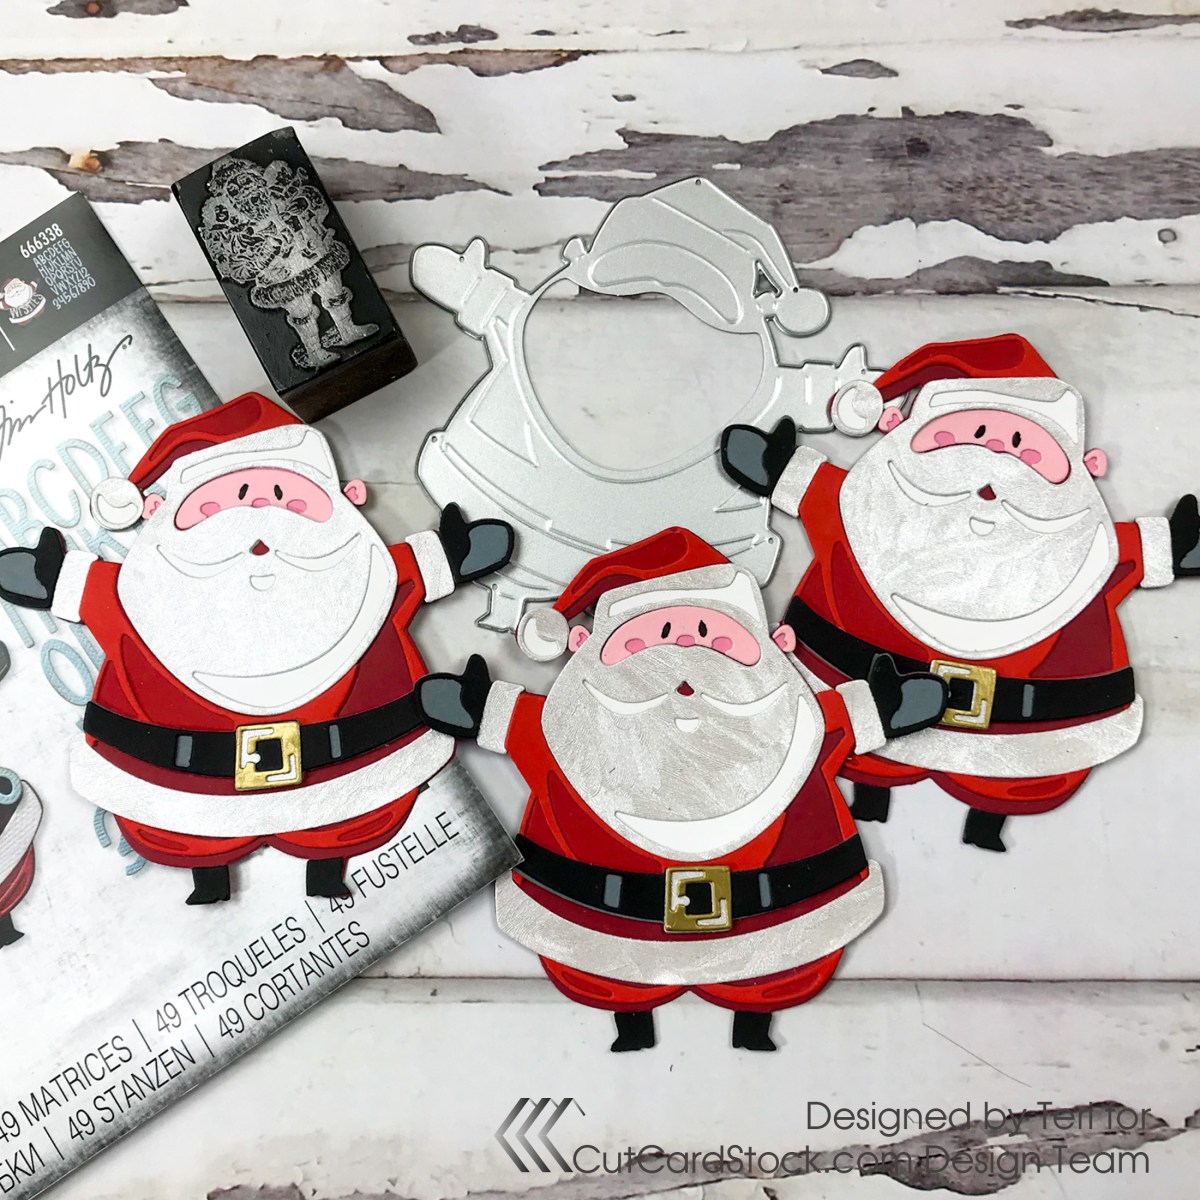
The Santa uses a few different Lessebo Cardstock colors - new in stock! Dawn Maroon and Cherry Red make Santa's suit pop! Use the new Sizzix Santa Die to make your Santa. Cut his suit pieces using Dawn Maroon, Cherry Red, Premium White, Pitch Black and Granite Lessebo Cardstocks. The textured white I used on his beard is from my stash. You will also need gold cardstock for his buckle. Stardream Metallic Cardstock in gold would work well.
Once you have all the pieces die cut, use white glue to assemble the Santa. Set aside while you work on the sled!
Use Royal Sundance Kraft Cardstock for the wood panels on the sled. Prior to die cutting, Run Vintage Photo Archival Ink over the raised section of the die pieces and carefully lay face down on a piece of Kraft Cardstock. Run through the die cut machine and set aside. Die cut additional pieces for the sled using Dawn Maroon and Hunter Green for the leaves. Assemble the sled and set aside.
Stamp two skates using grey ink to add interest to the sled. Fussy cut, punch a small hole and tie together with twine.
Create your tag base by trimming a piece of Chipboard to 8.25 x 4.5 Inches. Cut a piece of the Dawn Maroon Cardstock to cover the Chipboard tag.
Cut a piece of Cougar White 100 lb Cardstock to 4 x 6 inches and a second piece to 4 x 4 inches. Use distress ink to ink up the flat inside of the Holiday Knit Texture Fade Embossing Folder. Run through the die cutting machine. As the folder is only 6 inches long, you will need to do the same with the 4 x 4 inch piece. Attach the larger piece to the tag base. Decide where you want the second piece to start and trim to fit. Attach to the tag base.

Glue Santa on the right side, slightly lower than the middle. Glue the sled to the left side of the tag. Tie the skates on the sled.
Use Ranger Snowfall Grit to add a line of snow just below the sled and Santa. Create a tag and stamp with a sentiment. Use red and white twine to attach to the base.

Thanks for stopping and be sure to check out the great assortment of cardstock at CutCardStock. I am loving the new Lessebo Line!
Thanks so much for stopping by today! I'd love to have you follow/subscribe on my social media sites Instagram, Facebook, Blogger and YouTube all named TerisMailbox. Be well. Be creative!
Happy Holidays my friends!
Hello friends! It's Teri with TerisMailbox posting for TFJB Inspiration Ave sponsored by The Funkie Junkie Boutique. Our theme is Deck the Halls and I'll show you how to change simple Dollar Tree Ornaments into Holiday Scenes - Santa included!


