
Today I am celebrating winter with a selection of colorful, sparkly snowflakes for CutCardStock.

Die Cut the Components
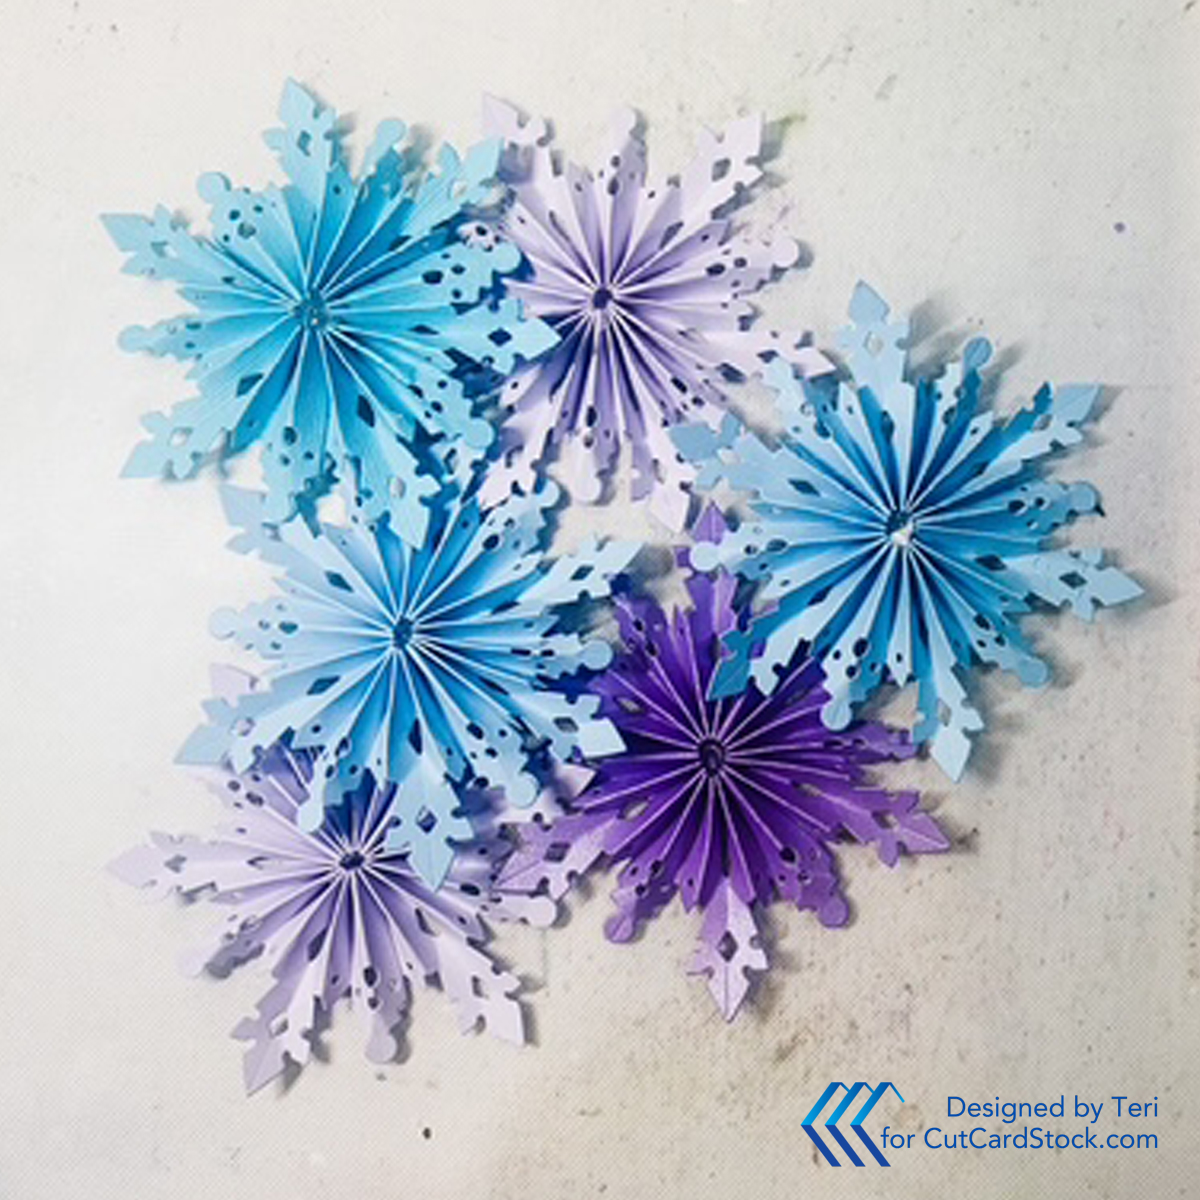
Die cut multiple components using Lessebo Lilac Cardstock, Stardream Metallic Amethyst, DCS Surf Cardstock and Lessebo Salt Water Cardstock. One snowflake requires three smaller panels as well as an extra small snowflake.

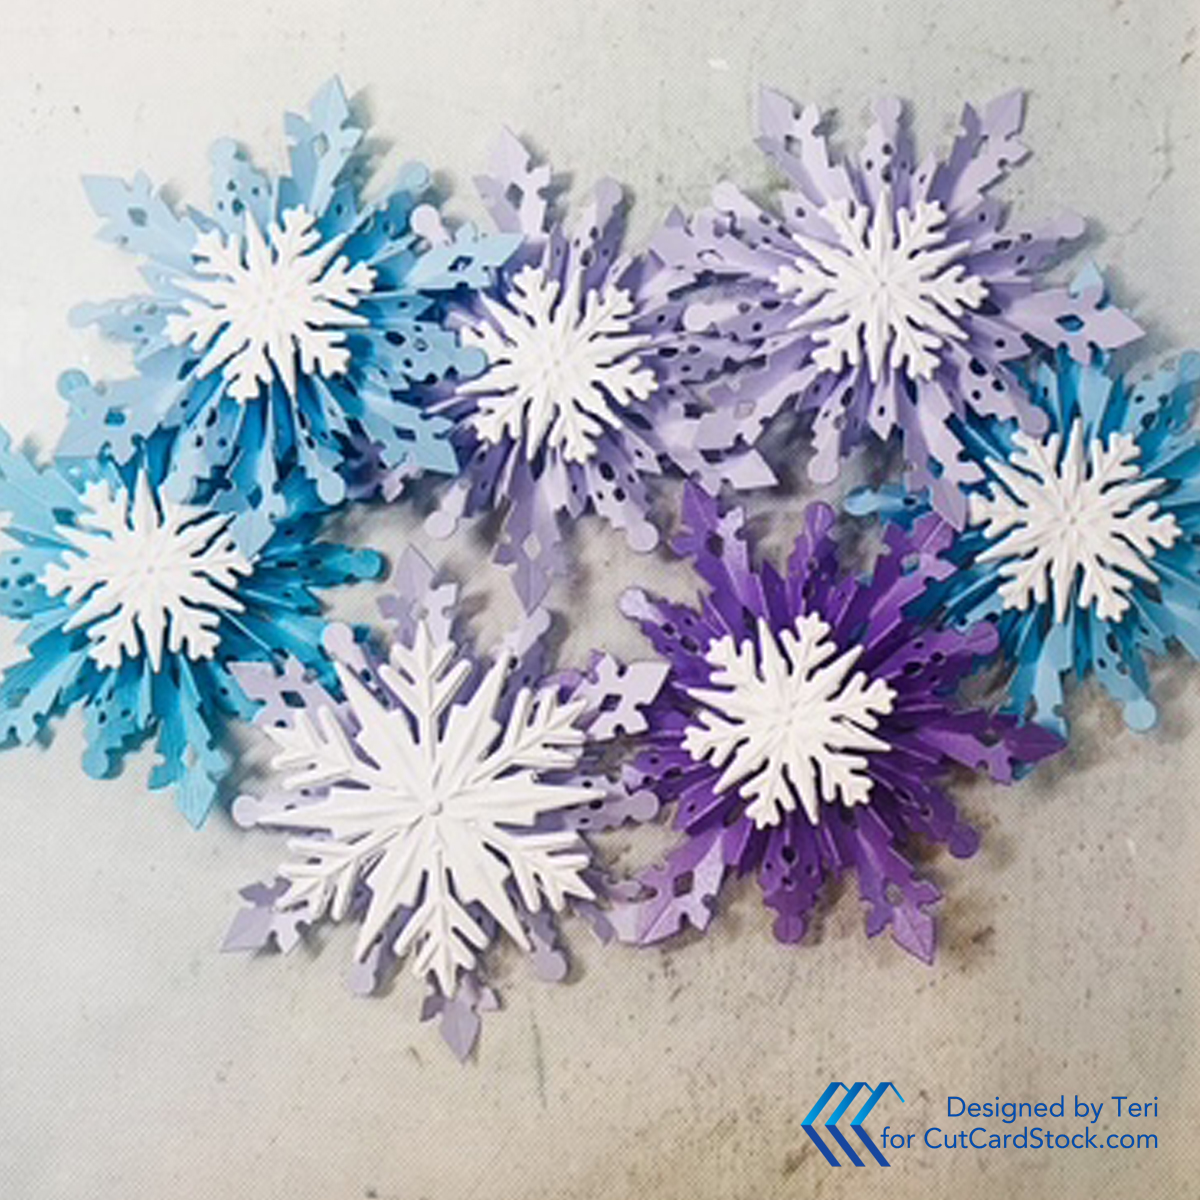
Die cut additional embossed snowflakes using a die by Sizzix with Cougar 80 lb. White Cardstock.
Assemble the Snowflakes
Each die cut panel needs to be folded back and forth creating the mountains and valleys for texture as shown in the photo above. Three of the panels are glued on the short end to form a circle. Add a blob of hot glue to the craft mat. Stand the circle up flat side on top surrounding the hot glue blob and push downwards and inwards to create the snowflake. Leave the snowflake in place to dry. Attach the smaller snowflake to the bottom to hold the snowflake together.
Attach one embossed snowflake to the top of each snowflake using hot glue.
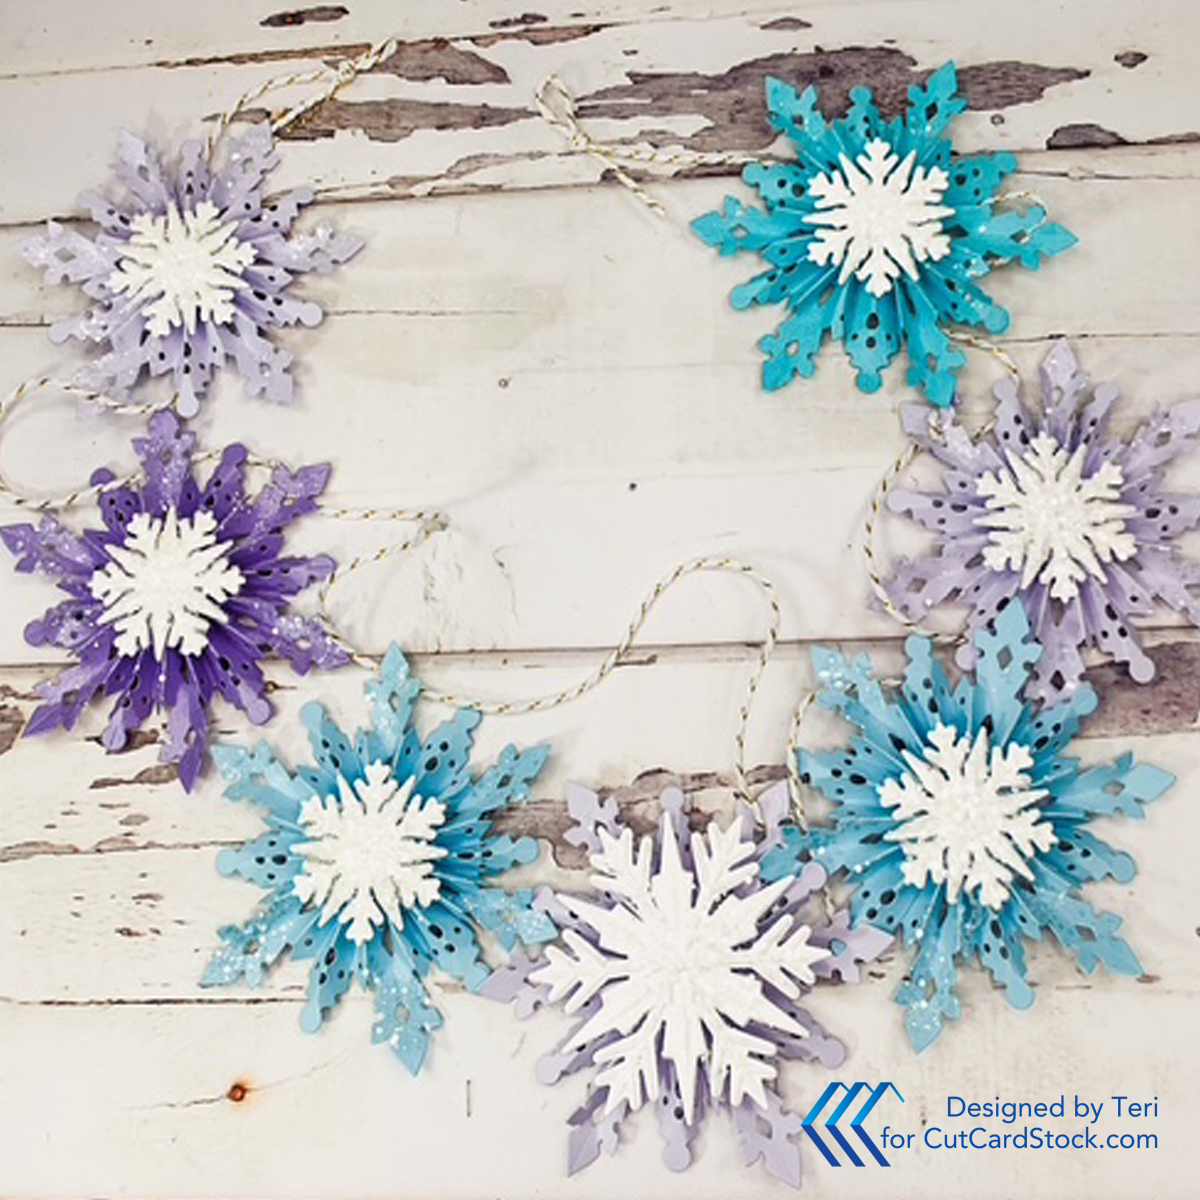
Finish the Sparkly Snowflakes
Pour a small amount of Glossy Accents onto your kraft mat and use a small brush to add to the embossed white snowflake. Set the snowflake on a piece of scrap paper and pour Ranger's Chunky Glitter over the top. Press down slightly and shake the excess off. Set aside to dry.

Assemble the Swag
Use a piece of twine or cord and space the snowflakes out attaching them with string or thread. Add a small drop of glue to hold them in place.
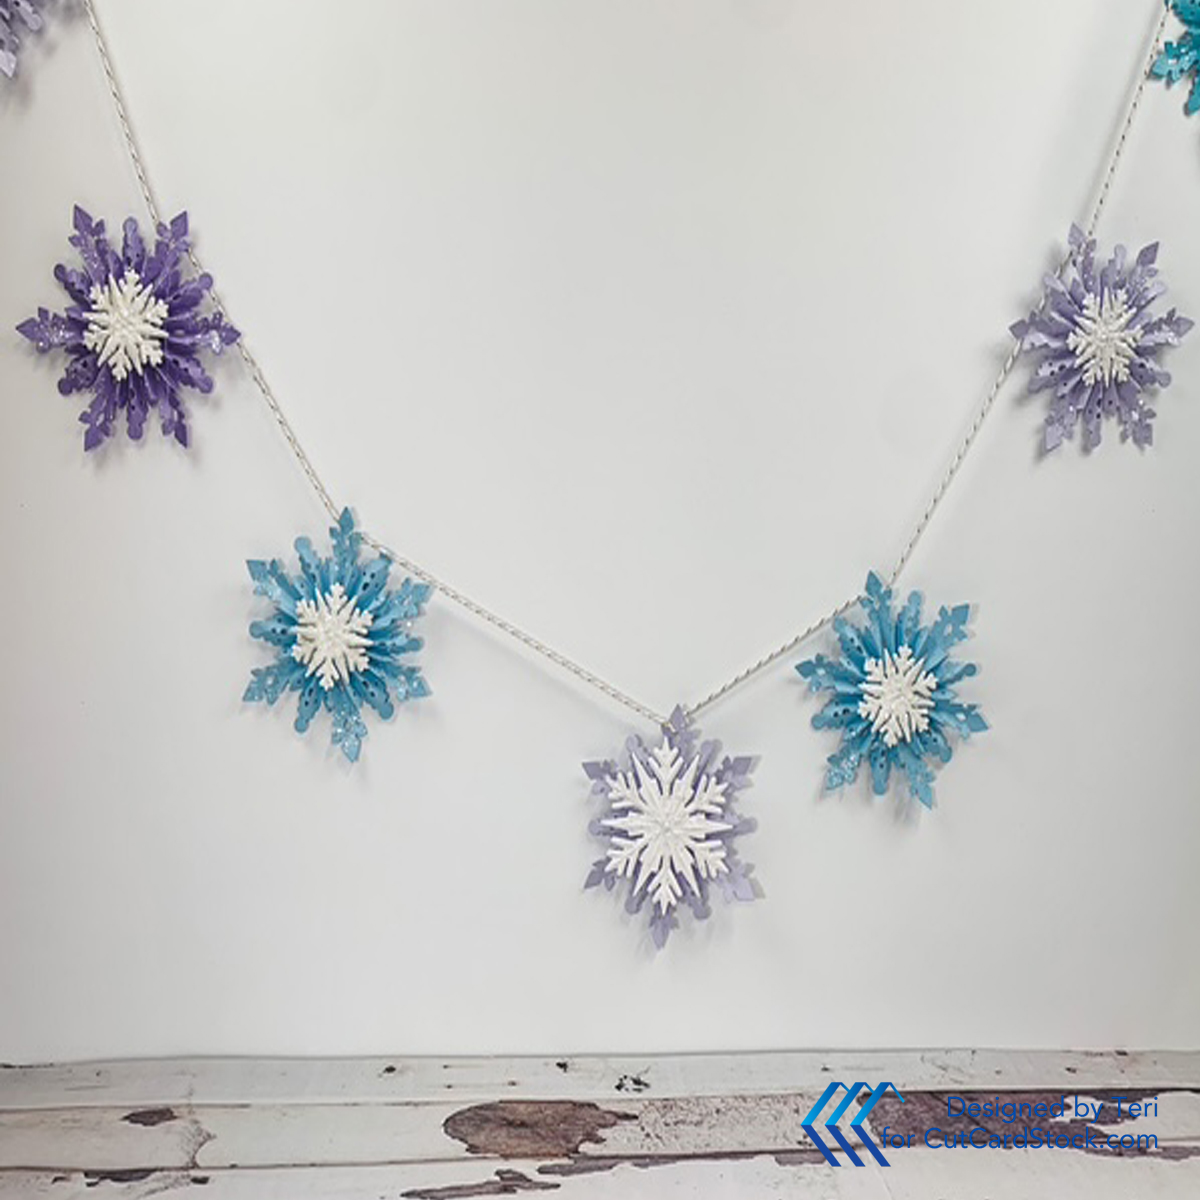
You are ready to hang your winter snowflake swag!
I hope you have enjoyed seeing this process! Thanks for stopping by. Be sure to check out all the wonderful supplies at CutCardStock.
Happy crafting my friends.


No comments:
Post a Comment