Easter is fast approaching. Have you finished your cards? Hello, it is Teri with TerisMailbox posting for CutCardStock. Today I have this very cute bunny and a floral basket to share.
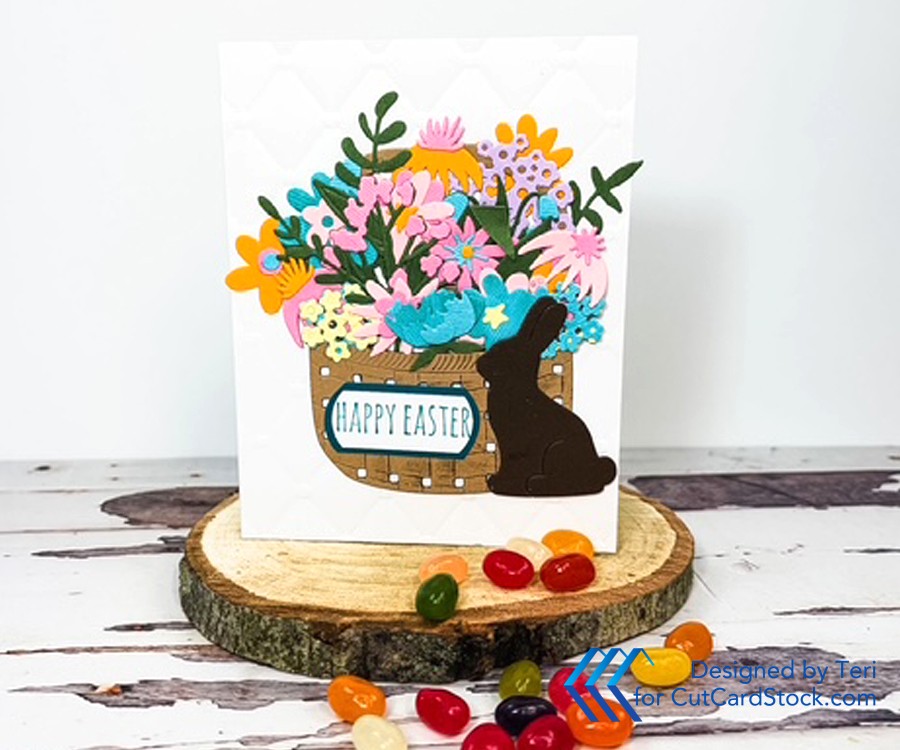

Easter is fast approaching. Have you finished your cards? Hello, it is Teri with TerisMailbox posting for CutCardStock. Today I have this very cute bunny and a floral basket to share.
I love shamrocks! How about you? Our older son can walk in a field of grass and find four leaf clovers! I have never found one! Today I am sharing a colorful St. Patrick's Day card full of embossed shamrocks. Hi, it is Teri with TerisMailbox posting for CutCardStock.
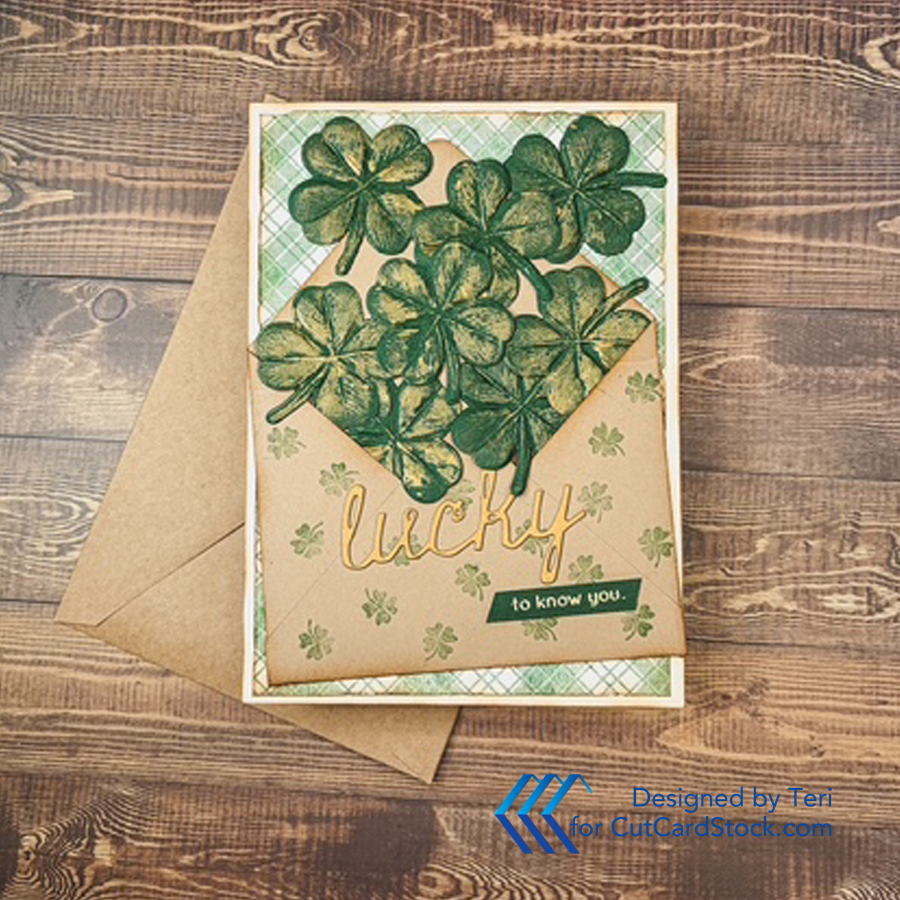
This fun card is all about the layers!
Use Lessebo Hunter Green Cardstock to die cut multiple shamrocks. I used the Tim Holtz embossing die. Add Gold Lunar paste to enhance the shamrocks. Set aside to dry.
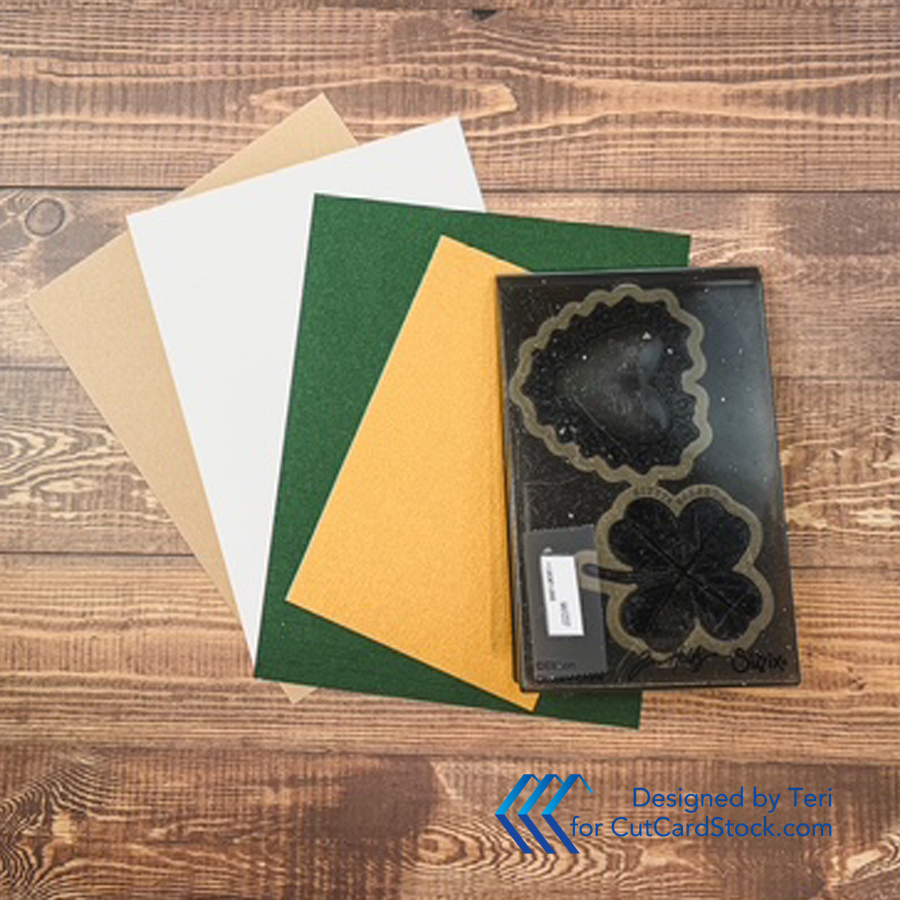
My card base measures 5 x 7 inches. The envelope holding all the shamrocks needs to fit on that card base. The Envelope Punch Board has many options for sizing the envelopes. I chose a size that easily would hold the shamrocks while allowing some of the background to show. Use the board to create your envelope. Be sure to round the corners before assembling.
Use Kraft Royal Sundance Fiber Cardstock for the envelope. Ink the edges with Vintage Photo Distress Ink. Stamp random shamrocks over the base of the envelope.
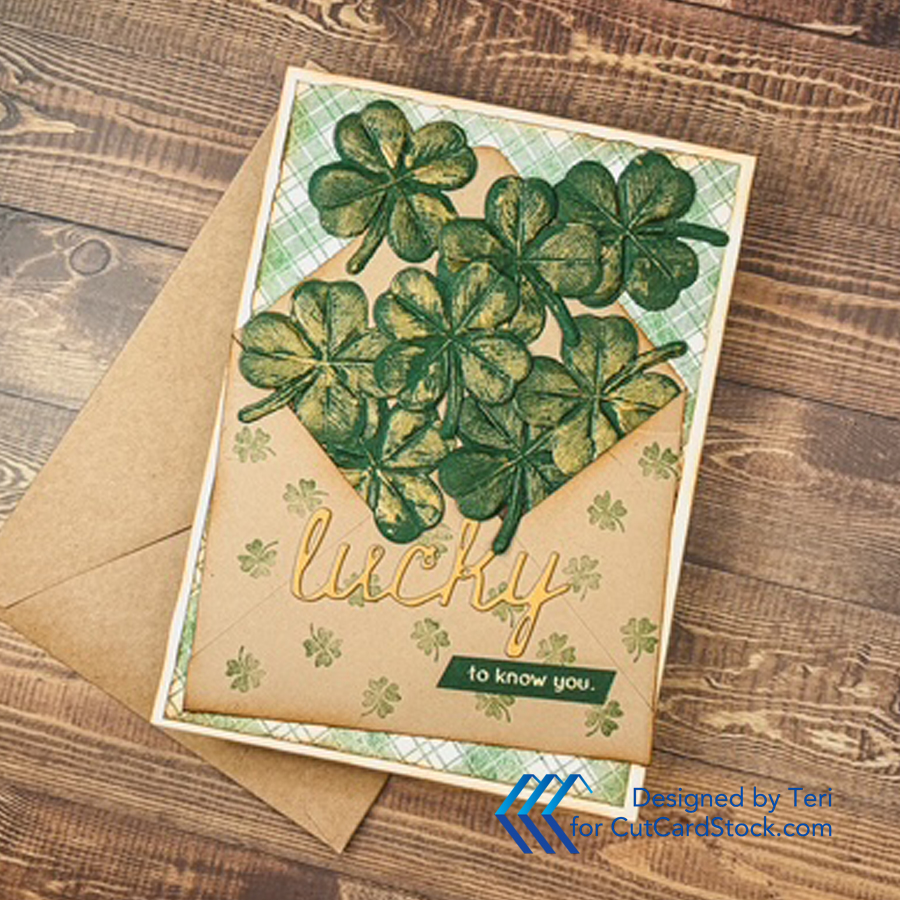
Use Cougar Natural 100 lb. Cardstock to create both the card base and the stamped panel. The card base measures 10 x 7 inches. Score in the center to create a 5 x 7 inch card base. Cut the panel 4.75 x 6.75 inches.
Use a larger background pattern stamp to mat to cover the panel. Run the edges against your glass to rough up the edges. Ink both the card base and the panel edges with Vintage Photo Distress Ink.
Die cut a sentiment to add to the card front. I chose Lucky to die cut using Stardream Metallic Gold Cardstock. Cut two and stack for dimension. I also stamped a short sentiment in gold on the Hunter Green Cardstock.
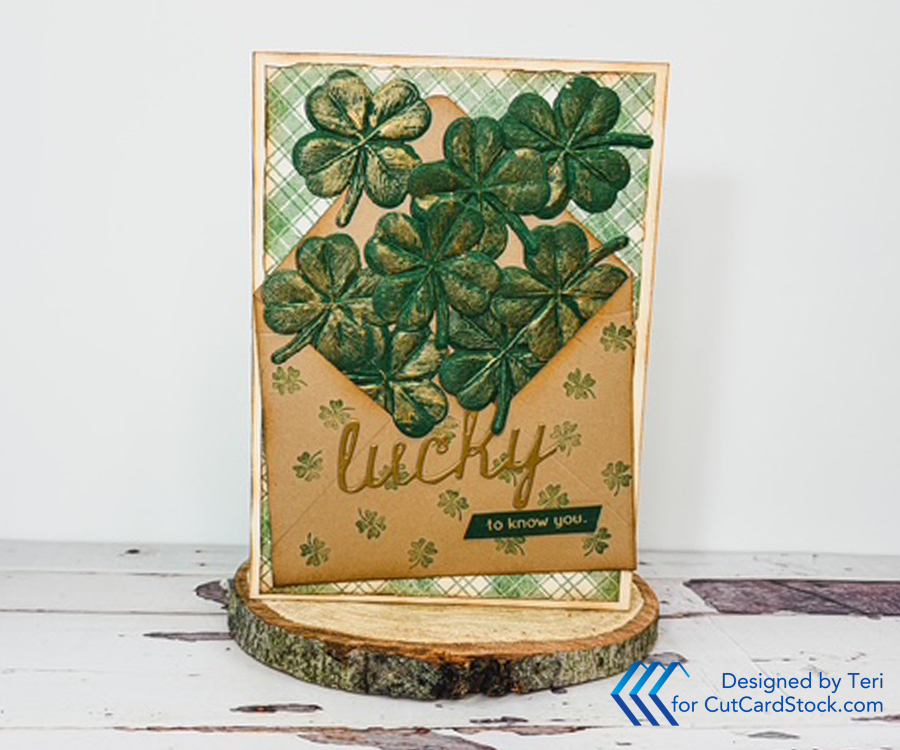
Attach the stamped panel to the front of the card base. Attach the Kraft envelope to the panel leaving the top flap open. Arrange multiple shamrocks randomly so they appear to be flying out of the envelope. Add the sentiments to complete the card!
Happy St. Patrick's Day my friends. Thanks for stopping. Be sure to check out the huge variety of cardstock available at CutCardStock!
Hello friends. Today I am posting for CutCardStock! I’m in the holiday mood and creating fun wintery cards! Star Dream Metallic is perfect to create the shiny stars and sentiments.

Check out this sweet holiday scene complete with Santa and the reindeer!
Hello friends! Today I am posting for CutCardStock. I saw this fun pop-up card style by @bibicameron with pop up flowers inside and I knew I had to make one!

Using the floral dies of your choice, die cut a group of flowers for both the outside and inside the card. I used Sizzix Modern Floristry die. I recently bought the Color Cubes and decided to pull a card to guide my cardstock selection. Cardstock used include DCS Bayleaf, Lessebo Sunflower, Lessebo Cherry Red, Lessebo Brick and a deep purple from my stash. You can see how well the cardstock colors match the Color Cube Card (@sarahrenaeclark).

Bibi Cameron has a short reel on her Instagram Account (@bibicameron) documenting the steps to pop up the interior flowers. She basically used cardstock strips, scored and folded in a triangle like shape for the pop-ups.
Trim a piece of Royal Sundance Kraft 80 lb. Cardstock to 5.5 x 4.25. Score in the center to form an A2 card base.
Score a piece of Kraft cardstock 3 x 8.5 inches into 1 inch scores with 1/2 inch left over. Add glue on the end and fold. Trim into 1/2 inch pieced the scored piece in half leaving a 3 x 4 inch double piece of cardstock. The base triangle is formed by folding the scored pieces leaving 2 inches at the top on each side and gluing the additional scored pieces together leaving a two inch base to glue to the card base along the center score. This allows the triangle to pop up when the card is opened. You will want to add three triangles. Add 1/4 inch strips to the center piece of the triangle so you can add more flowers.

This is what the completed triangle bases look like before standing up and gluing the bottom to both sides of the crease.
After gluing the various layers of the flowers together, arrange and glue them on the sides of the center triangles with some on the 1/4 inch strips.

Use the Intertwine 3D embossing folder on a piece of Baronial Ivory Cardstock after die cutting it into an oval shape. Use Distress Tea Dye inks smooshed on your craft mat to add color to the wicker texture. Add foam strips and add to the front card base. Arrange a few flowers on the left side of the wicker oval.

Emboss a sentiment of choice and stack with additional Cardstock layers. Attach to the card front.
Be sure to check out all the gorgeous colors of Lessebo Cardstock available at CutCardStock!
All of my channel and affiliate links are listed in the Profile on Instagram. I would love to count you as a subbie friend. I appreciate your support. By using my links, I earn a small commission at no cost to you.
Thanks so much for stopping by today! I’d love to have you follow/subscribe on my social media sites Instagram, Facebook, Blogger and YouTube all named TerisMailbox. Be well. Be creative!
Let's celebrate our great country with a fun patriotic tag! Today I am posting today for The Funkie Junkie Boutique!
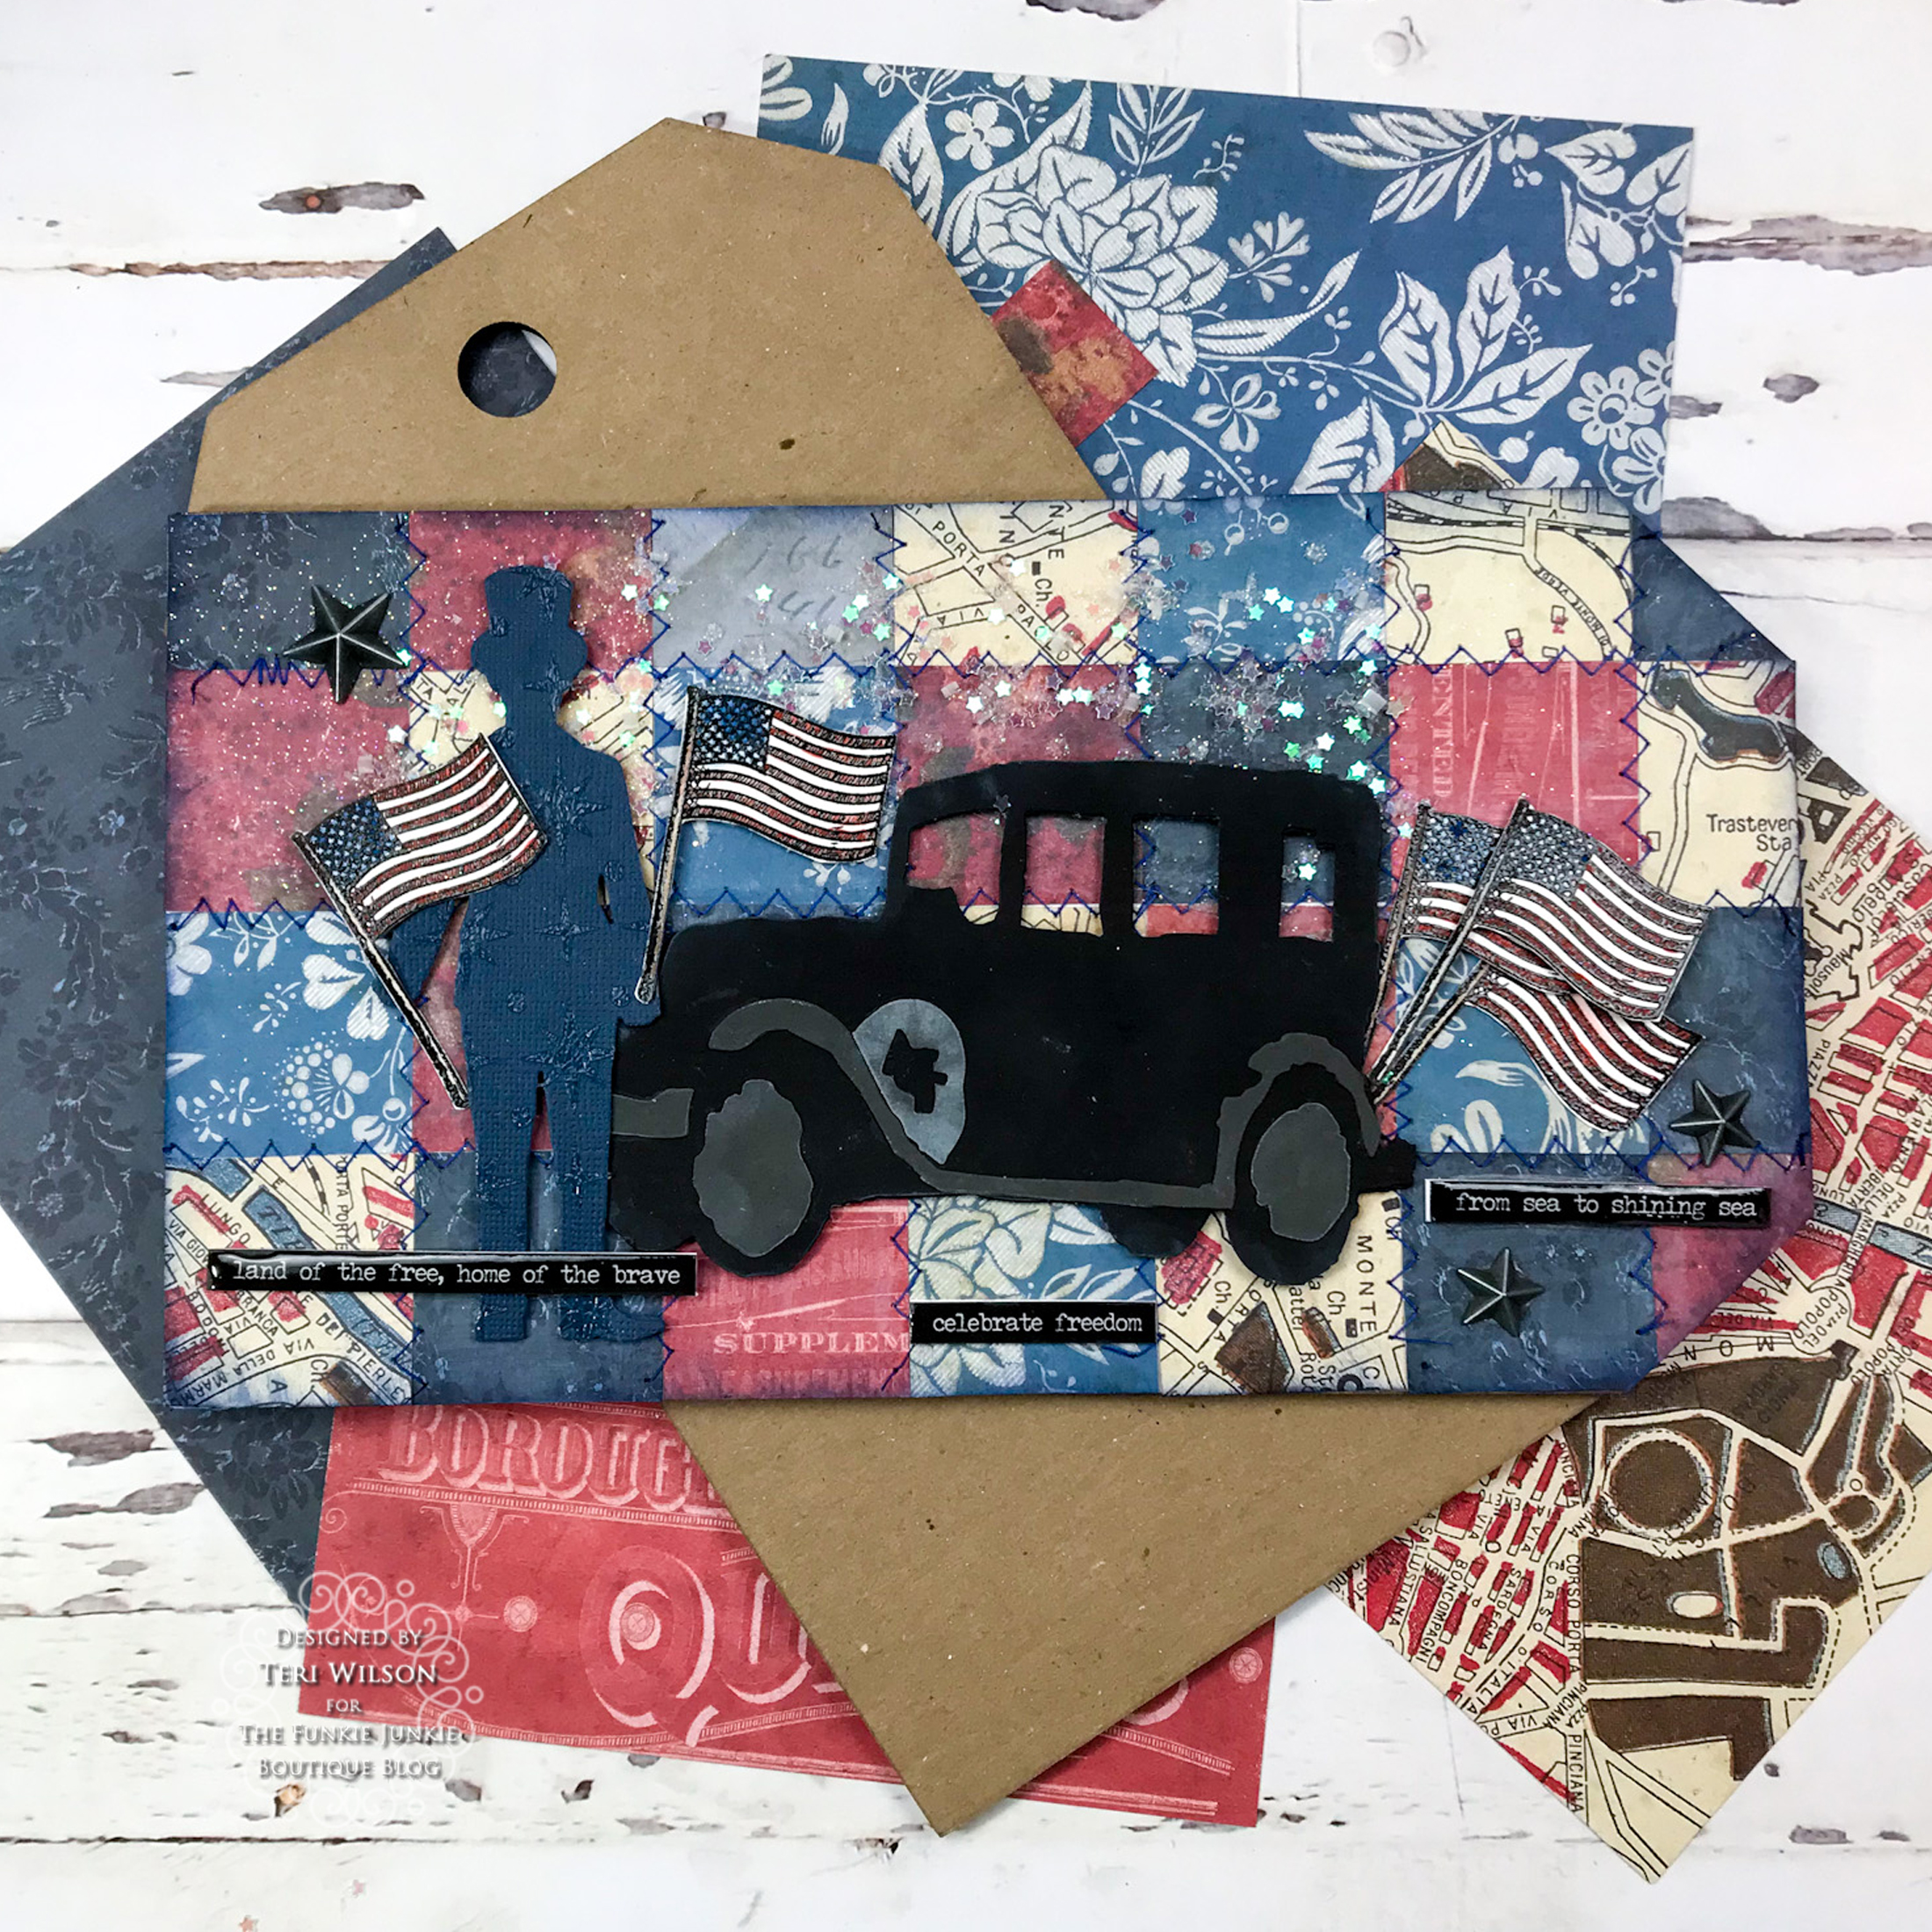
Hello friends. I'm posting this fun scenic card today for The Funkie Junkie Boutique. I had so much fun mixing a few die sets to create this scenic tag. As soon as I spotted the Road trip Die, I knew Twig and Stump needed to take a road trip!

Hello friends. I am here to share a fun snowy winter scene.

I used stencils from the most recent Stampers Anonymous Release as well as Darling Deer and Paper Village Die from Sizzix.
I started by creating the tag using Kraft Chipboard and then cut a piece of Distress Mixed Media Heavyweight.
I ink smooshed that piece in my favorite color combo: Shabby Shutters, Old Paper and Bundled Sage. It makes a great background for the PineCone Stencil.


Thanks so much for stopping by today! I'd
love to have you follow/subscribe on my social media sites Instagram, Facebook, Blogger and You Tube.
Be well. Be creative!
Products used:
Hello friends. I'm posting for The Funkie Junkie Boutique today. This Saturday Spotlght post is all about creating your own Ephemera using some of the new Sizzix dies including Vintage Labels, Collector and Specimen sets. In the end I created a journal cover, and I will walk you along creating the collection of ephemera pieces.

Greetings Friends! Having a summery blast today posting for The Funkie Junkie Boutique! Our current Challenge is Chillin' in the Heat using either warmer or cooler colors. I'm headed to the beach with Glady's! We have a challenge over on the Funkie Junkie Boutique Blog. Check the deets HERE. Would love to have you join in the fun!
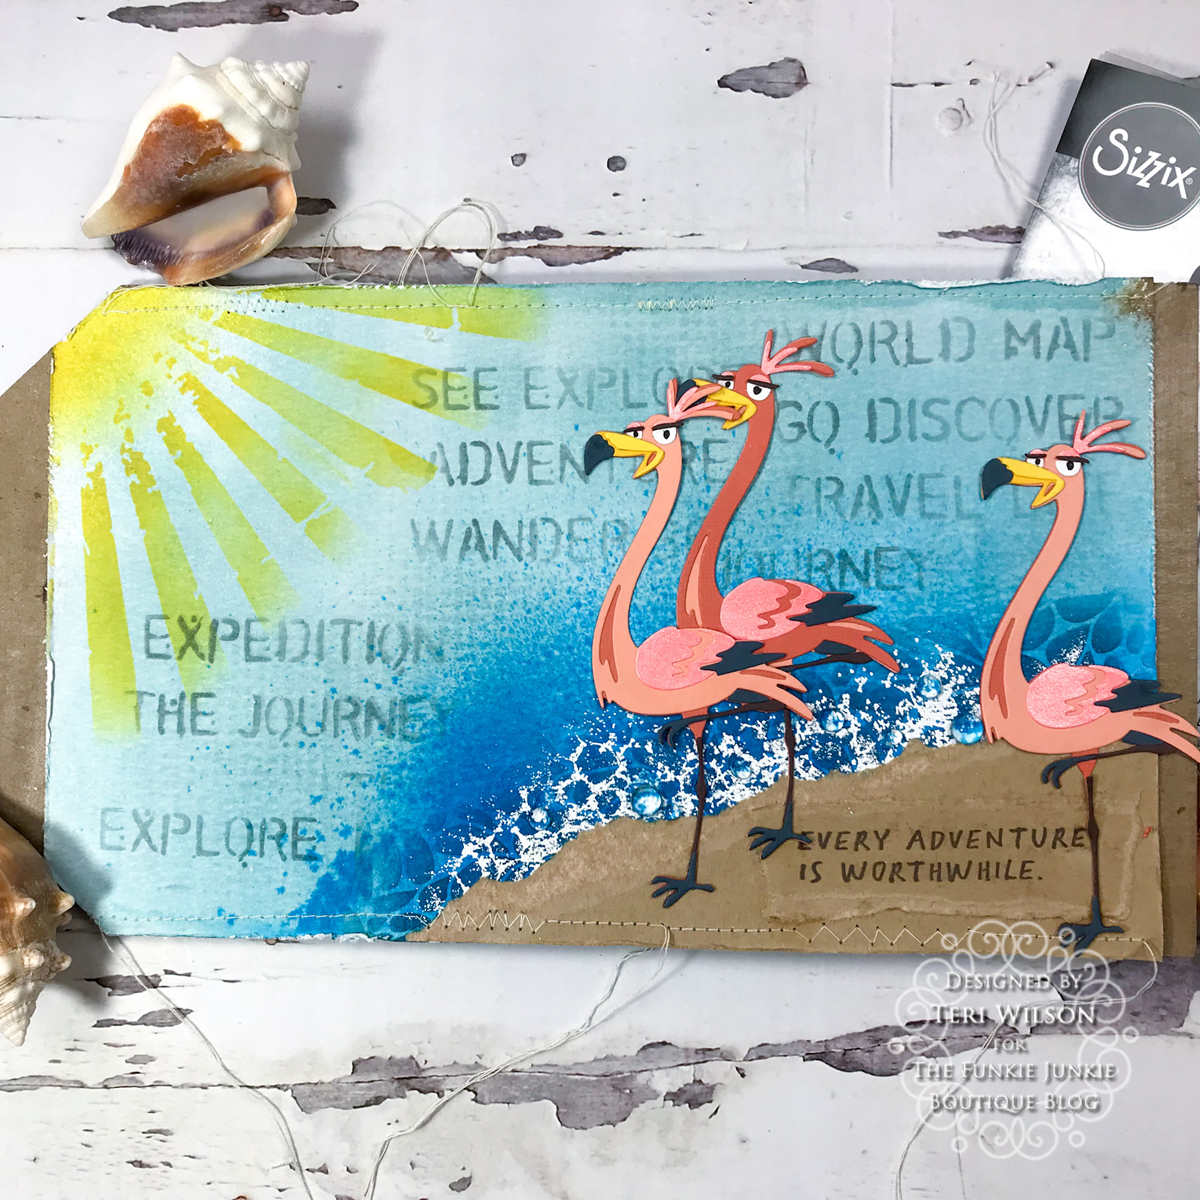
Hello friends! I'm posting today for The Funkie Junkie Boutique's Challenge Skotch It Is. All the deets are over on their blog HERE. You could be the next Guest designer!

Hello Funkie Friends!
I'm posting another in my never-ending series of Etcetera Tag for The Funkie Junkie Boutique. Just kidding. I'm having too much fun to stop now! We have a fun challenge called Moving Parts. We'd love to have you join in the fun over on the Funkie Junkie Blog. You may win a prize.

Hello my friends. I hope you all are well. I am posting today for The Funkie Junkie Boutique. The new challenge is to use Your stencils creatively. Check the deets on their blog. You could be our next guest designer.

Hello friends. I am so happy to be continuing on the Funkie Junkie's Design Team. Today I am sharing a very layered Etcetera Tag using Old and New Products!
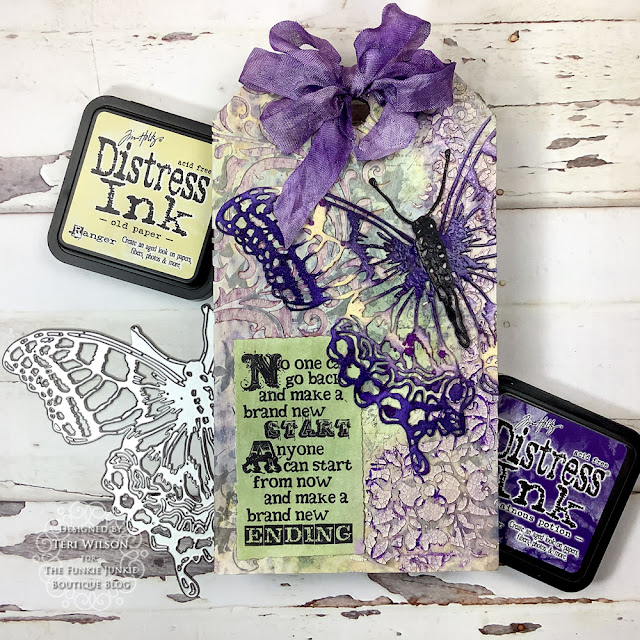
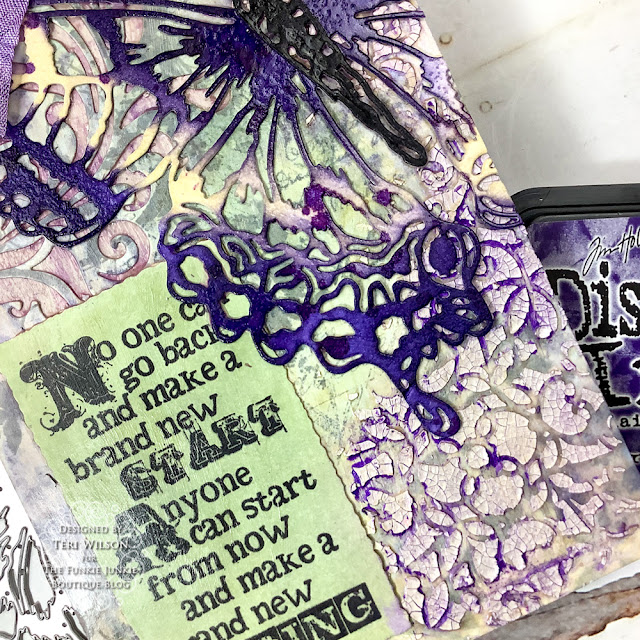
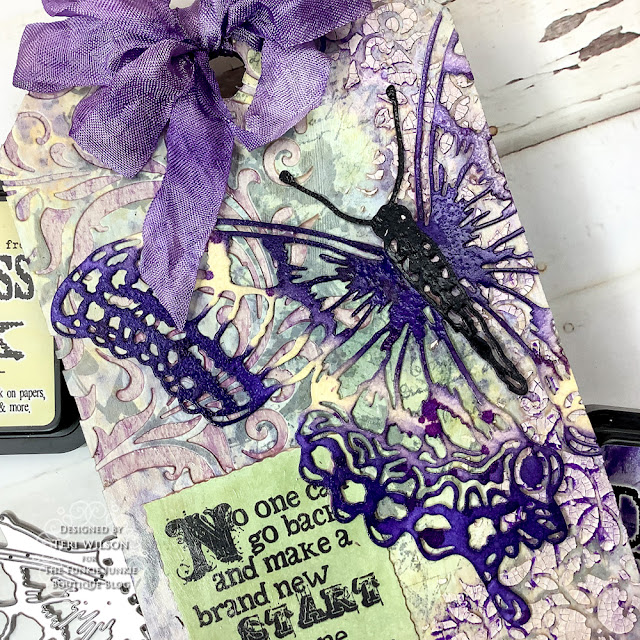
Hello my friends. I am getting ready for the holidays with Yuletide Delights. Today I am sharing this very festive decor piece for The Funkie Junkie Boutique featuring the Sizzix Candlelight Colorize. If you follow me, you may have noticed I did an entire series with Etcetera Tags. I got in a little different mood when it came to the holiday makes.

Hello friends! I'm back with a fun Etcetera Tag designed for The Funkie Junkie Boutique. This challenge theme is living creatures. The moose from Into the Woods Stamp by Stampers Anonymous was perfect for the scene I had in mind!

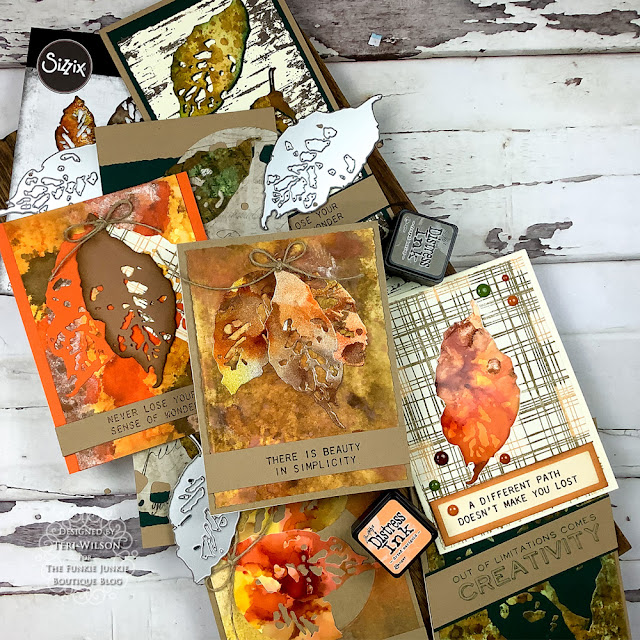
Hi Funkie Junkie Friends! Its Teri With TerisMailbox posting for the Saturday Showcase from The Funkie Junkie Boutique. As soon as I saw the Leaf Fragments Dies by Tim Holtz, I knew I had to have them. Today I present seven different cards using these versatile dies.
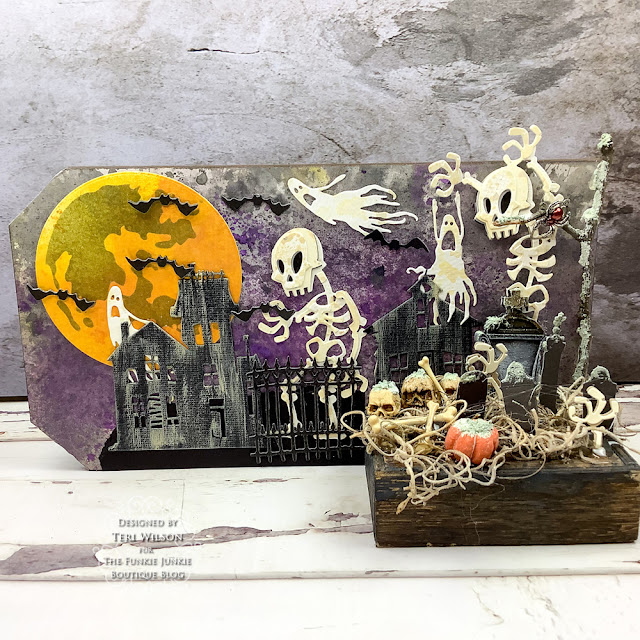
Hello friends! I am posting today for The Funkie Junkie Boutique's new challenge. Its all about Grunge, Ghouls and Giggles. I created the next tag is my series to be a ghostly graveyard scene using many of the Sizzix Dies from Tim Holtz.
Hello friends! I am posting the challenge this week for The Funkie Junkie Boutique. We'd love to have you join in the fun by posting a project with buttons, lace or any funky and frilly embellishments. There is a chance to win a $25.00 gift card to the store.

Hello Junkies! I am posting my new tag for the Funkie Junkie Challenge named "Time has a wonderful way of showing us what really matters" on The Funkie Junkie Blog. I decided when I joined the Design Team that my focus would be on decor Tags. I love displaying different tags throughout our home. Here is the tag I created for the new challenge.

Hello Crafty Friends! I am thrilled to be a
new Design Team member for Funkie Junkie Boutique. The May challenge is
Anything Goes. I just picked up Salvage Patina Distress Inks and have been
anxious to give it a whirl!


The Sizzix Deckle Edge Trimmer has become
one of my favorites. I used it to trim the edges down 1/8 inch on all sides.


The last piece needed was sentiments. I love the Stamper’s Anonymous Tiny Text Stamp. Now I have sentiments for any possible theme. I chose With brave wings she flies and Don’t forget to fly stamps. Stamped on white cardstock in black ink, they are perfect to cover with Broken China Glaze and heat set. The Believe in Yourself strip is white heat embossed on black cardstock. The strips have an additional 2 layers of cardstock to add dimension.

I'd love to have you follow/subscribe on my social media sites Instagram, Facebook, Blogger and You Tube. Be well. Be creative!