
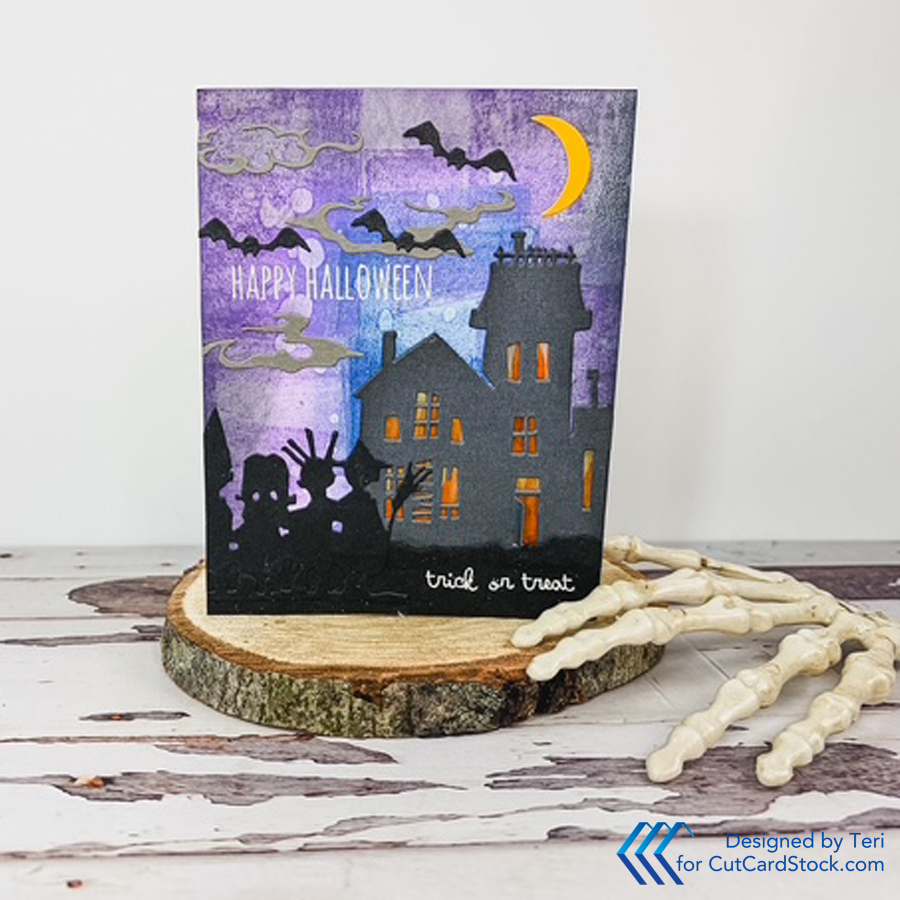
Hello, today I am posting for CutCardStock! I love making my own creative backgrounds. Let me walk you through the steps to creating this spooky Halloween card.
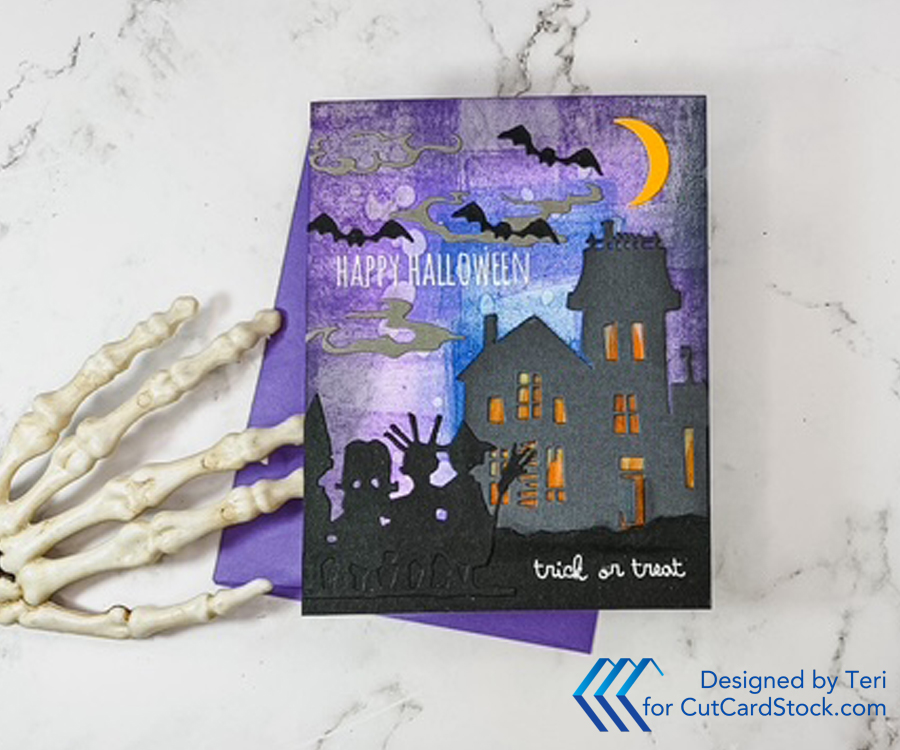
Create the Spooky Background
I love using purples and blues for Halloween backgrounds. Start with a full sheet of Cougar 80 lb. cardstock. Using an ink brayer and blue, gray and purple Distress Oxide Ink, apply the ink randomly in short bursts over the entire sheet of cardstock. This will provide additional panels for more cards!
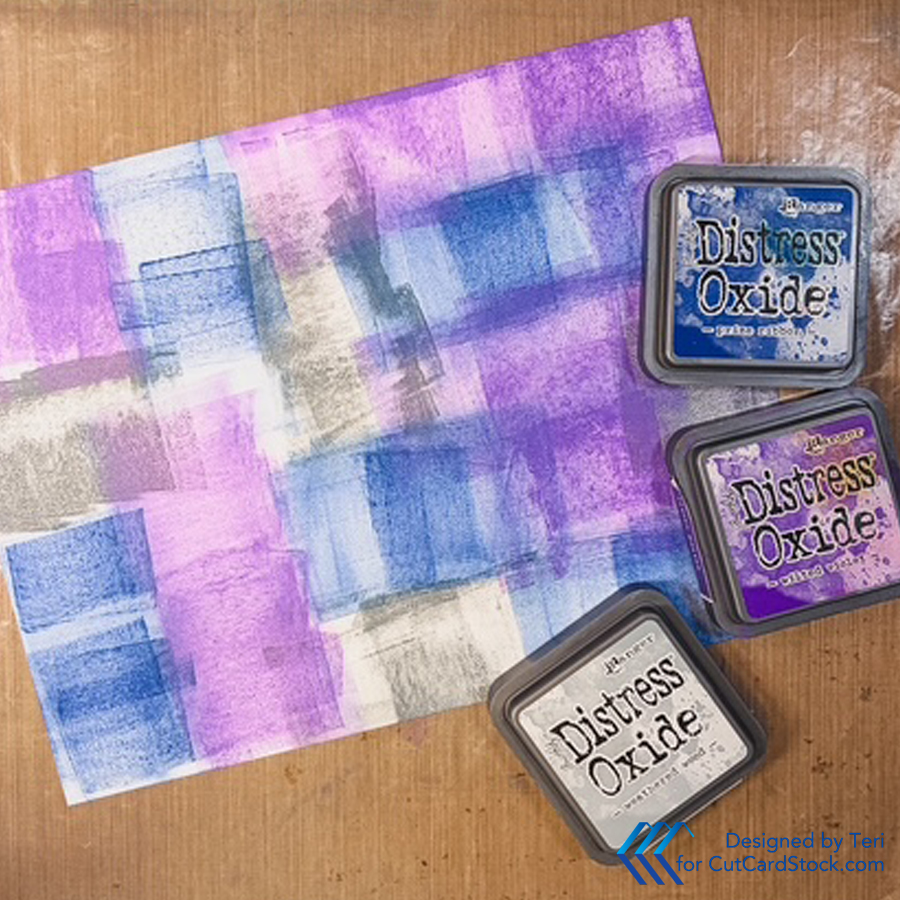
Keep adding layers of ink until you are happy with the background. Remember, you are creating a spooky night sky! This photo is early in the process. Once you are happy with the depth of color, add splatters of water by spritzing the liquid in your hand and flinging onto the background.
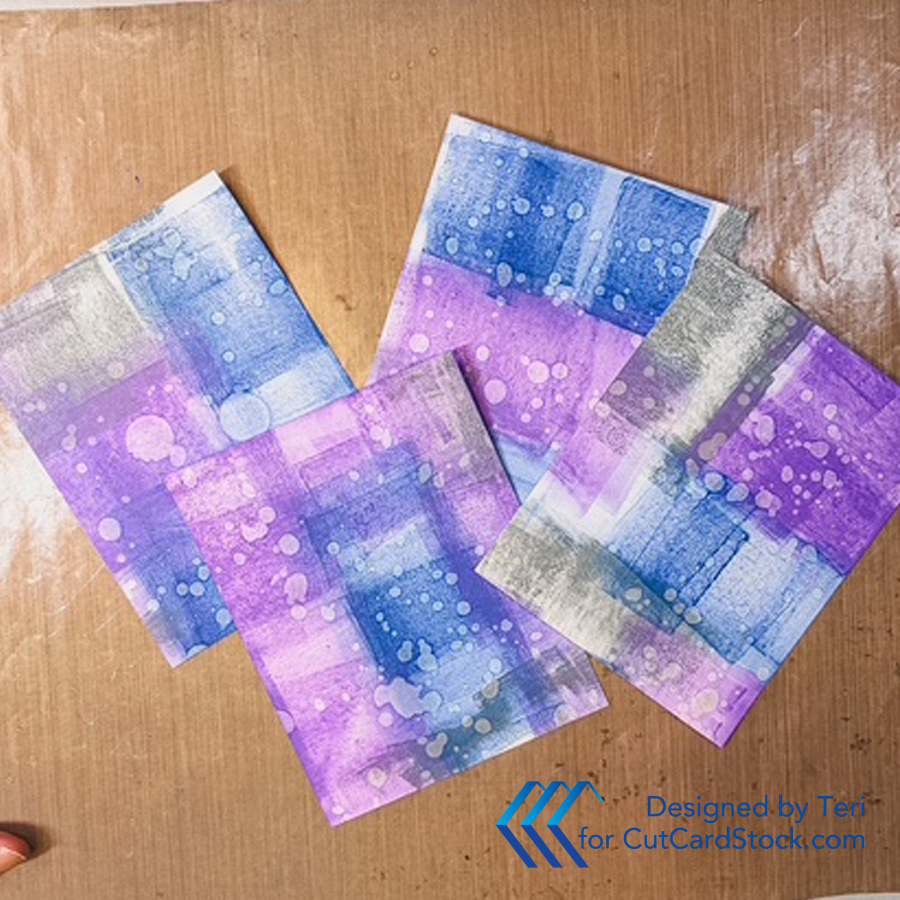
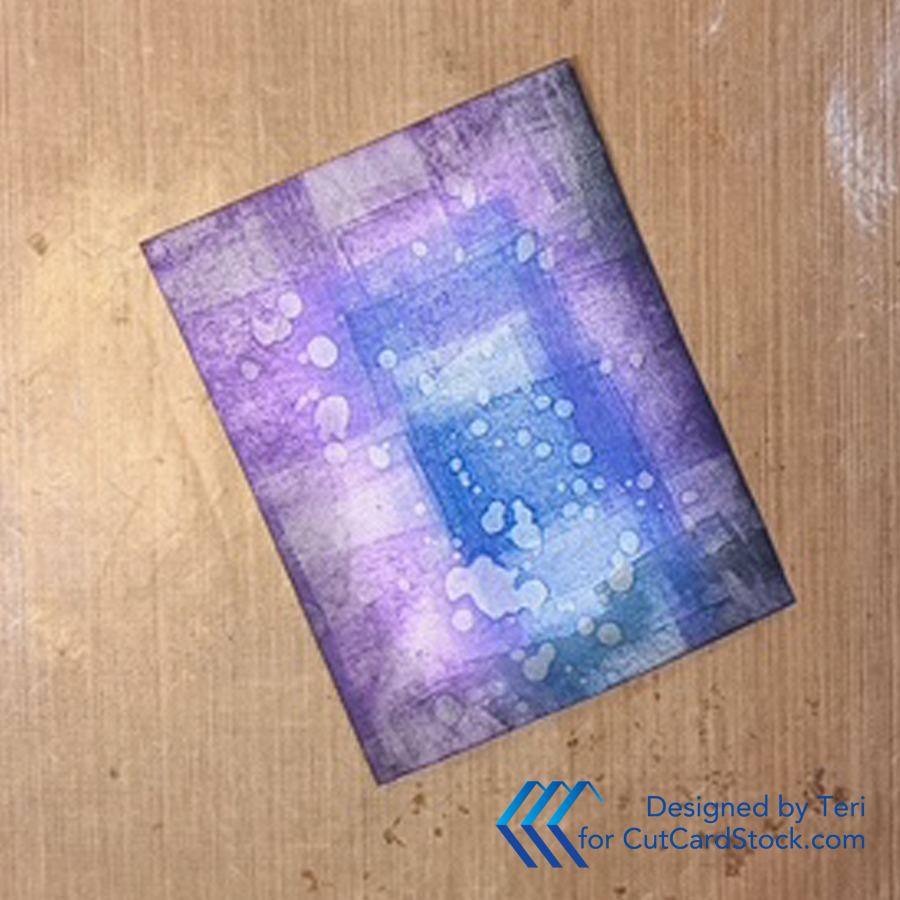
Select one panel for the base of the card. Ink blend the edges with Black Soot Distress Ink to darken the panel.
Die Cut the Spooky Components
Die cut all the components using the following colors of cardstock: Pop Tone Black Licorice, DCS Shadow Gray, Pewter Gray, Lessebo Sunflower Yellow.
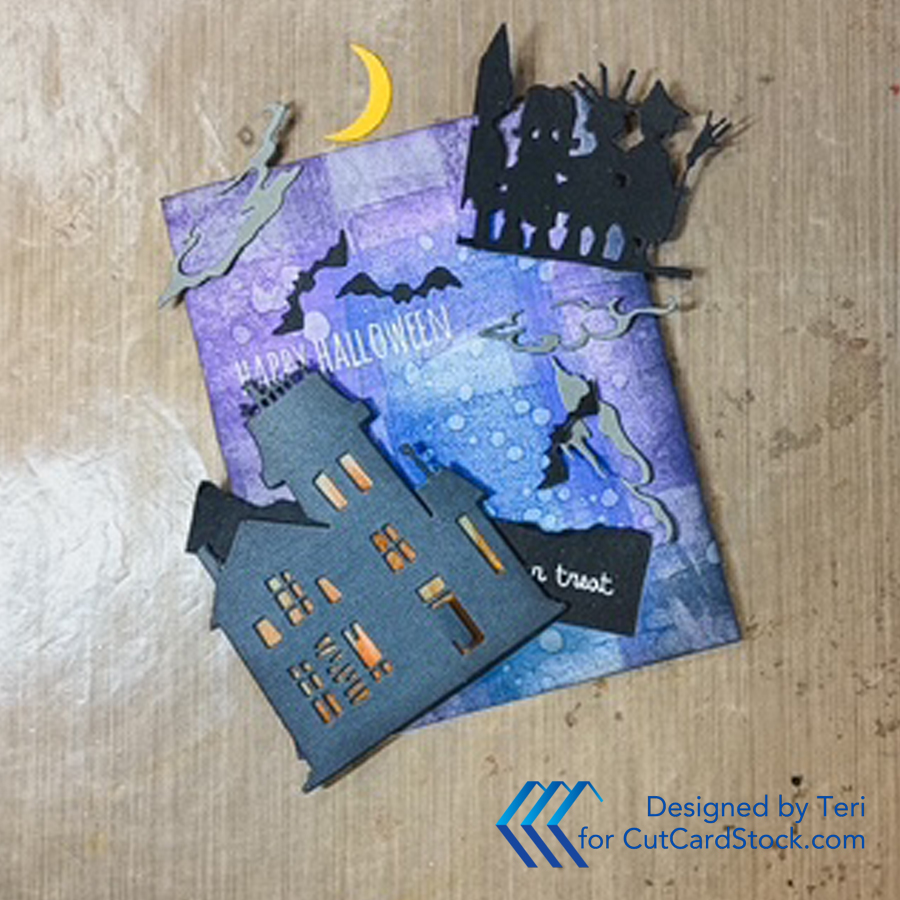
Determine the approximate placement and emboss the sentiments in White Powder.
Create the Spooky house by cutting a piece of 65 lb. Translucent Vellum to fit behind the house. Use alcohol ink markers to add color. Orange and yellow work great as they create an illusion of fire.
Assemble the Spooky Card
Glue all of the components onto the inked base. Be sure to add the ground piece before the trick or treaters. Create an uneven natural base by tearing the black embossed cardstock prior to applying. Add the trick or treaters last. Use Cougar 110 lb. White Cardstock for the card base.
Thanks for stopping by! Happy Halloween Crafting!


No comments:
Post a Comment