
Adding multiple layers with different techniques and cardstock can add drama and impact to your creations! Hi! Today I am sharing layer techniques for CutCardStock!
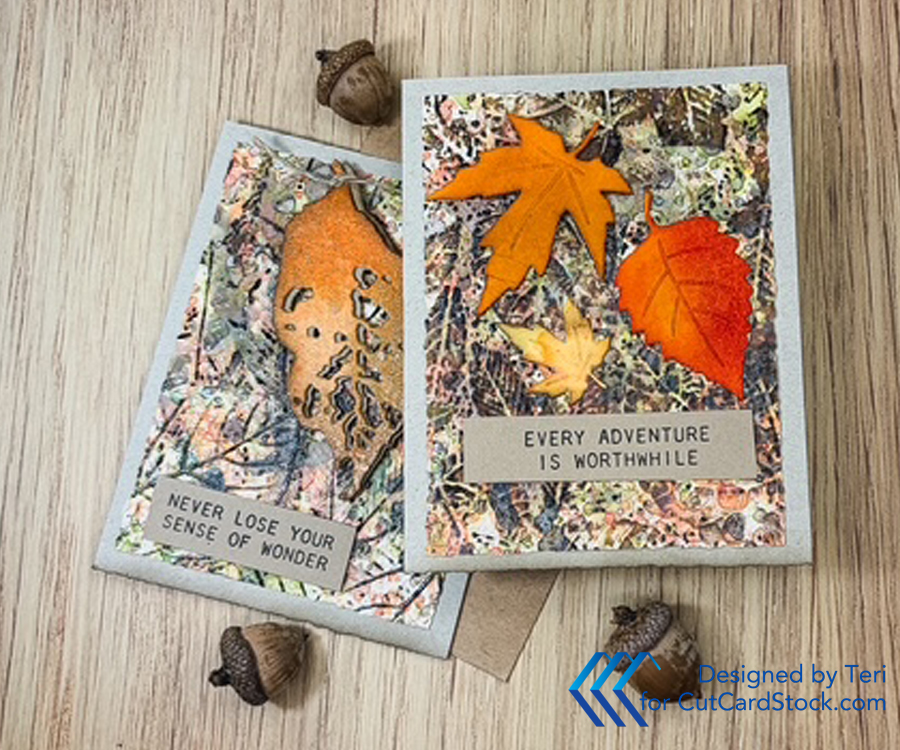
You may have noticed I have a passion for playing with Kromecote Cardstock! Here I used ink smooshed Kromecote as the base for these colorful Fall Cards.
Let's Create the Base Layer
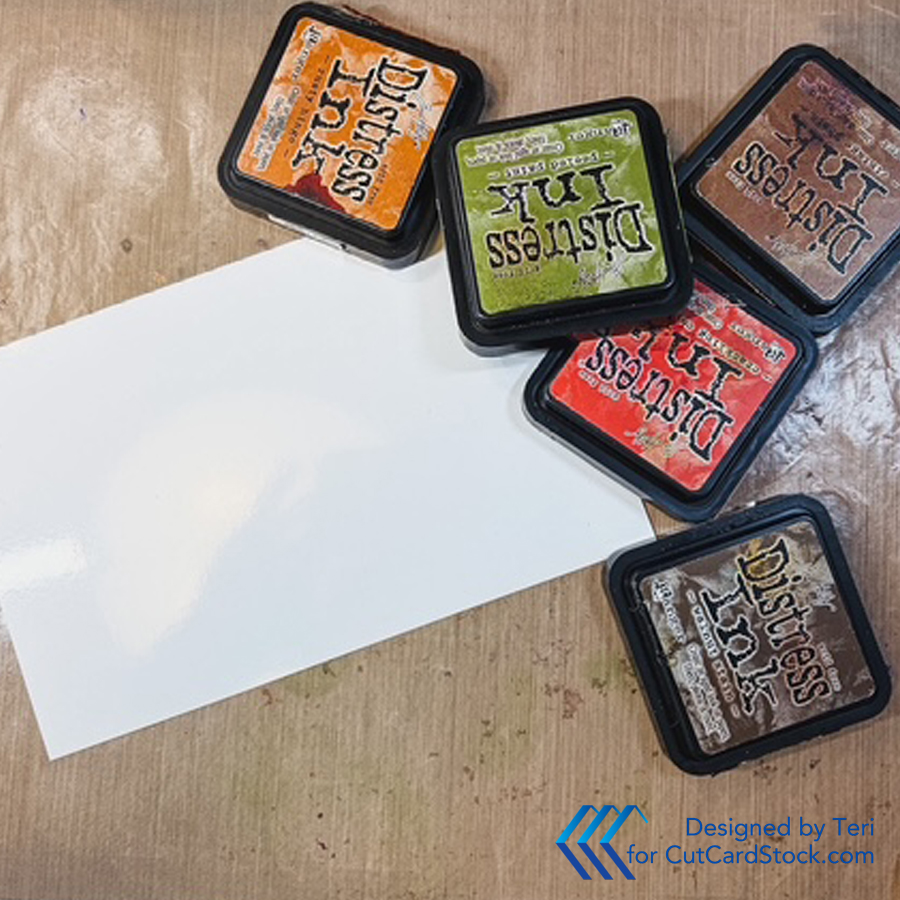
Start with half sheet of Kromecote Cardstock, shiny side up. Smoosh Distress Ink Fall Colors onto the craftmat working in layers, starting with the lighter colors. Run your fingertips through the ink to create drops of color. Dip the Kromacote into the inks multiple times to get a good coverage of the base. Use your Heat Gun to dry between layers.
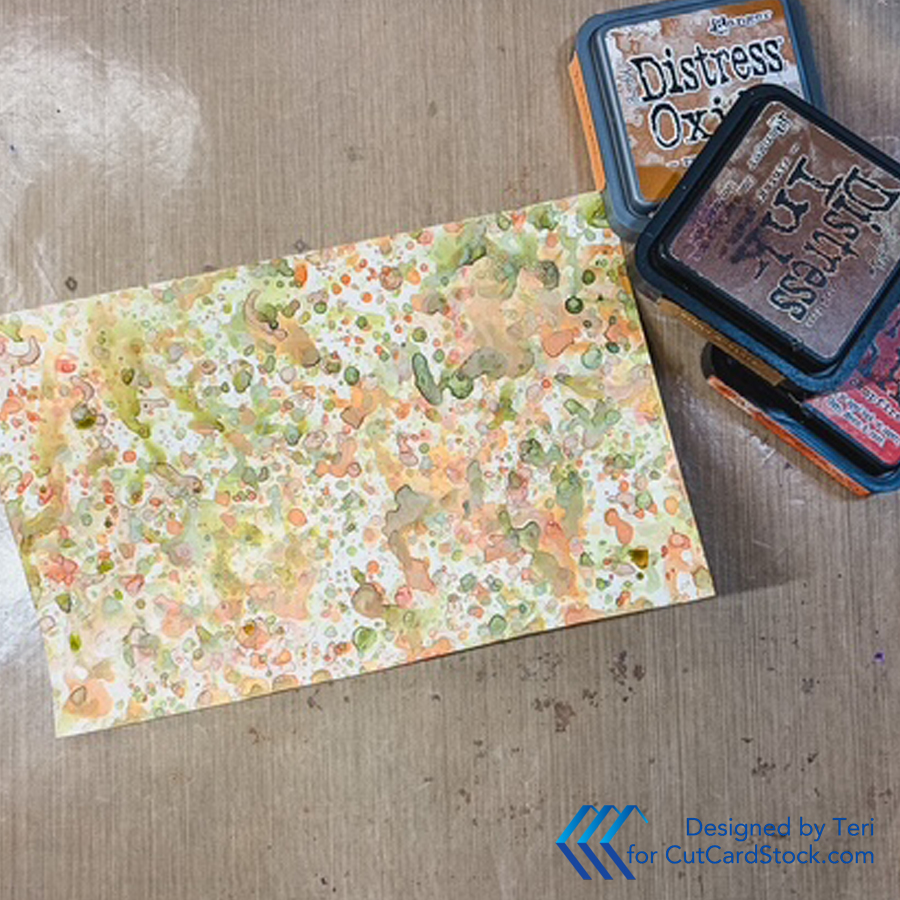
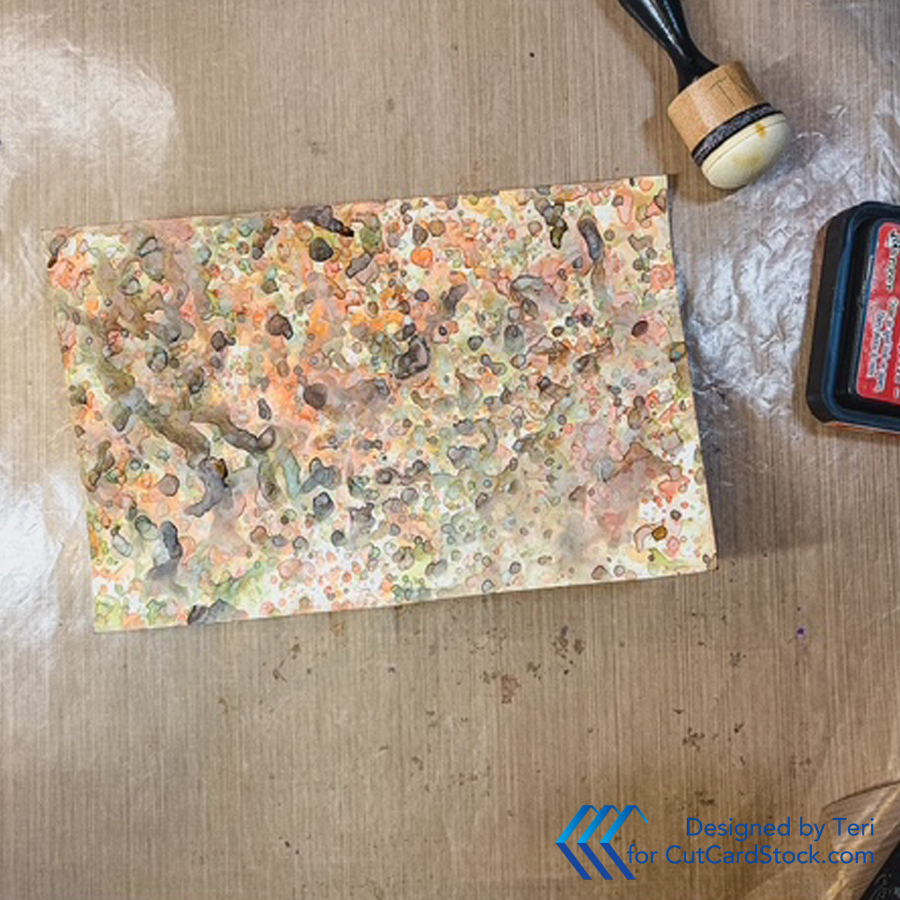
The final result is a background with multiple color drops on the cardstock. Run a very this layer of Micro Glaze over the top using a blending tool and buff with a dry paper towel. It is amazing how the Glaze shines up the base.
Use a Fall themed Embossing Folder to add texture to the bases. I used a Sizzix leaf folder.
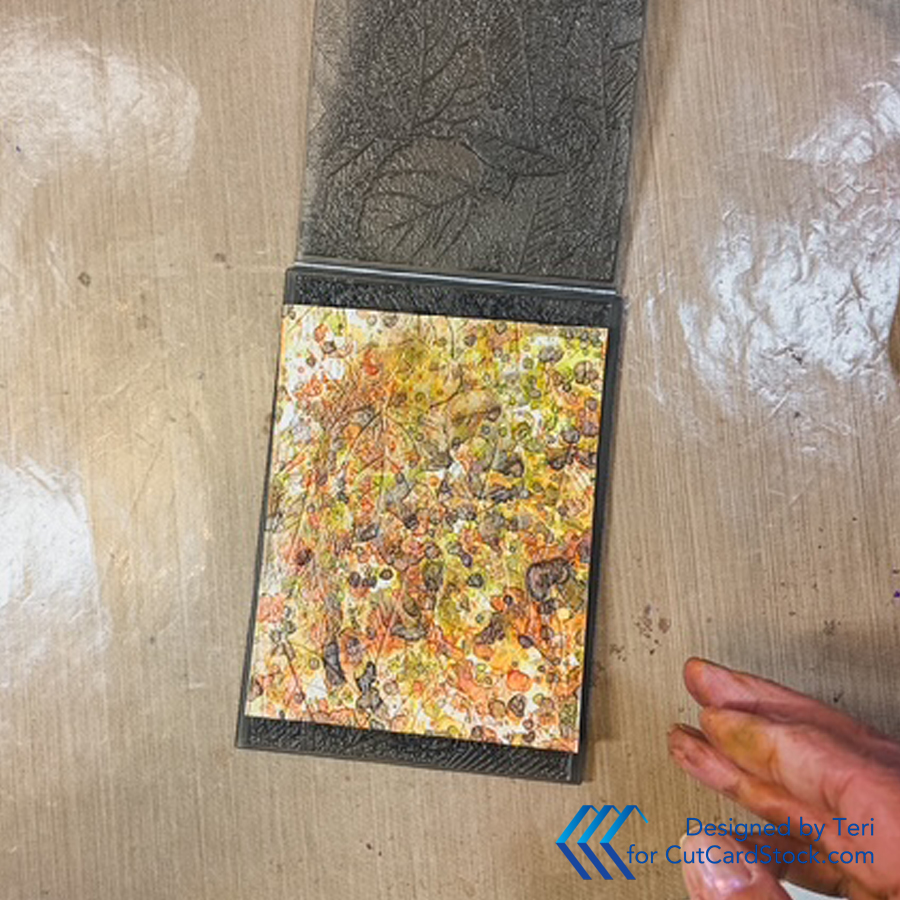
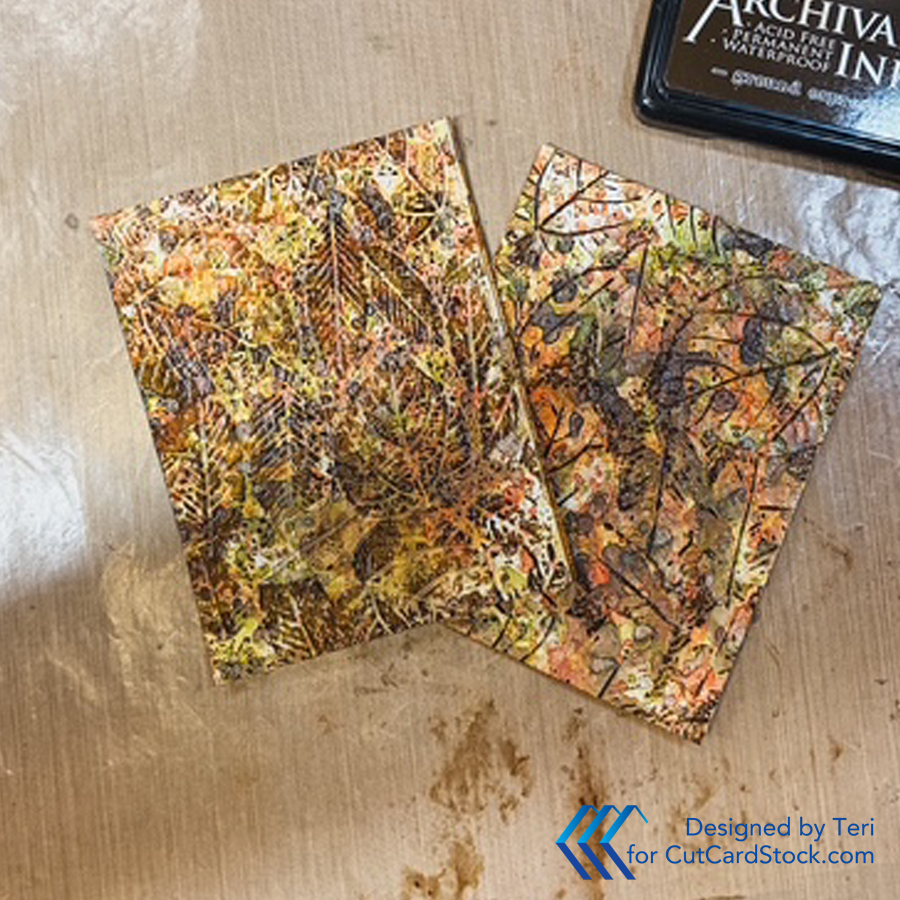
The final step is to darken the embossed images by running an Archival Ink Pad gently over the embossed panels. Notice the difference in the two panels above. The difference is from embossing the positive versus the negative side of the folder. Trim the panels to 4.0 by 5.25 inches. I used my Deckle edge trimmer for interest.
Create the Embellishments
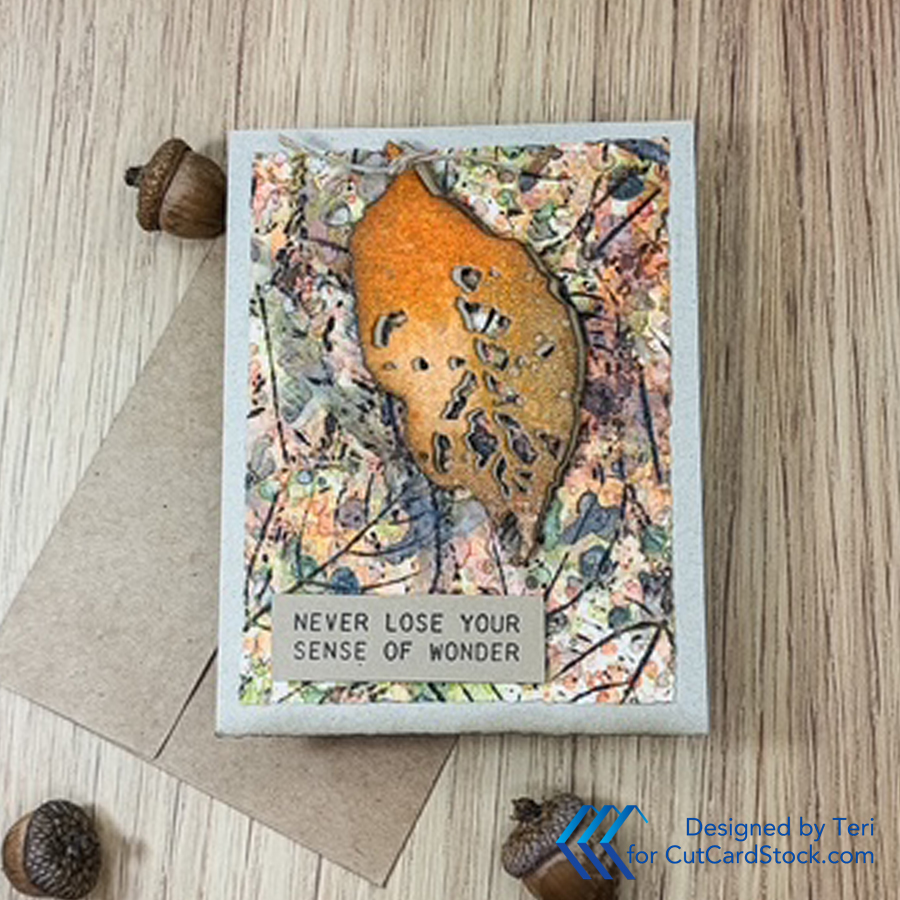
Select a large leaf die and cut one using Royal Sundance Kraft Cardstock. The front leaf on my card is cut from a scrap in my bin, created by ink blending and spritzing coordinated Mica Spray to adda shimmer! Select a sentiment, stamp n brown ink and trim to a visually appealing size.
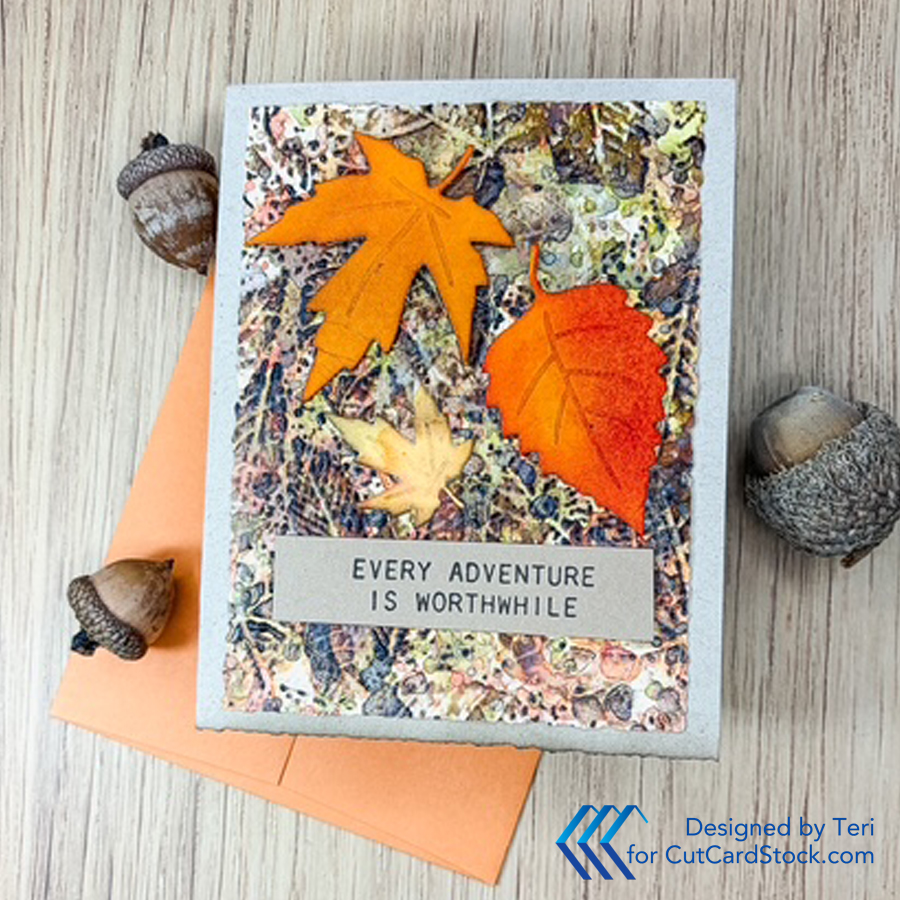
Die cut a few smaller leaves using Lessebo Sunset and Lessebo Brick Orange Cardstocks. Use a blending tool and ink blend darker shades on the leaves. Select a sentiment, stamp on Royal Sundance Kraft Cardstock and trim to fit.
Assemble Your Cards!
Create the bases using 100 lb. Desert Storm Cardstock. I trimmed the bottom with my Deckle Edge Trimmer for interest. Use liquid glue to attach the panels to the bases. Tape runner does not hold as well. For the first card with the large leaves, glue the colored laef over the kraft leaf and stagger off to the side slightly. Tie a small piece of twine to the top and use foam squeres to pop the leaves up. Attach the sentiment using glue.
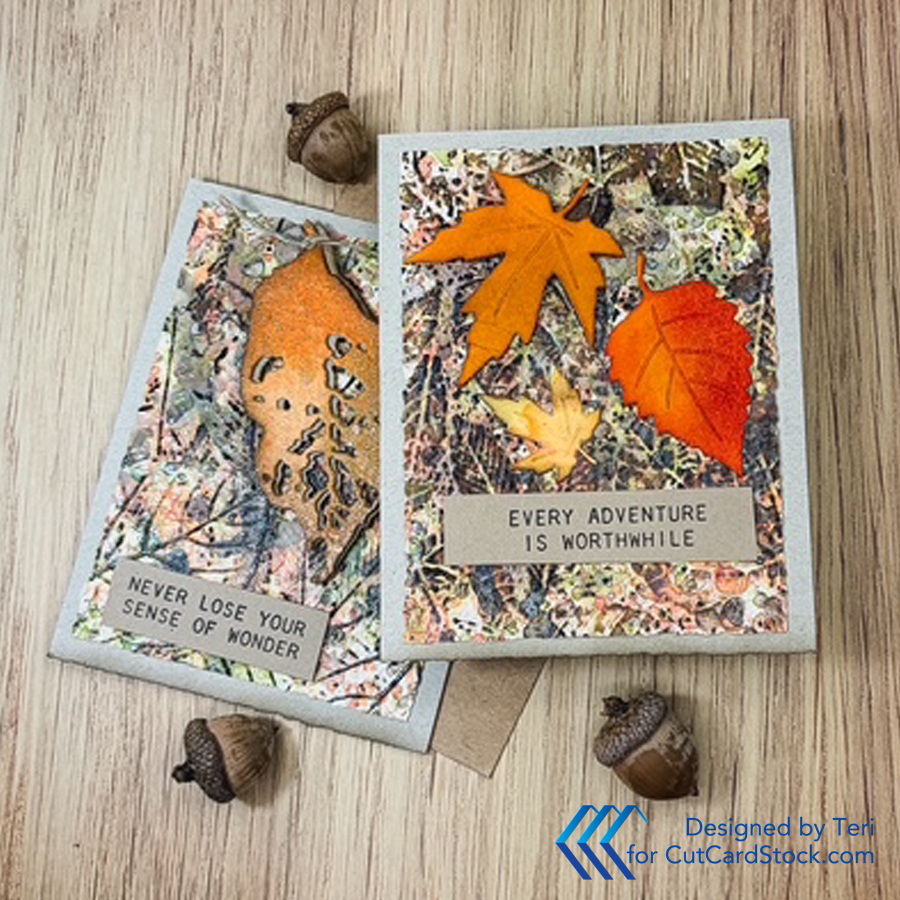
For the second card, glue two of the smaller leaves to the other panel and pop the larger leaf up with foam squares. Add the sentiment and your cards are complete!
Thanks for stopping by! Be sure to check out all the great products at CutCardStock! Happy Fall my friends!


No comments:
Post a Comment