Have you tried the Better Press system yet? I tried using Savoy 100% Cotton Cardstock and it worked perfectly for letter pressing! Today I am posting for CutCardstock.

The matt finish on this card is stunning!

Have you tried the Better Press system yet? I tried using Savoy 100% Cotton Cardstock and it worked perfectly for letter pressing! Today I am posting for CutCardstock.
The matt finish on this card is stunning!
I love making framed items for my cards! Hello, it is Teri posting for CutCardStock. Their metallic cardstock is perfect for creating embossed mini frames! So many possibilities!
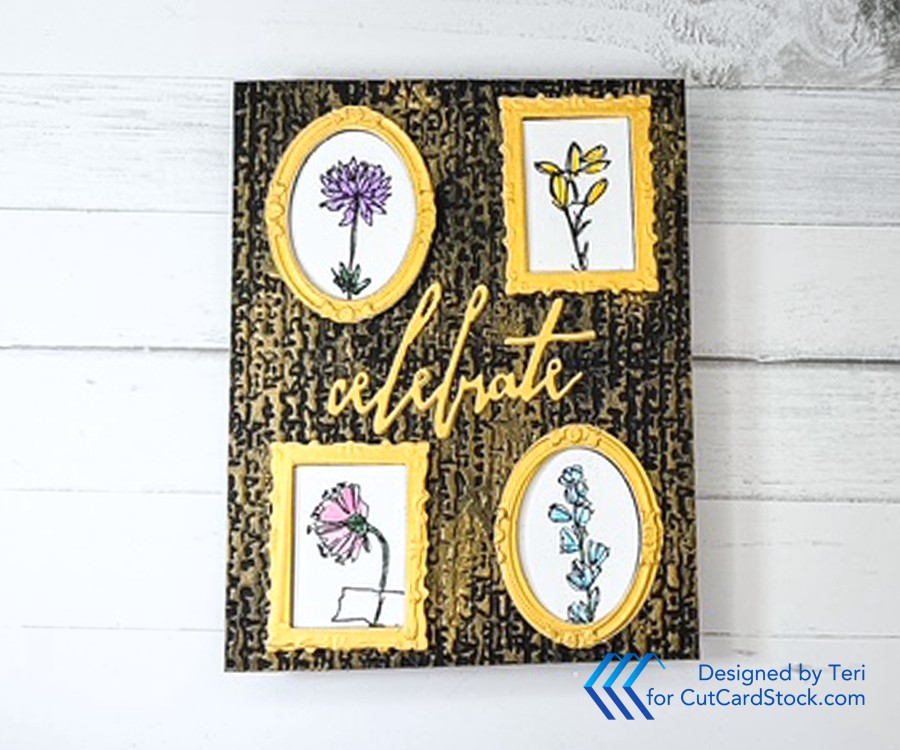
Check out all the texture!
Have you played with Kromekote Cardstock from CutCardStock? Hello, I am sharing this cool technique with inked Kromekote Cardstock. I have previously shared alcohol ink on Kromekote. Check out how easy this technique for colorful glossy backgrounds is.

There is such a great glossy surface when using this cardstock!


