
Hello Friends. Today I am presenting for The Funkie Junkie Boutique with a fun Valentine's Day Bag with stenciled mixed media and die cuts!

Follow along to see all the techniques used to create this bag!
I do have a video here if you prefer to watch the process:
Stencil the Front Panel
Start with a white gift bag. Cut a piece of White Cardstock to 8.5 x 5.5 inches. Center the Thorned Stencil on the cardstock and ink blend the roses with Lumberjack Plaid Distress Ink, and the stems with Hickory Smoke Distress Ink. Clean and dry the stencil.
Match the images up and apply Translucent Crackle Grit Paste. Carefully remove the stencil and sprinkle with Lumberjack Plaid Embossing Glaze on the roses.
Be sure to clean the stencil off as soon as possible.
Tap your fingers on the bottom side of the panel to spread the embossing glaze out. After airdrying, heat set to bring out the shine of the glaze.
Assemble the Front Panel
Find a Back Drop paper that compliments the center panel. I used a piece from Volume 3 Back Drops. You may be able to find an appropriate panel in another Backdrop set of maybe the Worn Wallpaper set.
Use a Deckle Edge Trimmer to trim the stenciled panel to 4.25 x 7.5 inches. I love the effect this trimmer creates and unlike the Deckle Edge Die Cuts, you can edge any size panel. Trim the printed panel to 4.75 x 8.0 inches.
Die Cut the Additional Pieces
Die cut one of the Gentlemen from Black Cardstock. Cut two and glue them together.
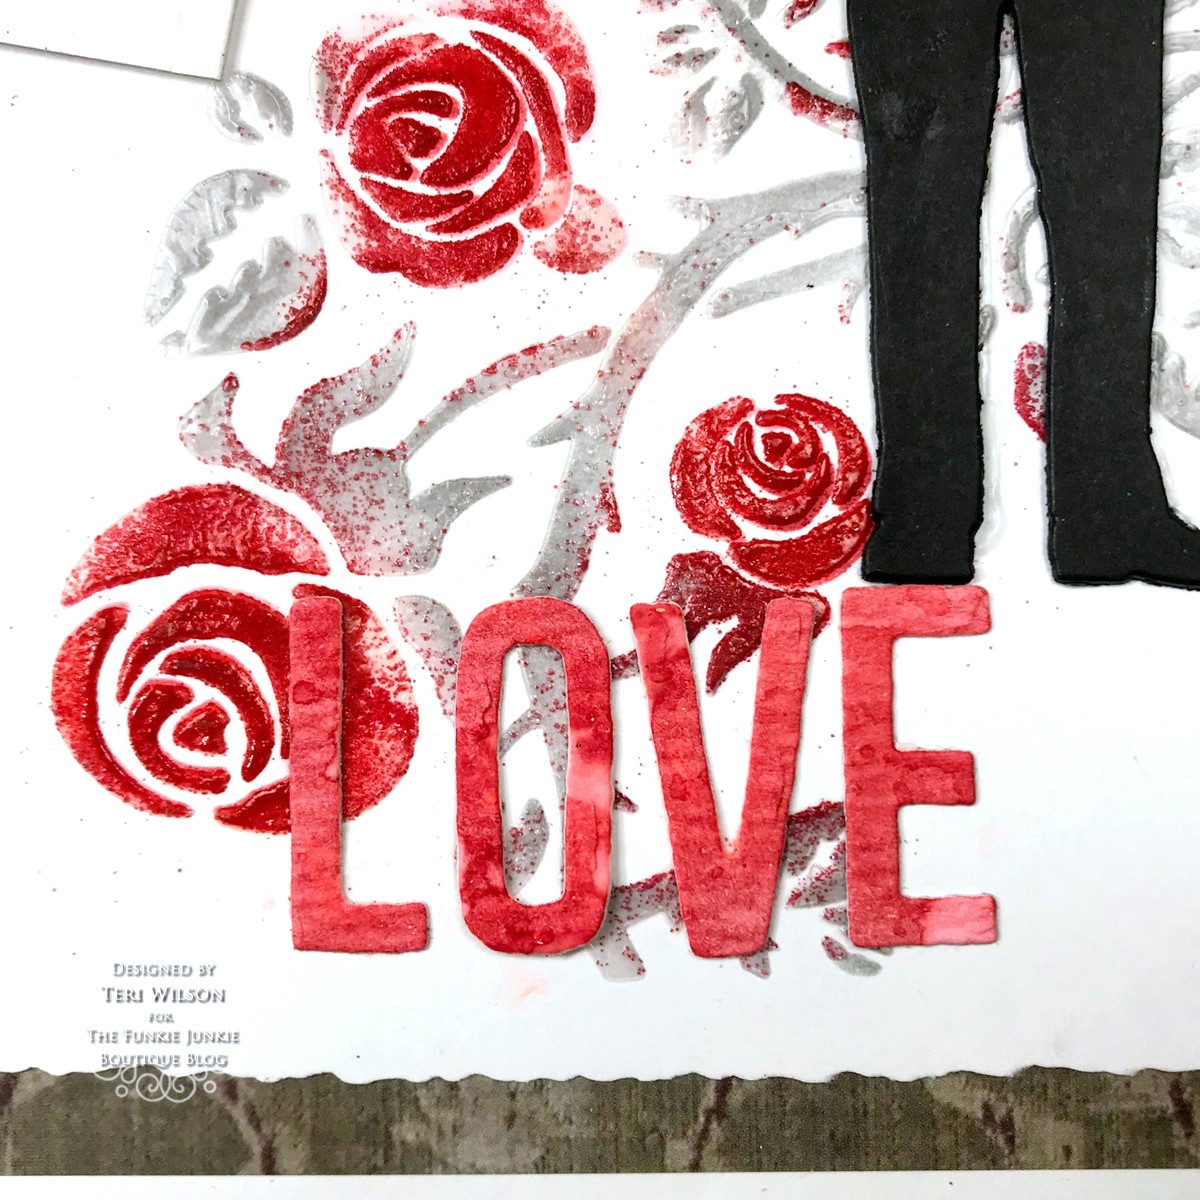
Use pieces of watercolor ink smooshed cardstock from your stash if you have it to die cut the blooms using the Funky Floral 3 set and the word love using Alphanumeric Theory dies.
Die cut a tag using The Tag Die and stencil using the Thorn Stencil like we did above.
Assemble the Bag
Attach the two long panels to the front of the white gift bag.

Glue the blooms onto the matching stem pieces. Trim the lower leaves off and cut the longer stems apart. Arrange the blooms to form a bouquet with a couple of long stems for The Gentleman to hold. Use a piece of Press N Seal to pick up the blooms as a bunch so you can add Collage Medium to the back of the blooms.

Attach the letters to the bottom center of the stenciled panel. Use Collage Medium to glue The Gentleman just above the E. Slide the bouquet in his right hand.
Dye a piece of seam binding with Lumberjack Distress Ink and dry. Use a piece of twine to attach the tag to the bag.
Thanks so much for stopping by today! Be sure to visit The Funkie Junkie Boutique! I'd
love to have you follow/subscribe on my social media sites Instagram, Facebook, Blogger and YouTube.
Be well. Be creative!
Products used:
- Thorned Stencil THS162
- Lumberjack Plaid Distress Ink
- Lumberjack Embossing Glaze
- Hickory Smoke Distress Ink
- Deckle Edge Trimmer
- Translucent Crackle Grit Paste
- Gentlemen
- Alphanumeric Theory
- Collage Medium


No comments:
Post a Comment