
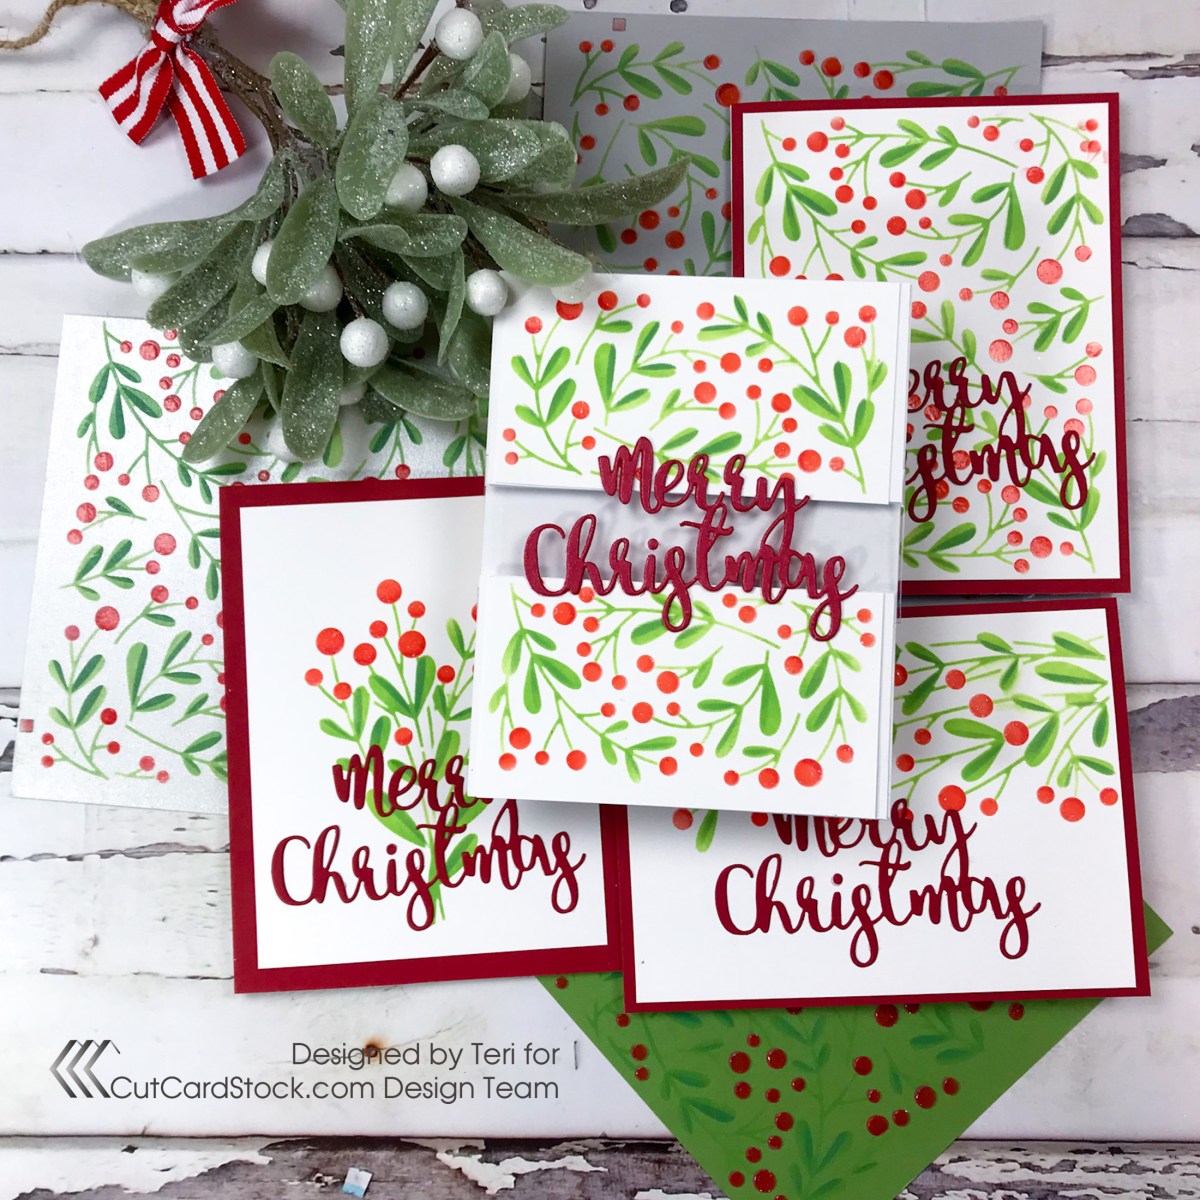
Hello friends! I'm starting my holiday cards! Today I am presenting for CutCardStock. The Taylored Expressions Create in Quads Mistletoe Stencil set is perfect for this technique! I will share how easy to is to create 4 cards from one sheet of 8.5 x 11 inch cardstock plus I will share a comparison of the same stencil on different cardstocks!
I have a video HERE if you prefer to watch the process!
Stencil the Panels
Taylored Expressions Create in Quad Stencil set makes it sooooo easy to create four cards at once! Start with an 8.5 by 11-inch Cougar 80 lb. Cardstock. Start with the full leaf stencil and color in a lighter green ink. Use a pen il to mark the registration marks on the edges. Continue with the second leaf stencil and finish with the red berries. Make the berries shine using the whole berry stencil and Translucent Texture Paste from Ranger over the top. Be sure to set aside to dry before continuing.

As mentioned earlier, I will share both four cards from one panel plus a comparison of different cardstocks. Here is the Green Cardstock panel with the completed stencils.
Create the Card Components
Trim the panels down to A2 size and then trim 1/4 inch off all edges. Cut a piece of Red Wagon Cardstock into quarters. These will provide a pop of red on the cards. Die cut the Simon Says Stamp Merry Christmas Die or a sentiment of your choice from the center of the red panels. This saves cardstock!
Create your card bases by cutting Cougar 100 lb. Cardstock in half and score in the center. You get two bases from one 8.5 x 11 piece of cardstock.
Assemble the Cards
Save the panel with the mistletoe banner at the top and bottom to complete last.
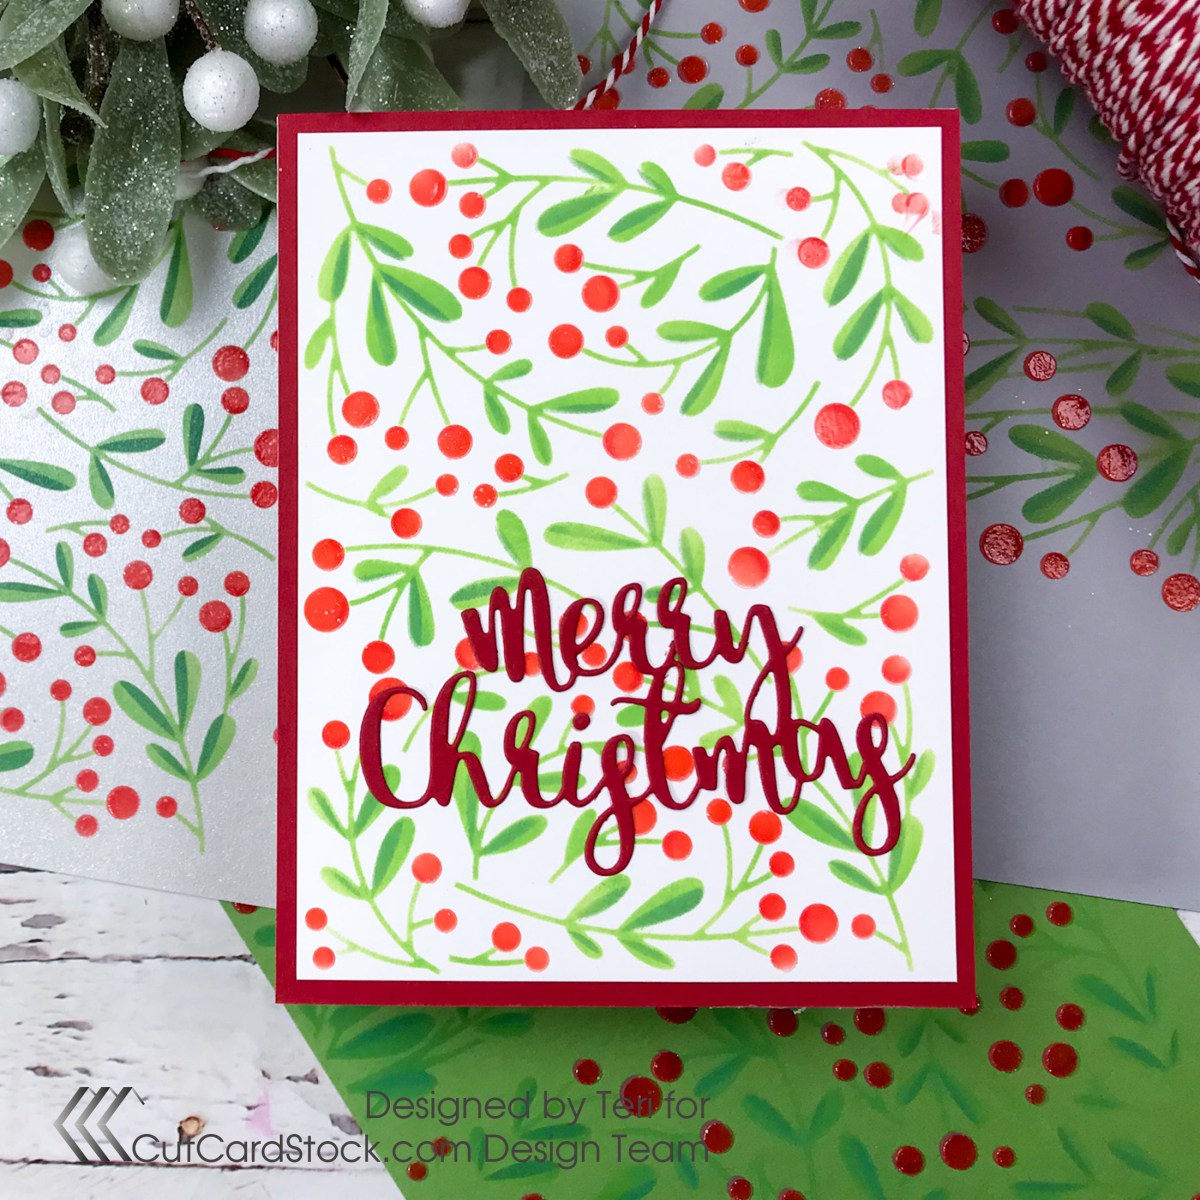
Assemble the other three white panel cards by attaching the red panel to the card base, followed by the stenciled panel, centering each one. Apple white glue to the back side of the die cut sentiment. Tap quickly on a paper towel so the glue doesn't ooze out.

The window card takes a little longer to put together. Use a "hot dog" base for this card. (A hot dog card is 1/2 an 8.5 x 11 sheet cut in half lengthwise). Trim the base 2.25 inches from the center fold. Glue a piece of acetate to the lower edge of the section of cardstock at the top. Add a second piece of cardstock 4.25 inches wide to the lower edge of the acetate and trim to match the bottom of the card.
Here is where I discovered my error. Remember I recommended trimming all the panels by 1/4 around? When I went to add the stenciled panel, I discovered the panels were short on the sides. To remedy this, I cut 2 4.25 inch wide panels to 2.25 Inches and attached over the top and bottom sections. The stenciled panels were attached to the those panels.
Add white glue to the back of the sentiment, tap on a paper towel to prevent glue ooze and attach to the card front.

See how easy it was to create four colorful cards at once!
Four Cards at Once with Different Bases
You have seen the white card base. Let's look at the Green Cardstock base.

I love the subtle color of the leaves when a green cardstock is used.
Here is the Stardream Metallic Quartz Cardstock base. While difficult to see the shine in the photo, it sparkles in real life!


This is Dolphin Grey Cardstock, a beautiful soft gray cardstock.

I still have nine completed stenciled bases to use. I hope you enjoyed seeing how easy it is to create multiple cards at once! Be sure to check out CutCardStock for cardmaking supplies. Their shipping so so fast!
Thanks so much for stopping by today! I'd love to have you follow/subscribe on my social media sites Instagram, Facebook, Blogger and YouTube all named TerisMailbox. Be well. Be creative!


No comments:
Post a Comment