So excited to get the new Sizzix dies Eek and Boo! Today I am posting for CutCardStock! See how I got a two-fer with one panel.

So excited to get the new Sizzix dies Eek and Boo! Today I am posting for CutCardStock! See how I got a two-fer with one panel.

Check out this frightful Mixed Media Halloween Card. Today I am posting for TheFunkieJunkie.
I am participating in a video hop with Altenew to celebrate their September Marvelous Monthly Release. The video hop starts HERE. There is a group of talented designers participating. You should have arrived from Aditi Mahajan's channel (https://youtu.be/fcdadJ7VMr8). Next stop is Deepa Robbins (https://youtu.be/3eWQQGqN2FI).
I am using the Dynamic Duo Stencil, Stamp and Optional Die set! See how I added additional blooms on the second card!
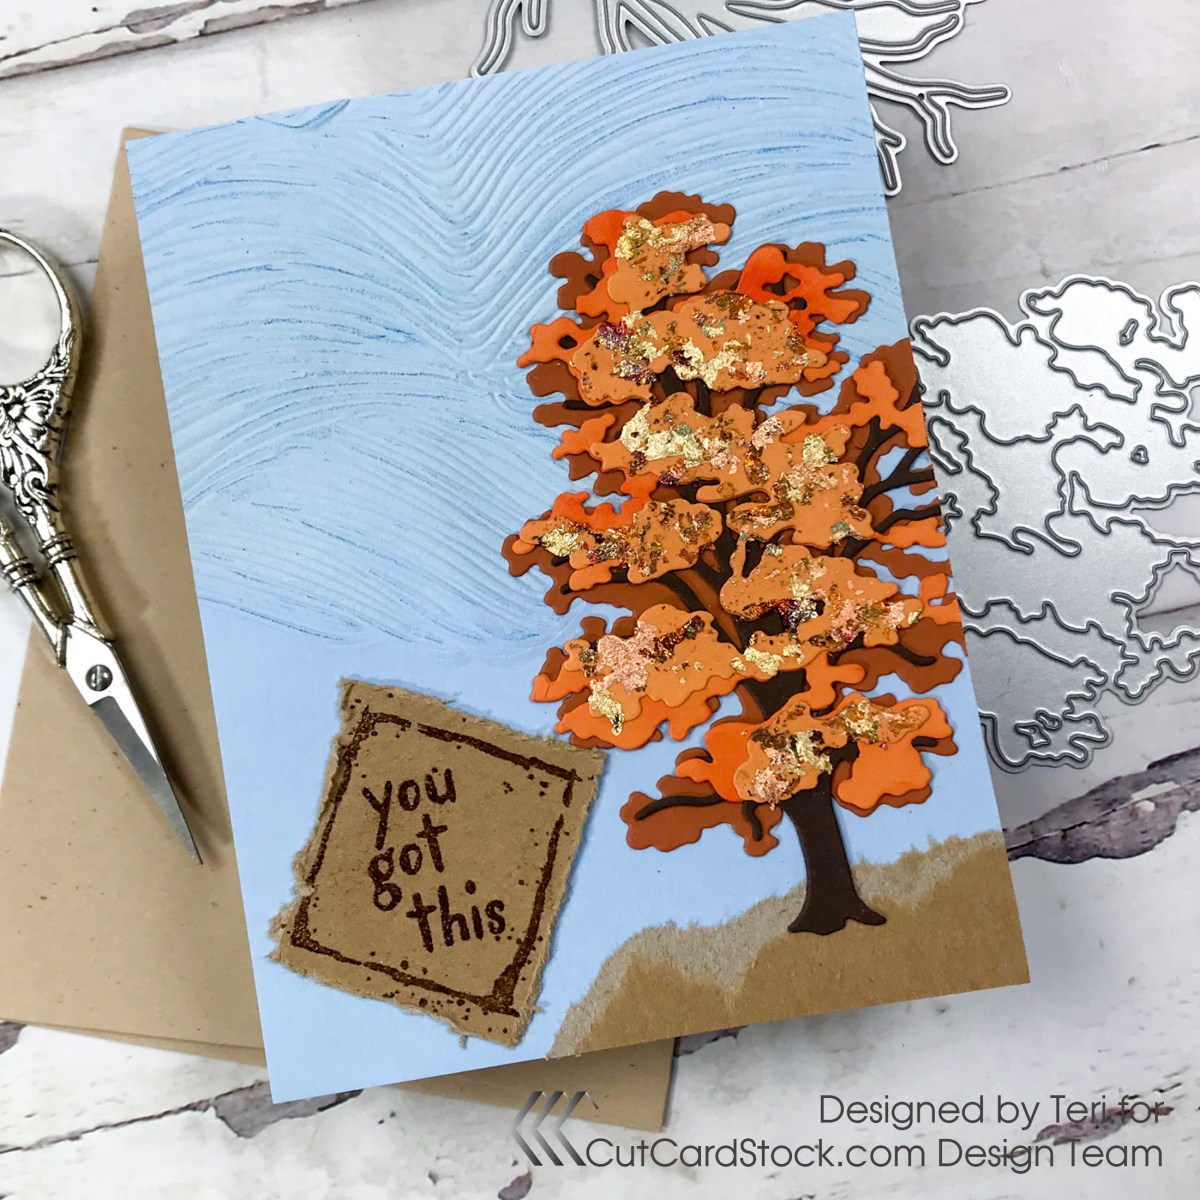
Hello friends! I am celebrating Fall with CutCardStock! I love this season with the cooler temps, bright colors and leaves!

See how to change up die layers with a few easy tips!
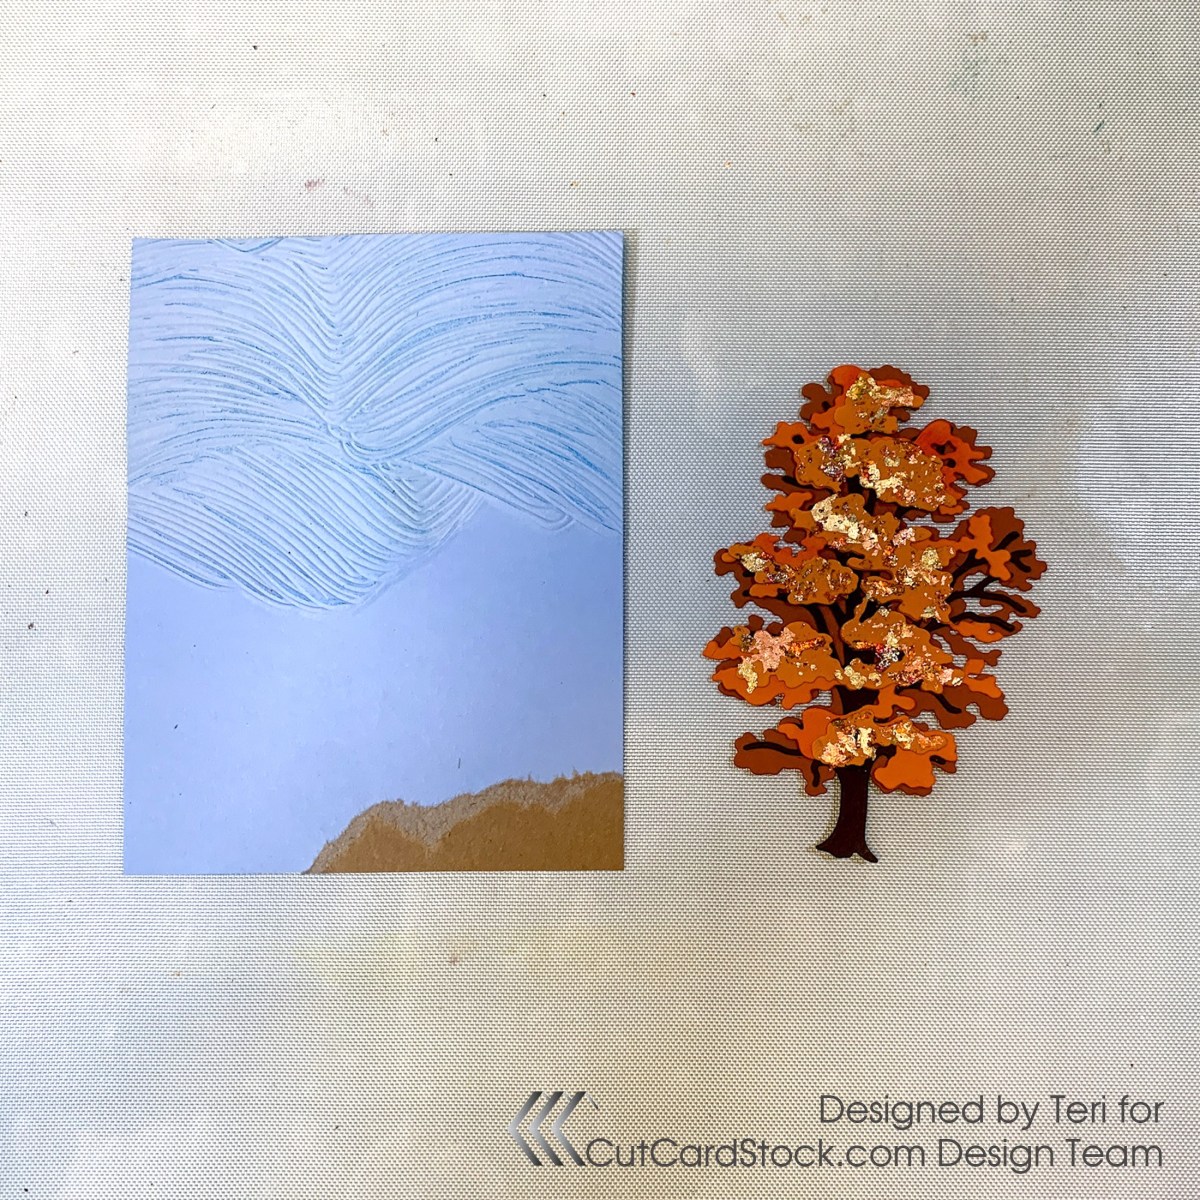
Trim a piece of Basis Light Blue Cardstock to 4.25 x 5 inches. Sandwich in Altenew's from Land to Sea 3 D Embossing Folder and run through your die cutting machine.

Create clouds by orienting the waves at the top for a completely new look. Use a blending tool and add white pigment ink. Use a blue watercolor pencil from Altenew, lay it on its side and highlight the curves.
Die Cut the tree branches from Altenew's Chestnut Tree Die set twice using Pop Tone Hot Fudge Cardstock. Glue them together for dimension.
Die cut the tree layers in layers of orange cardstock.
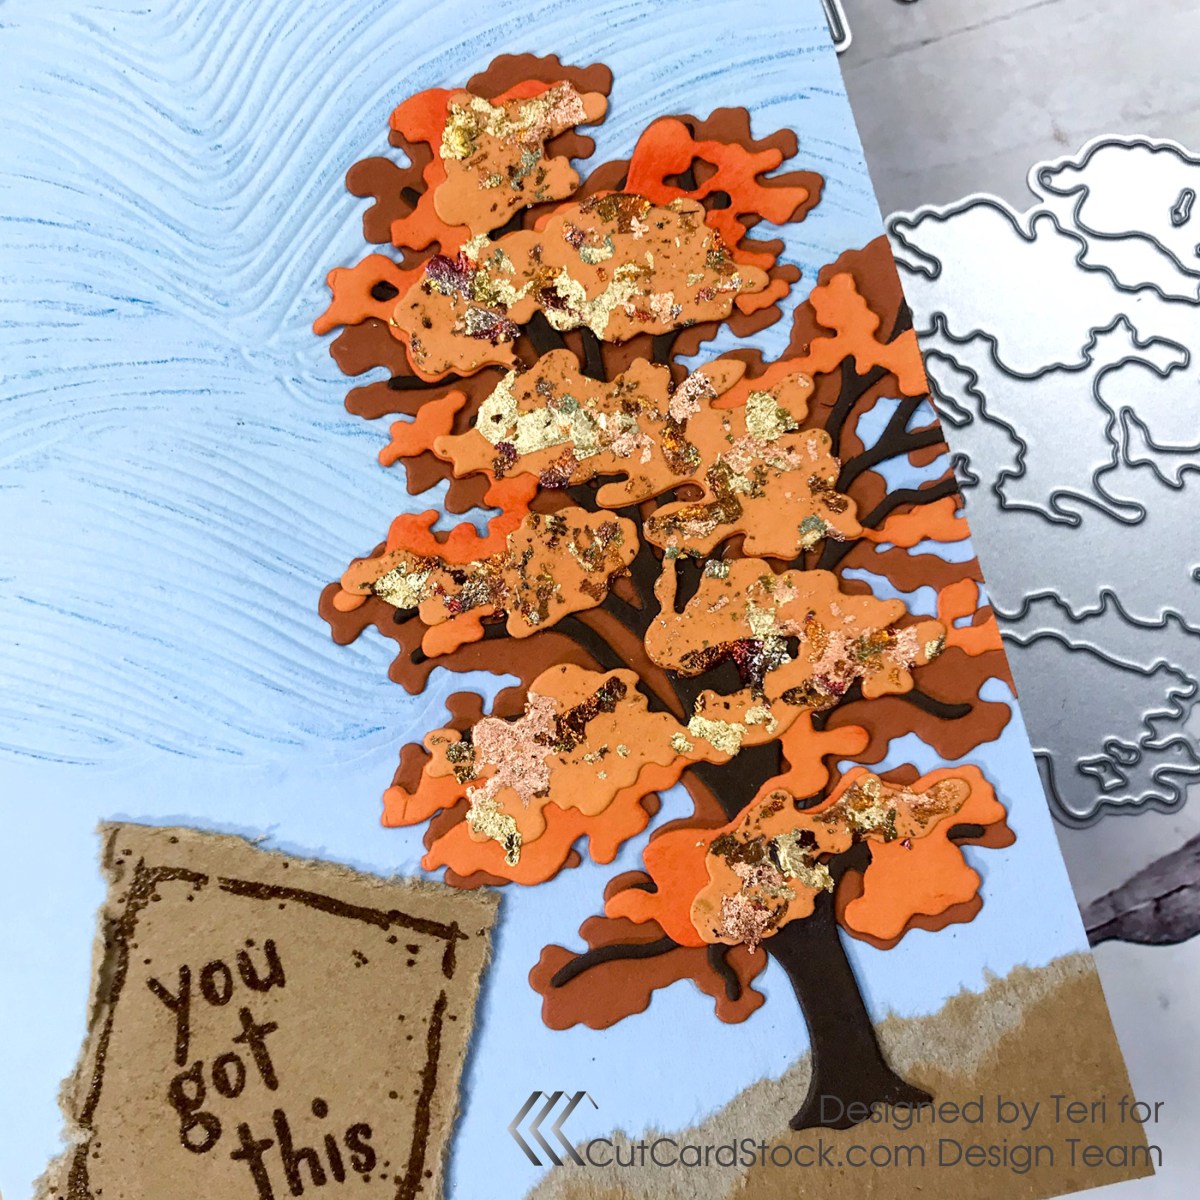
Basis Dark Orange is great from the base layer. Use Pop Tone Orange Fizz for both the second and third layers.

I only had 2 shades of orange so I got creative for changing colors. A deeper orange in the middle layer adds dimension.
Check out the sparkles on the layer to the right. A jar of Gilding Flakes sitting on my desk called for me to add some fall-colored sparkle. Add a little glue and carefully rub a small amount of flakes over the area and set aside to dry. Once dry use a brush to remove the excess flakes.
Attach the tree branch to the base dark orange layer. Add the additional orange layers with the sparkly layer on top!

Tear a small piece of Kraft cardstock to anchor the tree on. Add the tree on the right side, allowing some overlap to be trimmed.
Attach the panel to an A2 Cougar 100 lb. White card base.

Use Stampers Anonymous Note Quotes Stamp to create the sentiment. Stamp and heat emboss the sentiment on Kraft Cardstock using Vintage Photo Distress Ink and Embossing Glaze. Attach to the left side of the card and you are good to go!
I hope you enjoyed seeing how I changed up the layers! Thanks so much for stopping by today! I'd love to have you follow/subscribe on my social media sites Instagram, Facebook, Blogger and YouTube all named TerisMailbox. Be well. Be creative!
Hello! I am back sharing this fun technique involving foiling and water color backgrounds using new foil plates that are part of @altenewllc September Release! There are stencils and dies as well, but I chose to only use the Foiling Plates.
Hello friends. Today I am adding Fall colors and posting for the Funkie Junkie Boutique! Check out how I used the Acorn 3D Embossing Folder (one of my favs) and changed it up with different products!
Eeeeek! It's Stamptember and I am so excited to help Simon Says Stamp celebrate! This party lasts all month and has plenty of coupons and giveaways. Check back Here for new fun things each day!