Hello friends. I hope you are enjoying your summer. I'm sharing two different products from the Altenew August 2022 Marvelous Monthly Series Release Blog Hop + Giveaway ($300 in Total Prizes!). This collection features daffodils, magnolias, a peony, an anemone, and sweet star balloons. The versatile products can be mixed and matched to create many inspiring projects! You should have arrived from Therese Calvird's blog. The hop starts HERE.
We'll start with the Project Kit Magnolia & Blooms. Altenew produces such amazing Project Kits!
Start with the lightest color first and fill in the larger stencil opening. It is so important to heat dry the layers before continuing, otherwise the watercolor will just blend.
There are five total stencils in this set, 1 with the larger blooms, two with the smaller blooms and two with the leaves.
The second card is water colored using the same techniques as the first one. The main difference is the blooms were stamped with a very light Distress Ink. Floral colors used include Pocketful of Sunshine, Summer Afternoon and Warm and Cozy.
After the watercolors were dry, I lined the image up with the embossing folder and ran through my die cut machine. I trimmed the panel down to 5 by 3.75 inched, mounted it on an orange panel and then on the A2 card base. A few splatters in orange and yellow brighten the background. A sentiment from the stamp set was stamped in Marigold Ink from the Golden Sunset Ink Cube set.
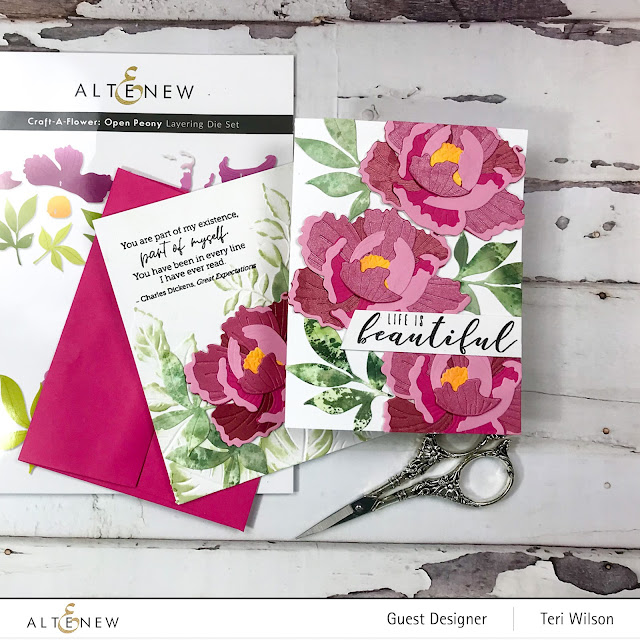
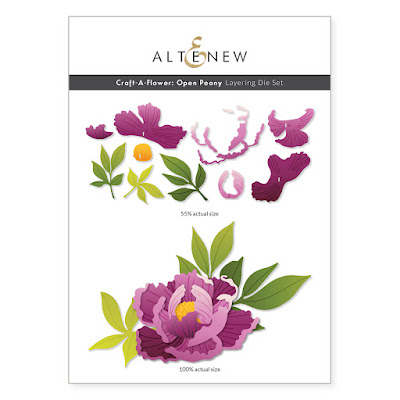
The dies are individual petals that are layered together to create the final bloom. I wanted to add some stability to my blooms so after assembling one, I traced around it, ran it through my Scan N Cut and cut multiple bases for the blooms.
The last card uses and Embossed background using the Embossing Folder from the Always Sunshine Project Kit. I love this spray of leaves taht made the perfect backdrop for a single bloom. After embossing the panel, I ran Evergreen ink over the top of the layer to highlight the leaves.
After attaching the bloom and a few leaf sprays, I heat embossed a sentiment from the Well Read Stamp set.
Giveaway Prizes
$300 in total prizes! To celebrate this release, Altenew is giving away a $50 gift certificate to 2 lucky winners and a $25 gift certificate to 8 winners! Please leave a comment on the Altenew Card Blog and/or each designer’s blog post on the blog hop list below by 08/18/2022 for a chance to win. Altenew will draw 10 random winners from the comments left on each stop of this blog hop and announce the winners on the Altenew Winners Page on 08/20/2022.
Blog Hop Order
Teri Wilson <You are here>
Nathalie DeSousa Next stop
Reiko Tsuchida ***Note: Due to strict regulations in Japan, you might not be able to leave a comment on her blog post.
Thanks so much for stopping by today! I'd
love to have you follow/subscribe on my social media sites Instagram, Facebook, Blogger and You Tube.
Be well. Be creative!


.jpg)


Gorgeous cards and colors. The sets in this months' series are just lovely. TFS your inspiration.
ReplyDeleteBeautiful cards -- love your coloring. also love the layering set. Thanks for sharing.
ReplyDeleteBeautiful, all the wonderful colors.
ReplyDeleteYour die cut flower is especially pretty. But the stamped flowers look really pretty together, too. Gorgeous all of them
ReplyDeleteStunning designs and flowers! I LOVE the Craft A Flower one and the flowers in the corner stamp!
ReplyDeleteThe yellow one absolutely beautiful. They all are, but that one is my favorite.
ReplyDeleteThe embossing adds so much to your yellow and orange card. Amazing how different the two cards with the same stamp set look.
ReplyDeletethe Yellow Watercolor card is gorgeous!
ReplyDeleteThanks for sharing your beautiful cards!So much inspiration!
ReplyDeleteBeautiful cards. Thanks for sharing.
ReplyDeleteOh it's that first card that has my heart
ReplyDeleteAll of your cards are beautiful. I love the three different looks you shared using the Magnolia & Blooms project kit. Thanks for sharing and inspiring!
ReplyDeleteBeautiful cards! I love the watercolored version of the Magnolia and blooms card! I'm going to try this technique. Thank you for the videos!
ReplyDeleteI love how the blue and purple magnolia card came out.
ReplyDeleteLove the open peony card. The color and design of the card is so well done. Thanks for sharing.
ReplyDeleteGorgeous cards! Love the colors.
ReplyDeleteThanks for sharing.
So pretty and colorful!
ReplyDeleteGorgeous cards and wonderful videos. So helpful and inspirational to watch you create.
ReplyDeleteI love all the wonderful and vibrant colours. Beautifully done!
ReplyDeleteBeautiful and colorful cards. Thanks for sharing
ReplyDeleteWow all so beautiful!
ReplyDelete